Copyright © 2023 Balmoral Software (http://www.balmoralsoftware.com). Portions copyright © 2013 Kheops Studio. All rights reserved. Republication, redistribution or conversion is expressly prohibited without the prior written consent of Balmoral Software.
Some of the directions in this walkthrough assume the 360° Free View setting is off. All mini-games and puzzles are played in Normal mode.
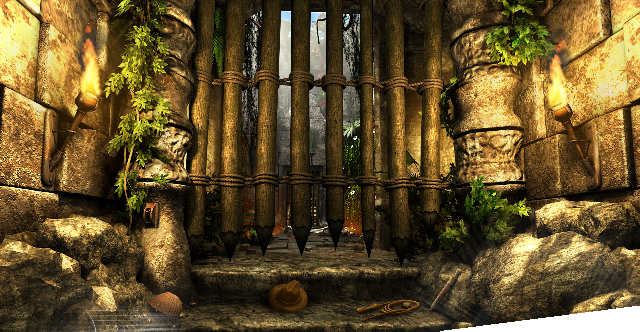
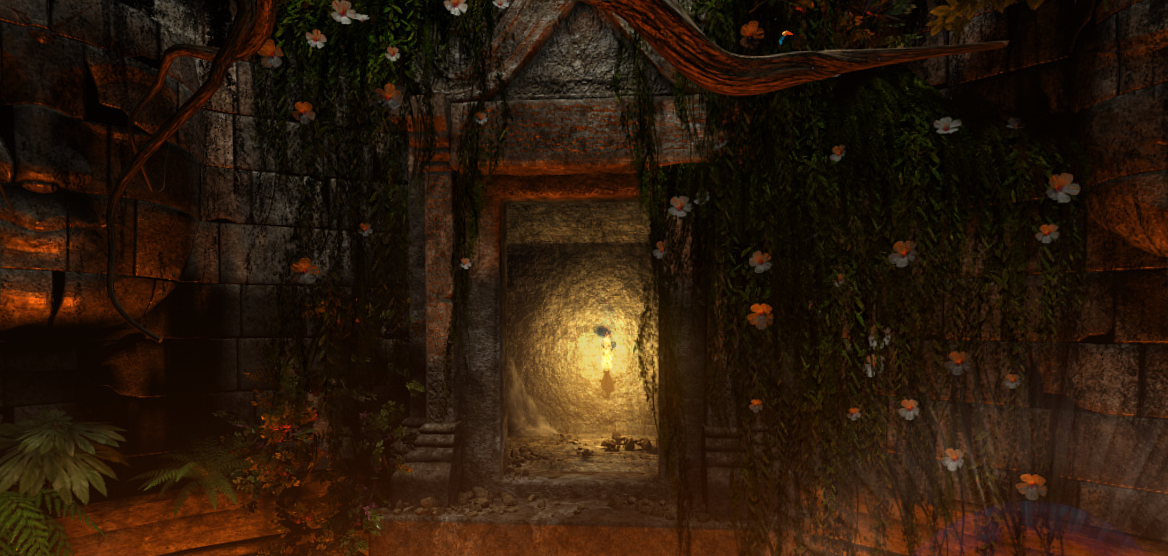
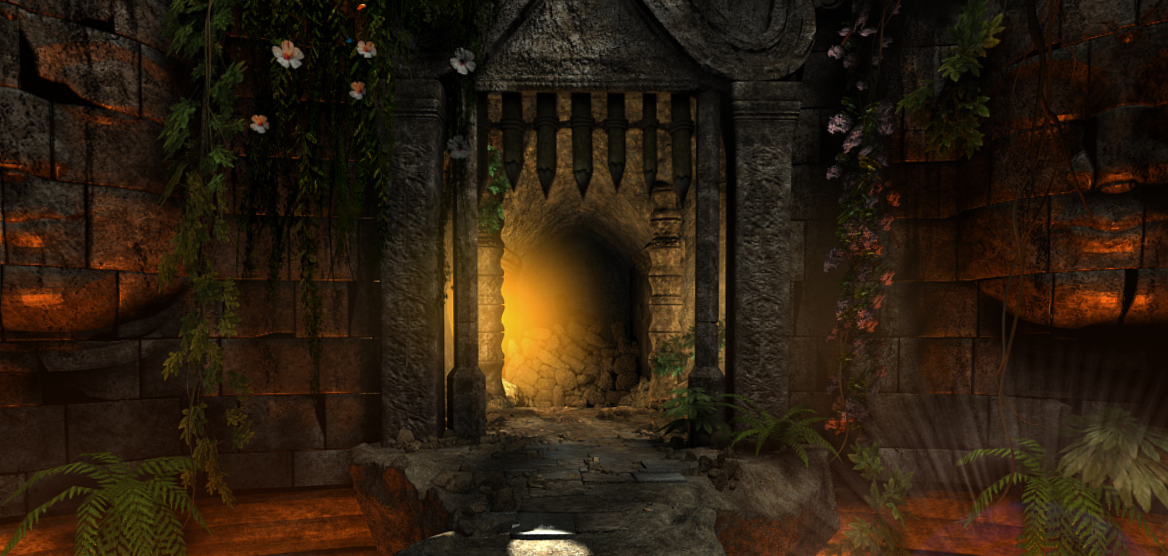
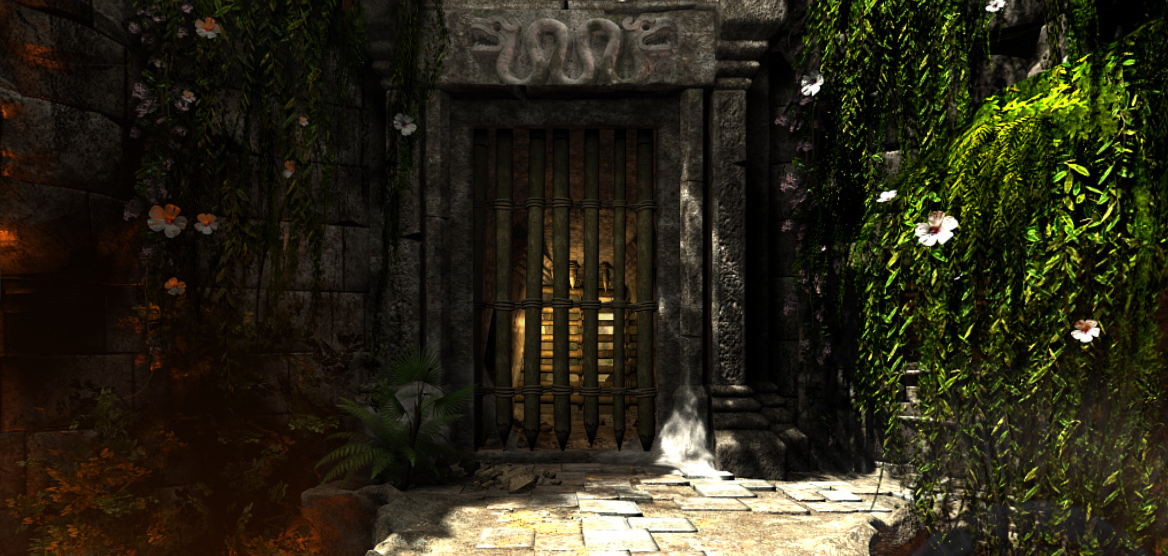
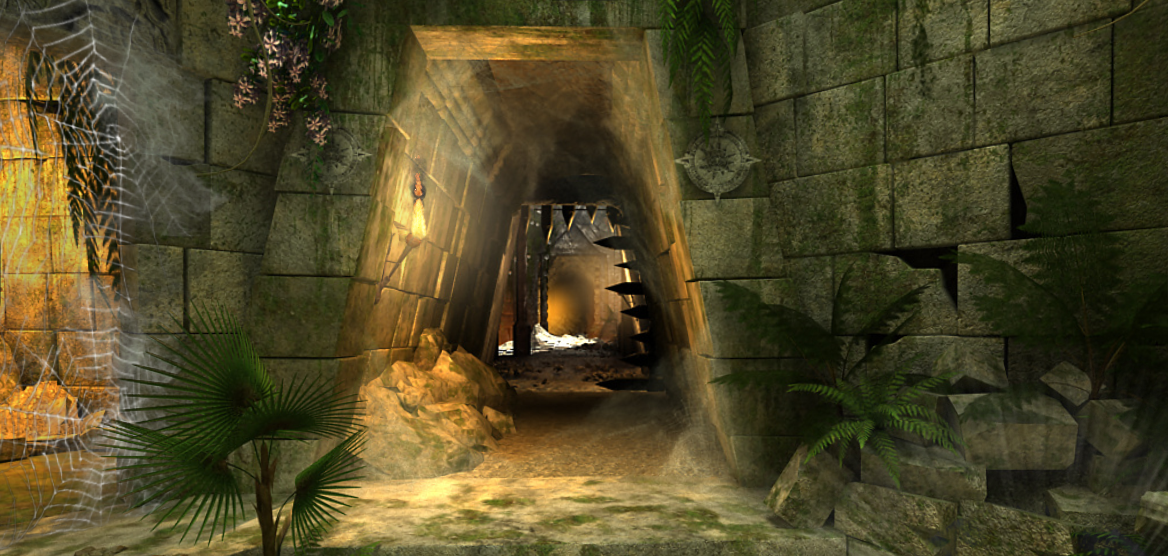
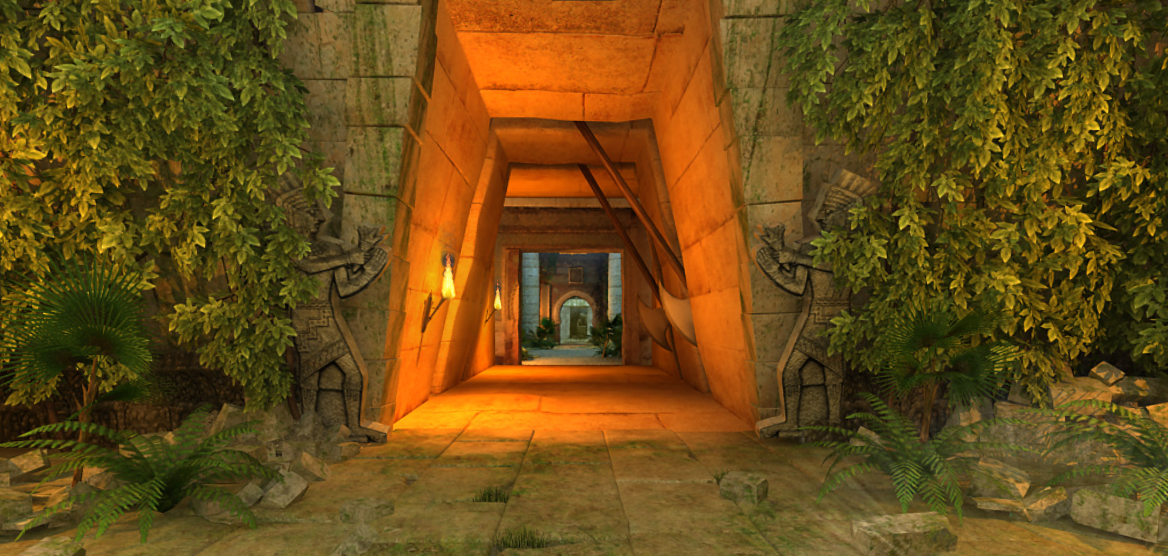
After the Fall, you're facing a stone temple, perhaps in Asia. The intro to the game control interface serves to open the gate. Pick up the Hat and Whip and move forward into the unexplored area of the temple. At the edge of the lava pit, you're facing south and down, where north is taken to be the top of the map accessed by the (*) button in the game interface at the bottom of the screen. Look up to see that the cardinal directions in this octagonal room are described as follows:
Click on an image for a larger view. At this point, there are two independent paths through the game that can be completed simultaneously or in either order, but both paths must be completed before you are able to converge on a common sequence leading to the endgame. These paths are the Western Quest and the Northern Quest.
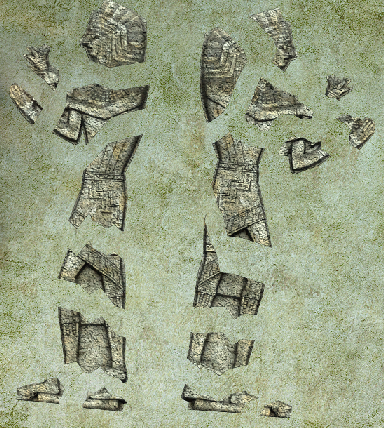
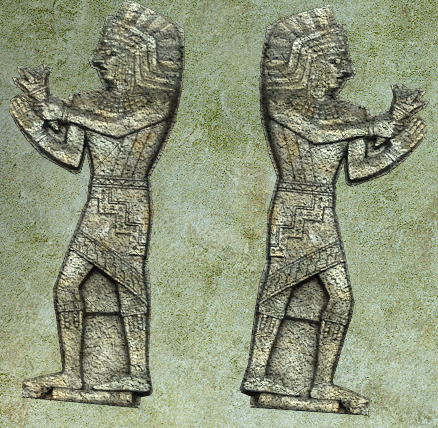
which can be obtained by moving the numbered pieces at left into the corresponding positions at right: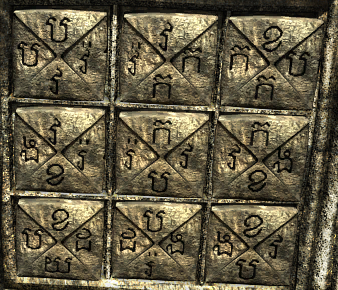
Solving the puzzle opens the gate. Face west and enter the alcove beneath the two-headed snake. Click on the depressed area on the wall in the shape of a statue.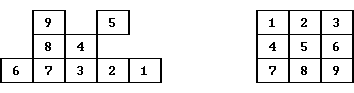
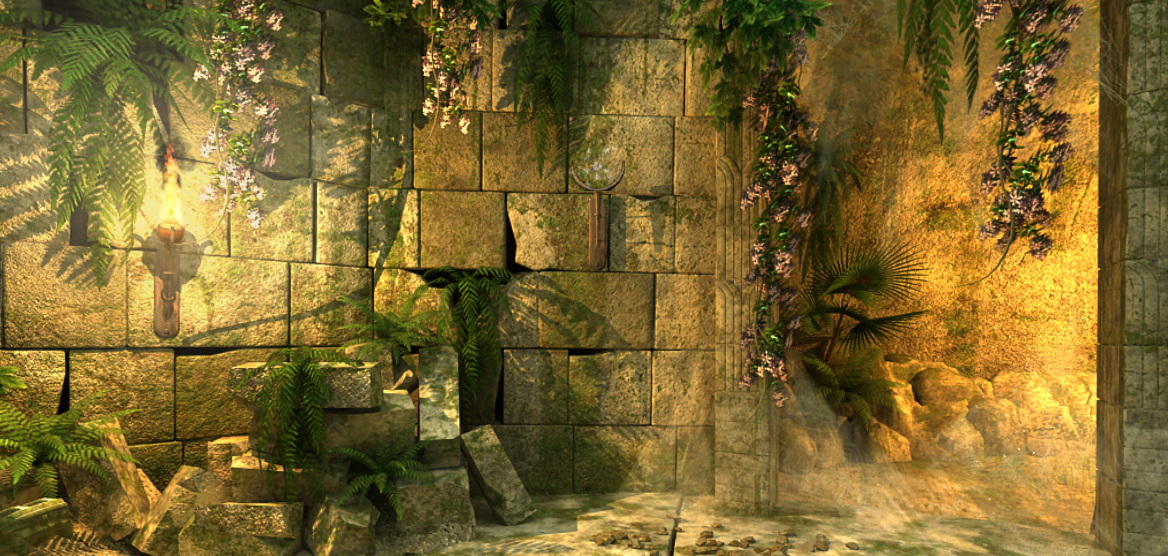
Return to the Pit and face south. Use the Whip on the overhanging tree limb. Move forward into the Weighing Scale room. Click on the Statuette sitting on the center platform. Pick up the Small board and put it atop the cylinder at upper right. Put the Statuette on one of the weighing platforms. Pick up four stones from the box at lower left. Try to put one of the stones on the empty weighing platform to learn that you need a basket to hold the stones. Return the stone to inventory and go back to the Pit.
Face east and enter the glowing tunnel marked "Landslide". Solve the HOG for 15 baskets:
Return to the Pit and the Weighing Scale to the south. Put the Wicker basket on the empty weighing platform. Use the largest (500 g) Stone on the sparkling gems at center to break it in half. Add the following inventory items to the basket: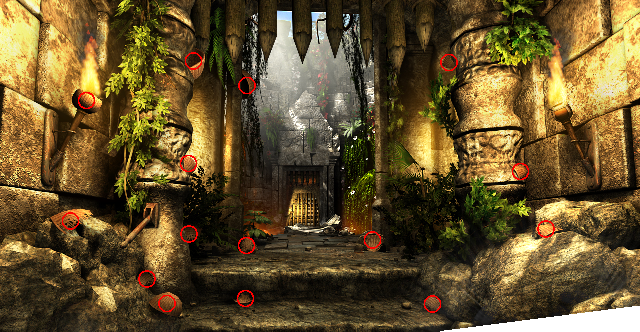
Hat full of sandto balance the scale. Put the Wicker basket on the platform at lower center to open the second gate in the western exit from the Pit. Pick up the Statuette.
Stone (200 g)
Stone (250 g)
Stone (150 g)
Stone (300 g)
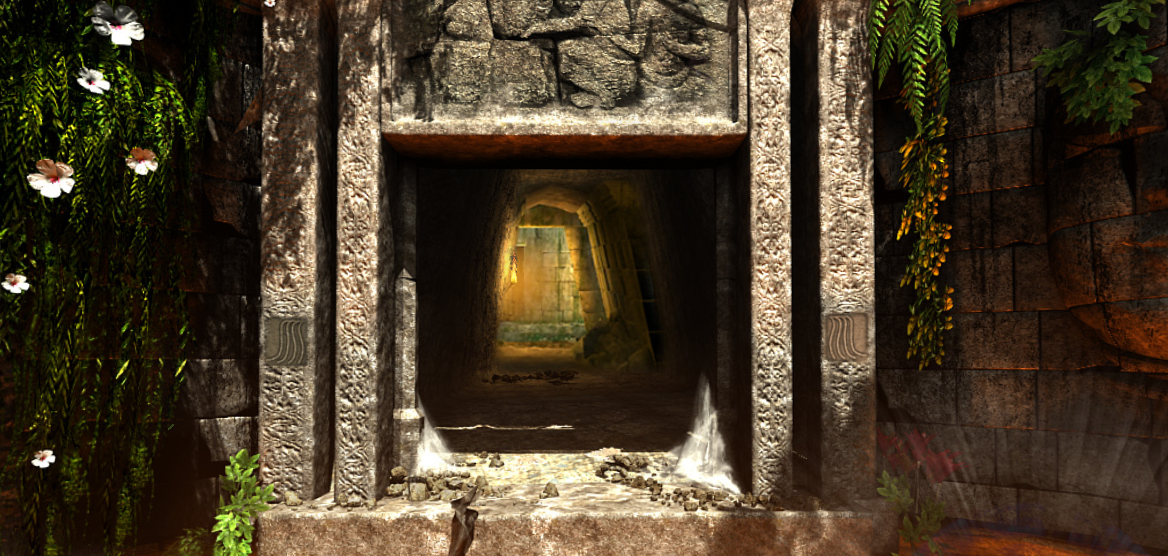
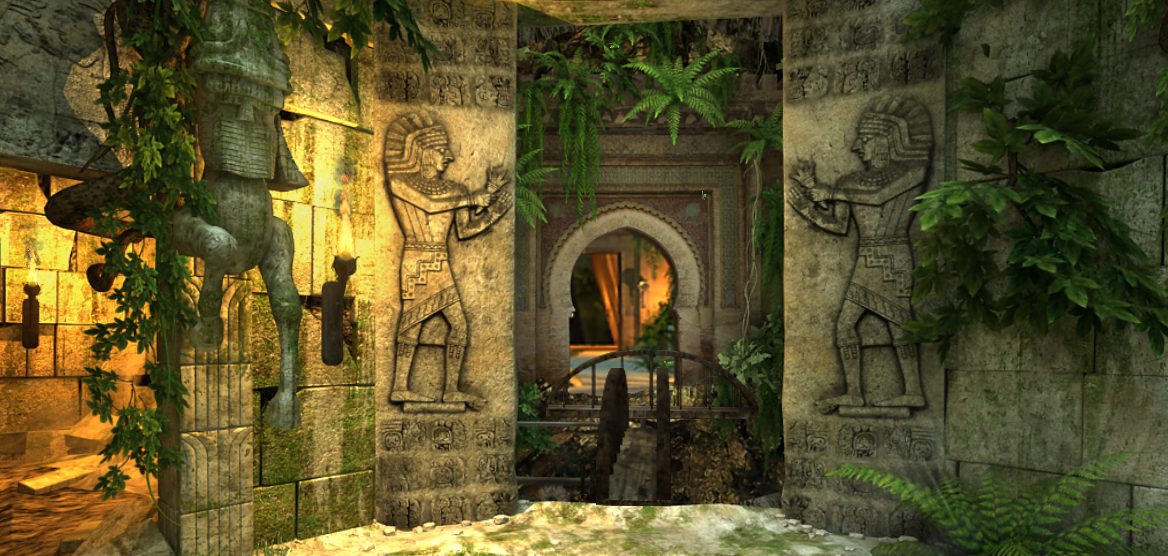
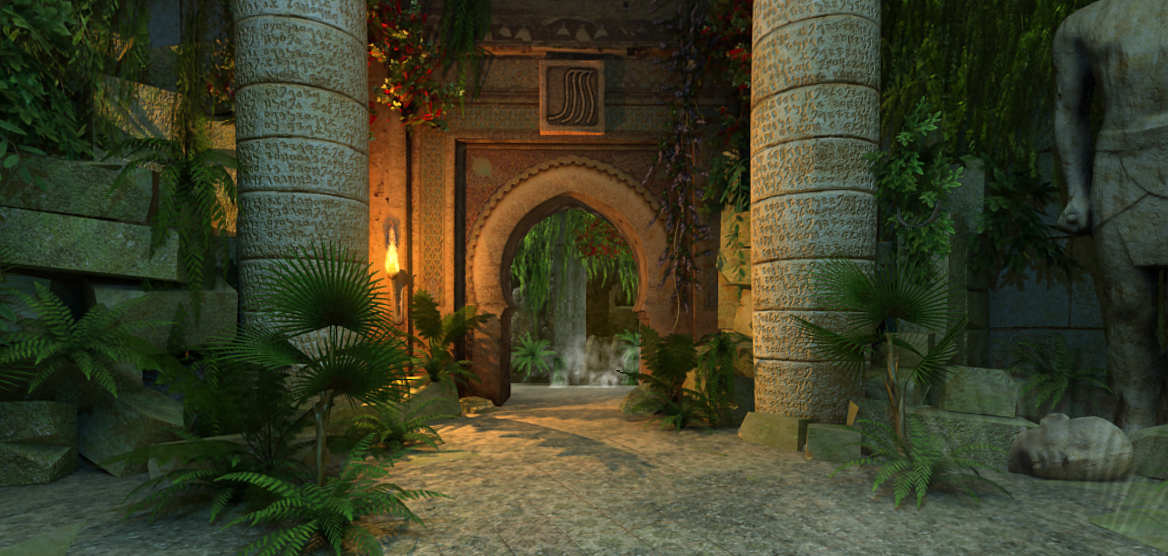
Return to the Pit. After throwing away the stone, look up and face west. Enter the Double gate and put the Statuette into the wall depression to open the remaining gate. Move left to continue exploring. After a cutscene, you'll be in the Fresco Room facing west and up. The cardinal directions in this octagonal room are described as follows:
Click on an image for a larger view. Face south and click on the fresco, on one of its side columns, and back on the fresco again. Solve the HOG for 20 painting tools:
Direction Elevation Location North Horizontal Rectangular template just left of the left stone figure's head Narrow stick below the left column Green pigment pile at the foot of the right column Up Thin horizontal stick in the mouth of the stone serpent at the left side of the lintel Decorative panel a couple of stones above the center of the lintel East Horizontal Cream-colored canvas at the lower right corner of the trapezoidal opening Up Decorative panel above the yellow wall medallion Yellow pigment pile to the lower right of the yellow wall medallion Down Two red pigment piles at the foot of the steps South Horizontal Purple pigment pile at the upper right corner Polygonal flat object halfway up the left column Up Thin dark stick in front of the left snake head carving Light-green canvas about 3/4 of the way up the wall over the center of the lintel Roughly L-shaped piece at far right, next to the right navigation arrow Down Light green pigment pile West Horizontal Red pigment pile at the lower left corner Yellow pigment pile at the lower center Cream-colored canvas above the (?) icon in the status bar Up Wooden rectangle on the wall at center
Collect the Jugs from the alcove that has appeared. Face northeast and brush away the 5 spider webs from the entrance to the side room.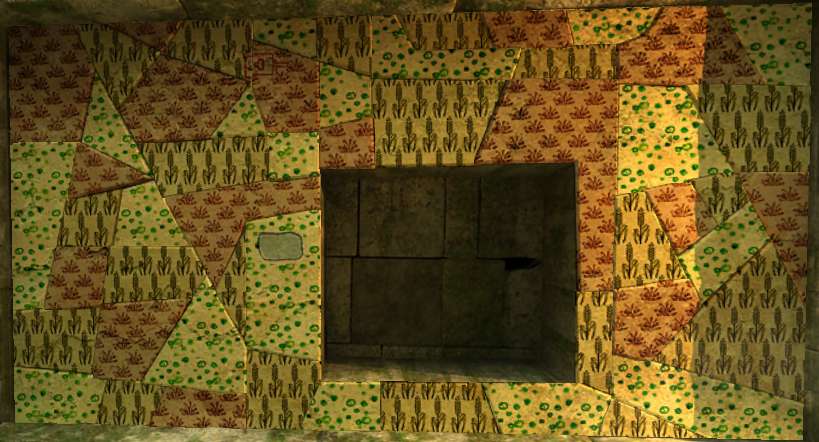
#1 Wide mouthClick on the wall diagram to see the ordering rules for the jugs. Mouse over the diagram to provide further explanation:
#2 Flat, with lid
#3 Narrow mouth
#4 Striped
#5 Narrow, with lid
#6 Tiny
#7 Cocktail shaker
#7 is higher than #5There are two solutions for the jug ordering that satisfy all these criteria:
#5 is higher than #3
#1 and #3 are next to each other
#4 and #2 are next to each other
#4 and #6 are not next to each other
#4 and #1 are not next to each other
#1 and #6 are not next to each other
#2 or #5 is between #7 and #4
Position:Only the second of these is accepted in the game. Place the jugs into these positions on the stepped stone ring:
1 (low) 2 3 4 5 6 7 (high) #1 #3 #2 #4 #5 #7 #6 #3 #1 #2 #4 #5 #7 #6
Retrieve three objects from the Kali statue, noting which arms are holding them:
Back Cocktail
shakerTop: Tiny Narrow
with lidStriped Bottom: Narrow
mouthFlat Wide
mouthFront
Interestingly, all Kali statues in this game are 8-armed, rather than the more traditional arrangement of 4 or 10 arms.
Arm Object Left side, second from top Quiver Bottom left Lotus Right side, second from top Bow
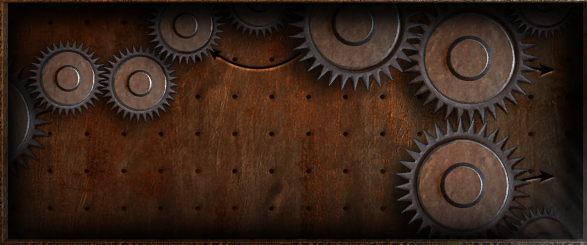
Return to the Fresco Room and face northwest. Enter the alcove and clear away the foliage and stones from the rectangular gearbox and its lever at right. Solve the HOG for 20 gears:
Don't forget the gear inside the box.
Direction Elevation Location North Horizontal Touching the bottom left of the opening Hiding behind a fern at the upper right of the opening Up Underneath a white flower at far left In the approximate direction pointed to by the seated figure in the bas-relief Rectangular piece exactly on the left corner of the bas-relief East Horizontal Hiding behind a fern at the lower right of the opening Halfway up the column of flowers to the right of the opening A lighter-colored spot at the extreme upper right corner of the screen Up A bright white piece on a string of foliage at the upper left corner of the screen Near the center of the screen, behind a hanging green vine Behind an undulating tree root at left center South Up Yellowish triangular shape near the center of the screen Squarish piece just below a bright red flower in the center region of the screen On ledge near the right side of the screen West Horizontal Triangular piece to the left of the lower-left portal corner Rectangular piece near the lower left corner of the screen Up Behind a fern near the upper right corner of the portal Smaller piece just to the right of the top point of the portal At left edge of white/orange flowers to the left of the portal
Move the assembled Stone tile from inventory to the engraving on the ground.
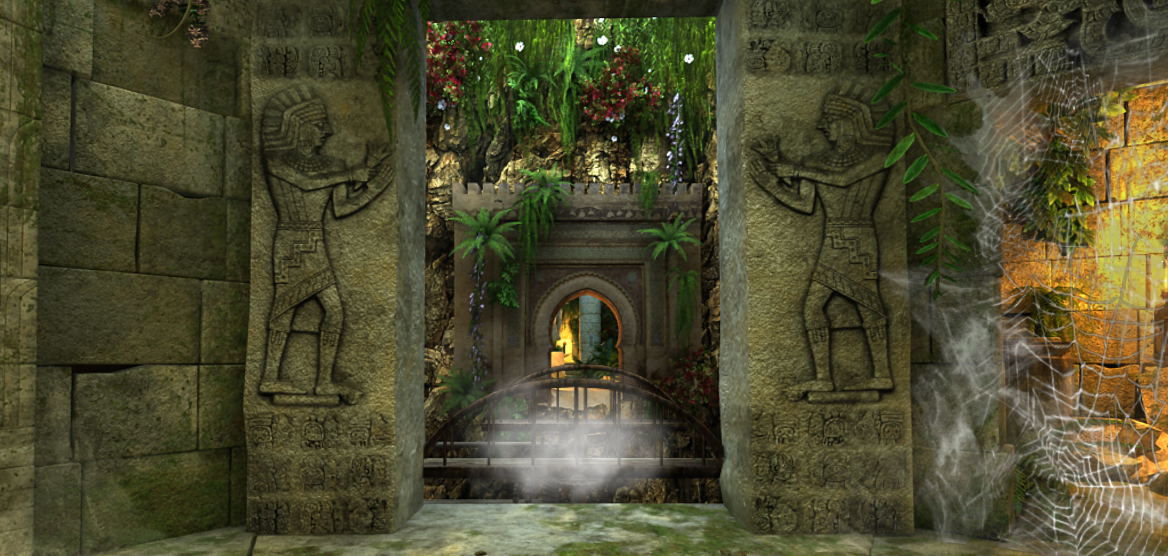
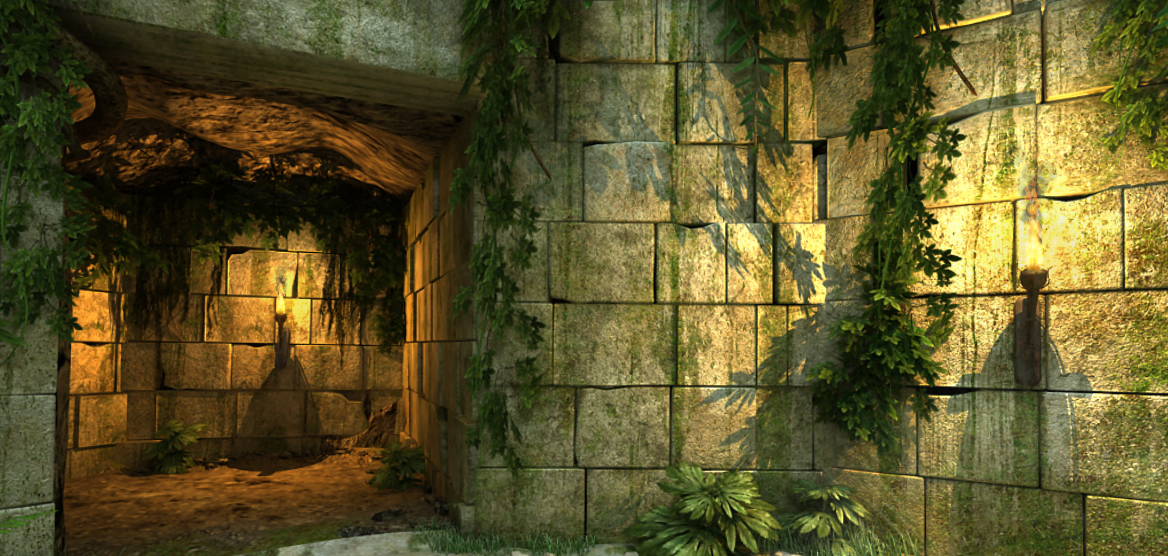
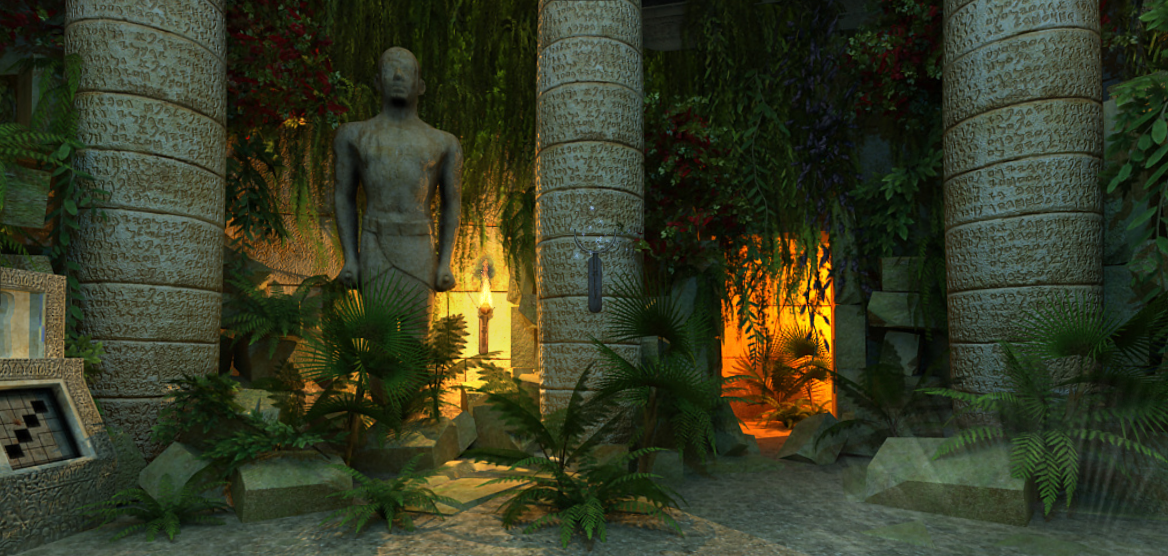
Proceed north into the next room. After a cutscene, you'll be at a waterfall, facing east and looking up. Look down to see that the cardinal directions in this octagonal room are described as follows: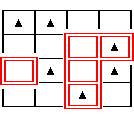
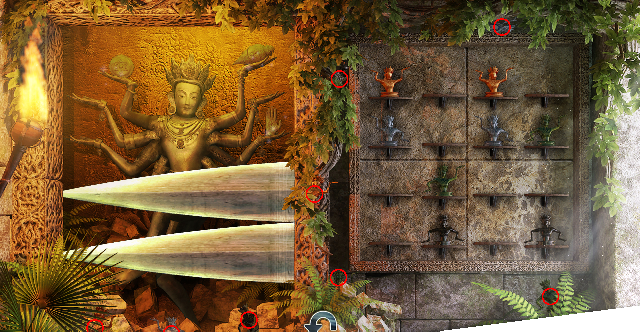
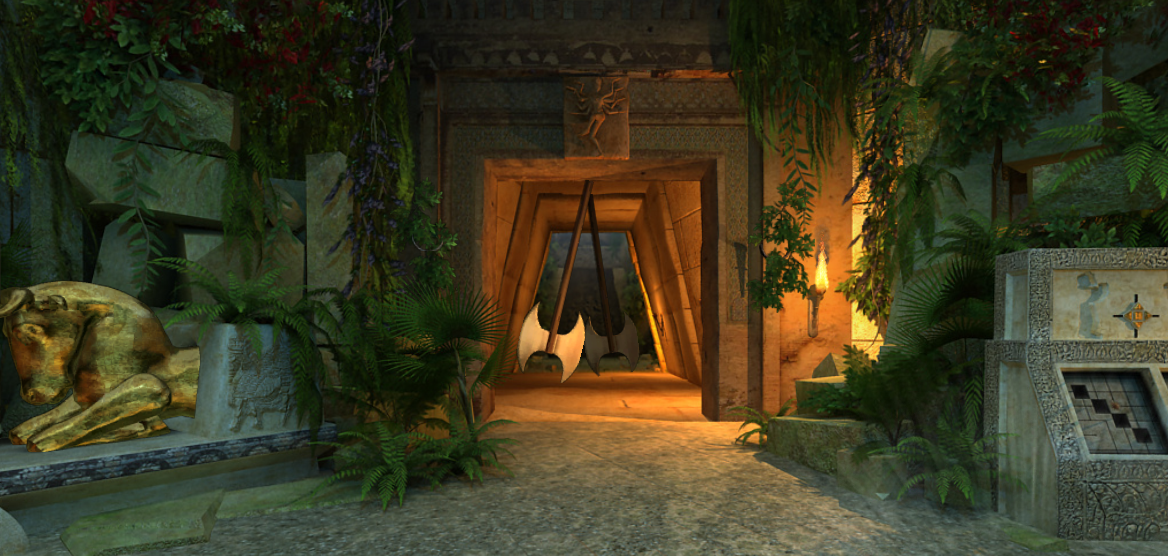
Click on an image for a larger view. Face southwest and enter the alcove flanked by two horse-like statues. Move the mouse over the blades to trigger a comment, then click anywhere on the box of 16 shelves. Solve the HOG for 8 statuettes:
From a reset puzzle state, this arrangement can be obtained by clicking on the statue positions in the following sequence: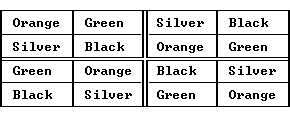
Solving the puzzle allows three more objects to be retrieved from the Kali statue: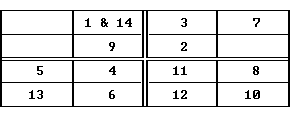
Back out, face north and enter the room ahead to determine that some pulleys are needed. Return to the Bottom of the Falls and solve the HOG for 20 pulleys:
Arm Object Top left Disk Top right Conch Right side, third from top Hiatus (hand)
Face the top of the waterfall and move forward. Remove 20 matching pairs of flowers and berries until the odd one is identified (one pair looks like a spotted leaf).
Direction Elevation Location North Horizontal On the ledge at bottom center of the screen Behind some foliage to the lower left of the torch at right At the right edge of the lintel over the opening Down On the steps at left East Horizontal To the right of the stone bowl Farther to the right of the stone bowl, at the bottom of the jumble of blocks To the upper right of the stone bowl On a small shelf above some grass at the lower right corner of the screen Lying flat on top of a stack of two wide horizontal blocks At the bottom of the waterfall, to the right of a centered plant Down At left behind the stone bowl South Horizontal Sticking out from plants halfway up the left portal pillar Up On the top of the lintel On a shelf above a wall carving at lower right Down At the base of the steps West Horizontal Underneath the horse-like statue at left Up At left on top of the lintel At right on top of the lintel At upper right on top of a carved shelf Down Under a fern between the center and right steps
Look all the way down and put the Mistletoe berries into the stone bowl. Pick up the Pestle and then use it in the bowl. Pick up the resultant adhesive and transfer it to a broken pulley. Repeat for the other two pulleys.
Return north to the Pulleys room and put the Pulleys onto the stone pegs.
The shortest solution to this problem is the following 10 moves:
Pulley
rotated
clockwiseClockwise change
from one rotationClockwise change
needed from
initial stateSmall Medium Large Small 30° 15° 10° 270° Medium 60° 30° 0° 180° Large 90° 0° 30° 270°
Rotate Small pulley counterclockwise 6 timesSolving this puzzle opens the passage to the west through the archway between two bas-reliefs. Proceed through that passage into the next room.Rotate Medium pulley counterclockwise 3 times
Rotate Large pulley counterclockwise once
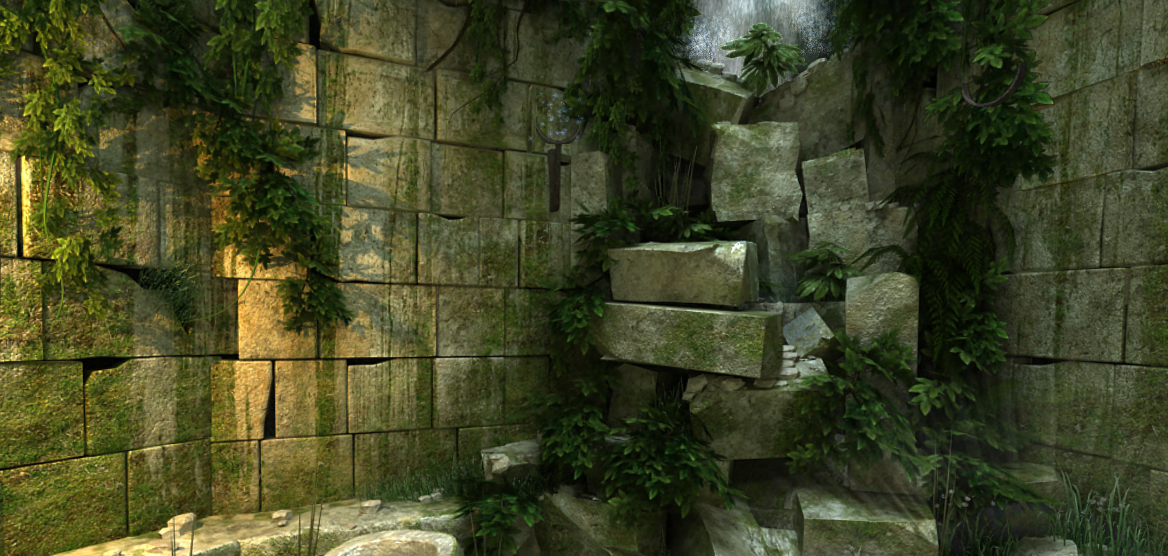
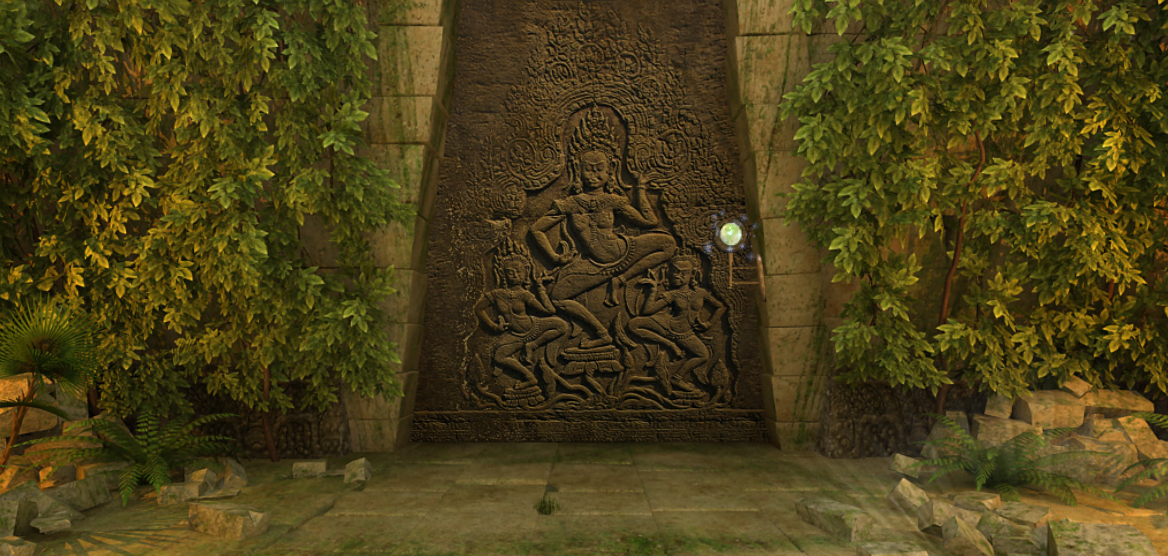
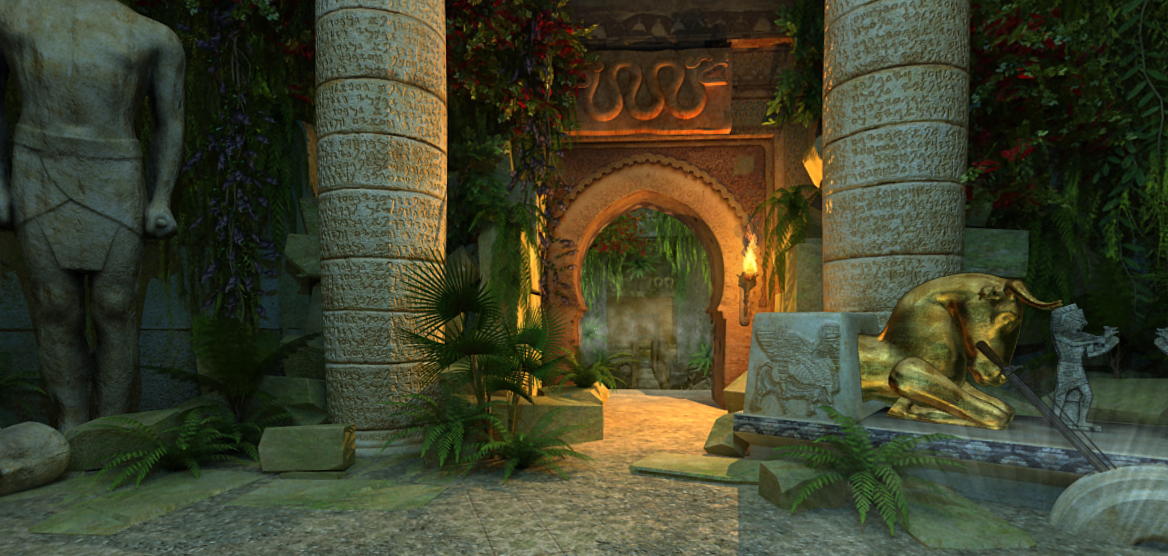
Click on an image for a larger view. Face north and enter the side room lit in yellow-orange.
Solving the puzzle allows the final two objects to be retrieved from the Kali statue:
Return to the Columns Room and face south.
Arm Object Left side, third from top Sword Bottom right Bludgeon
Solving the puzzle gets you the Statuettes in your inventory. Back out and face the moving blades in the west direction. Zoom in on the console at right.
R2 U D2 R3 U4 L2 D* L DWhen the puzzle is solved, the moving blades are stopped. Enter the next room to the west and explore it to identify its cardinal directions:R U R D2 R3 U4 L2 D* L D
R U D R D R3 U4 L2 D* L D
*: First ball home
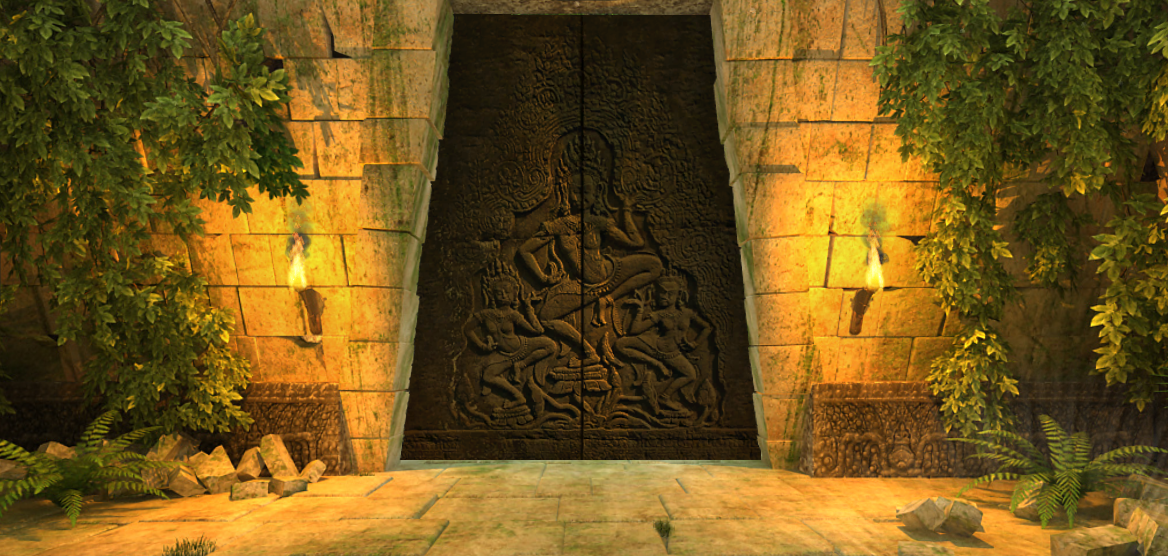
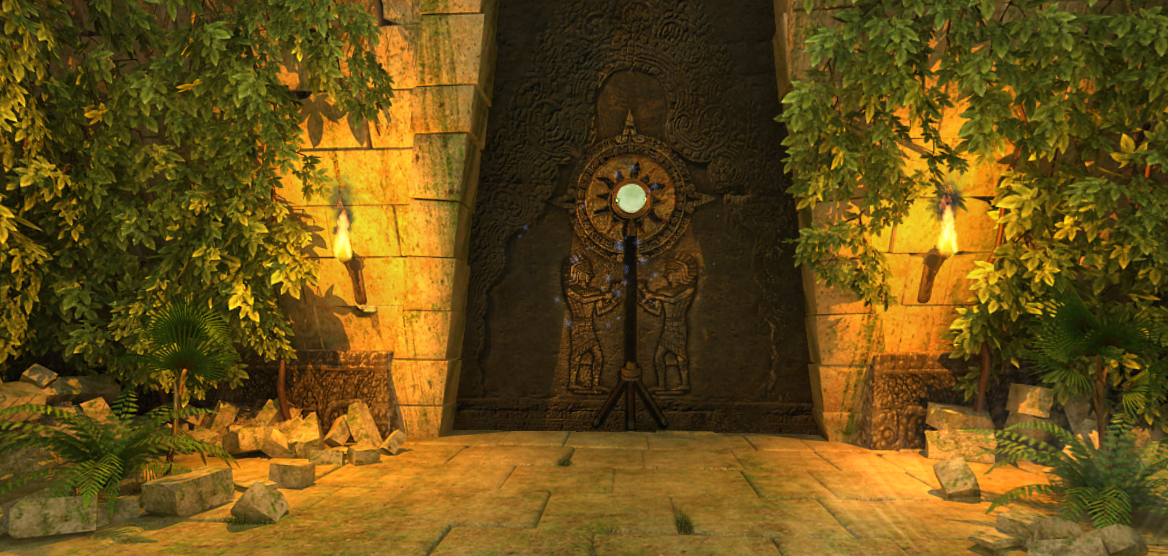
Click on an image for a larger view. Face west and click on the mounted mirror. Solve the HOG for 20 mirrors:
Face the south doorway and click on the tripod on the door. Return to the Columns Room and solve the HOG for 20 sticks. The sticks are generally straight and brown with a distinctive blue tip which may be your best bet for finding them. The sticks can be oriented horizontally or vertically:
Direction Elevation Location North Horizontal To left of lower left corner of door Hidden behind fern at far right Up Right side of lintel To upper left of lintel, behind some vines Down Lying flat at far right East Horizontal Lying flat in front of right statuette Up At right of top stone carving On right wall, at about the same height South Horizontal To left of the lower left corner of door To left of the upper left corner of door To right of the lower right corner of door At extreme lower right corner of screen Partially hidden in some foliage to left of left-hand torch Up Half-hidden on top of lintel Midway up right wall West Horizontal At lower left corner of bas-relief At lower right corner of bas-relief Lying flat between 2 blocks to lower right of bas-relief Lying flat at extreme lower right corner of screen Up At right edge of top stone carving
Return to the Tripod Room and face south. To get the Tripod, play Goldilocks with the three Sticks in inventory and the vertical slot in the door. Reenter the Columns Room and solve the HOG for 3 mirror holders:
Direction Elevation Orientation Location North Horizontal Horizontal Base of statue Vertical Immediately to right of torch Vertical In left part of orange-lit doorway East Horizontal Horizontal Lower left of screen Horizontal In front of right column Vertical Between right column and statue Vertical Immediately to right of torch Horizontal Immediately above archway Horizontal To left of waterfall medallion above archway Vertical To right of archway, against light background Horizontal Atop the lower of two blocks at far left South Horizontal Horizontal In front of left column End on In right mouth of two-headed snake above archway to Fresco Room West Horizontal Horizontal Above golden bull Horizontal Below golden bull Horizontal Above right half of portal to Tripod Room Vertical Next to right portal edge Vertical Left side of Command Board Horizontal Top of Command Board Up Horizontal Stuck in the ceiling at center
Place mirrors in these locations plus a fourth on the center column, facing north.
Direction Location East Behind foliage to right of right-hand column West Behind foliage on the right edge of portal Behind foliage on the left edge of portal
Return to the Bottom of the Falls and face east. Click on the one hidden mirror holder in the foliage to the upper right of the pile of jumbled blocks. Place two mirrors in this room, one on each side of the pile of jumbled blocks.
Revisit the Pit, face west and look down. Place the Tripod on the holes in the stone bridge. Click on the lens and it breaks.
Put the reassembled lens back into the tripod, then orient it so that the light beam enters the Fresco Room at left.
Enter the Fresco Room, face south and look up. Remove the foliage from the one hidden mirror holder in the center of the snake lintel. Place a mirror in it, as well as in the holder on the west wall.
In the Tripod Room, explore the now-open doorway in the south wall.
Room Wall Beam direction relative to monitor screen boundaries Fresco West Left half of top edge South
(looking up)Center of top edge Columns North Left edge West Left mirror: Upper left corner Waterfall East Left mirror: To mirror at right
Right mirror: Top edge, closer to cornerColumns West Right mirror: Top edge East Right edge Tripod West Left edge
Upper leftThis is the only solution to the puzzle. Place all of the golden inventory objects onto the elongated hands of the statue:
Left side, second from top
Lower right
Right side, second from bottom
Note that these are the same arm locations in which the objects were originally found on the Kali statues in the Jugs, Statuettes and Matching puzzles.
Disk Conch Quiver Bow Sword Hiatus (hand) Lotus Bludgeon
Enter the open doorway and take the Bowl at right. Return to the Pit, face west and look down. Try to gather some of the Sand with the Bowl. Return the leaking Bowl to inventory and face south. Enter the Weighing Scale alcove and click on the basket to retrieve the Hat full o' sand.
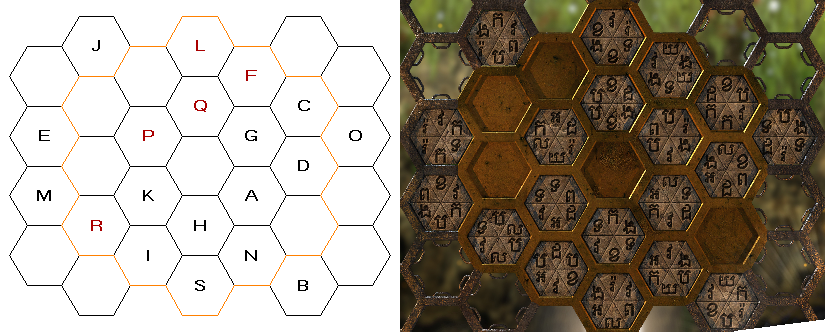
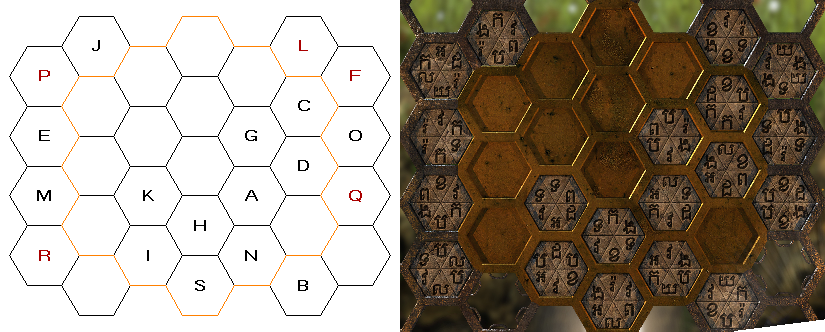
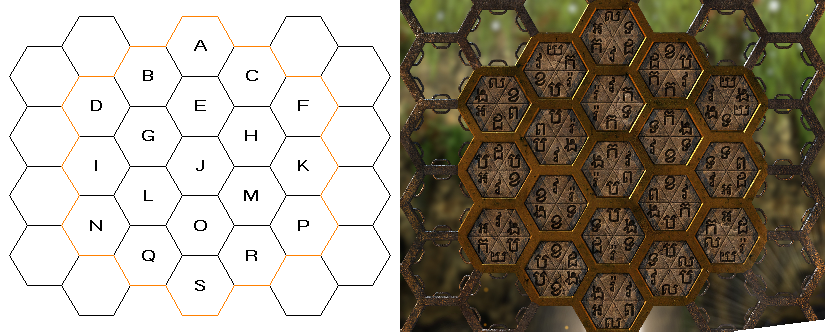
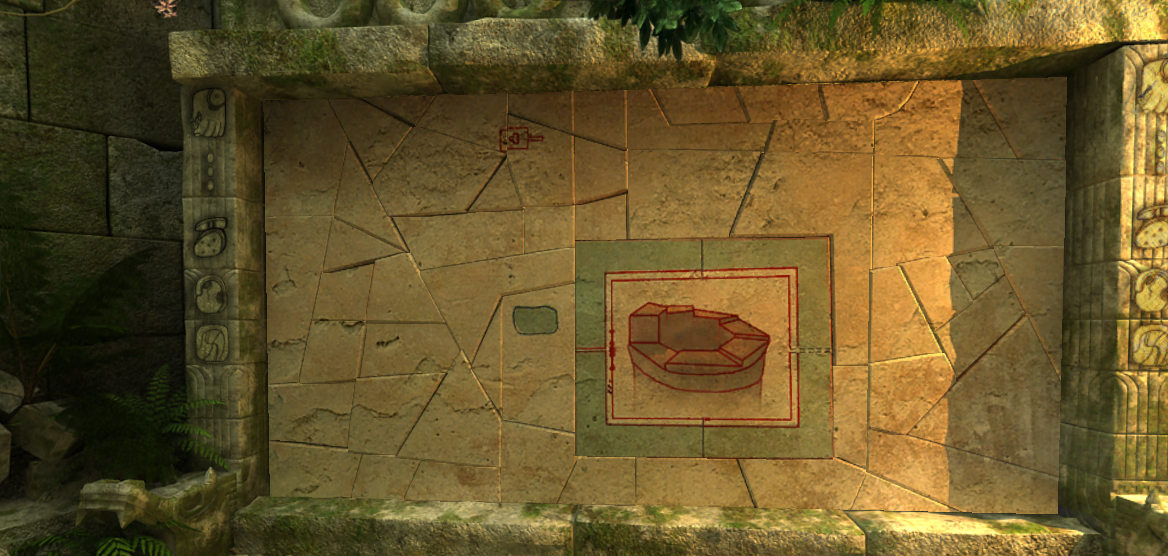
Step 1. Reset the puzzle if needed. Move the five red-letter tiles from their initial positions in the top diagram below to the corresponding holding positions shown in middle diagram.
Step 2. Carefully move pieces in alphabetical order into their final positions in the central highlighted region shown in the bottom diagram. The bottom piece (S) is not moved.
Go back to the Tripod Room (via the Waterfall) and face north again. Move forward and put the Hat onto the glowing white spot. Proceed into the light and watch the endgame sequence. A blurry version of the Chapter 2 starting point is then shown:
More to come in The Fall Chapter 2: Reconstruction...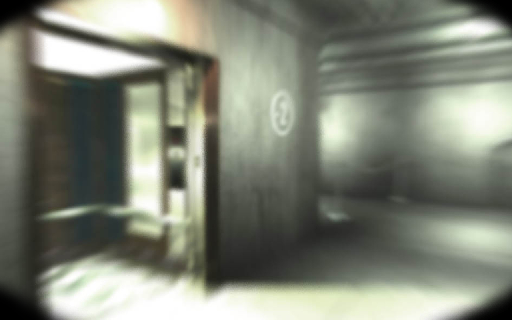
Copyright © 2023 Balmoral Software (http://www.balmoralsoftware.com). Portions copyright © 2013 Kheops Studio. All rights reserved. Republication, redistribution or conversion is expressly prohibited without the prior written consent of Balmoral Software.