Copyright © 2026 Balmoral Software (http://www.balmoralsoftware.com). Portions copyright © 2012-2014 by Fireproof Studios Ltd. All rights reserved.
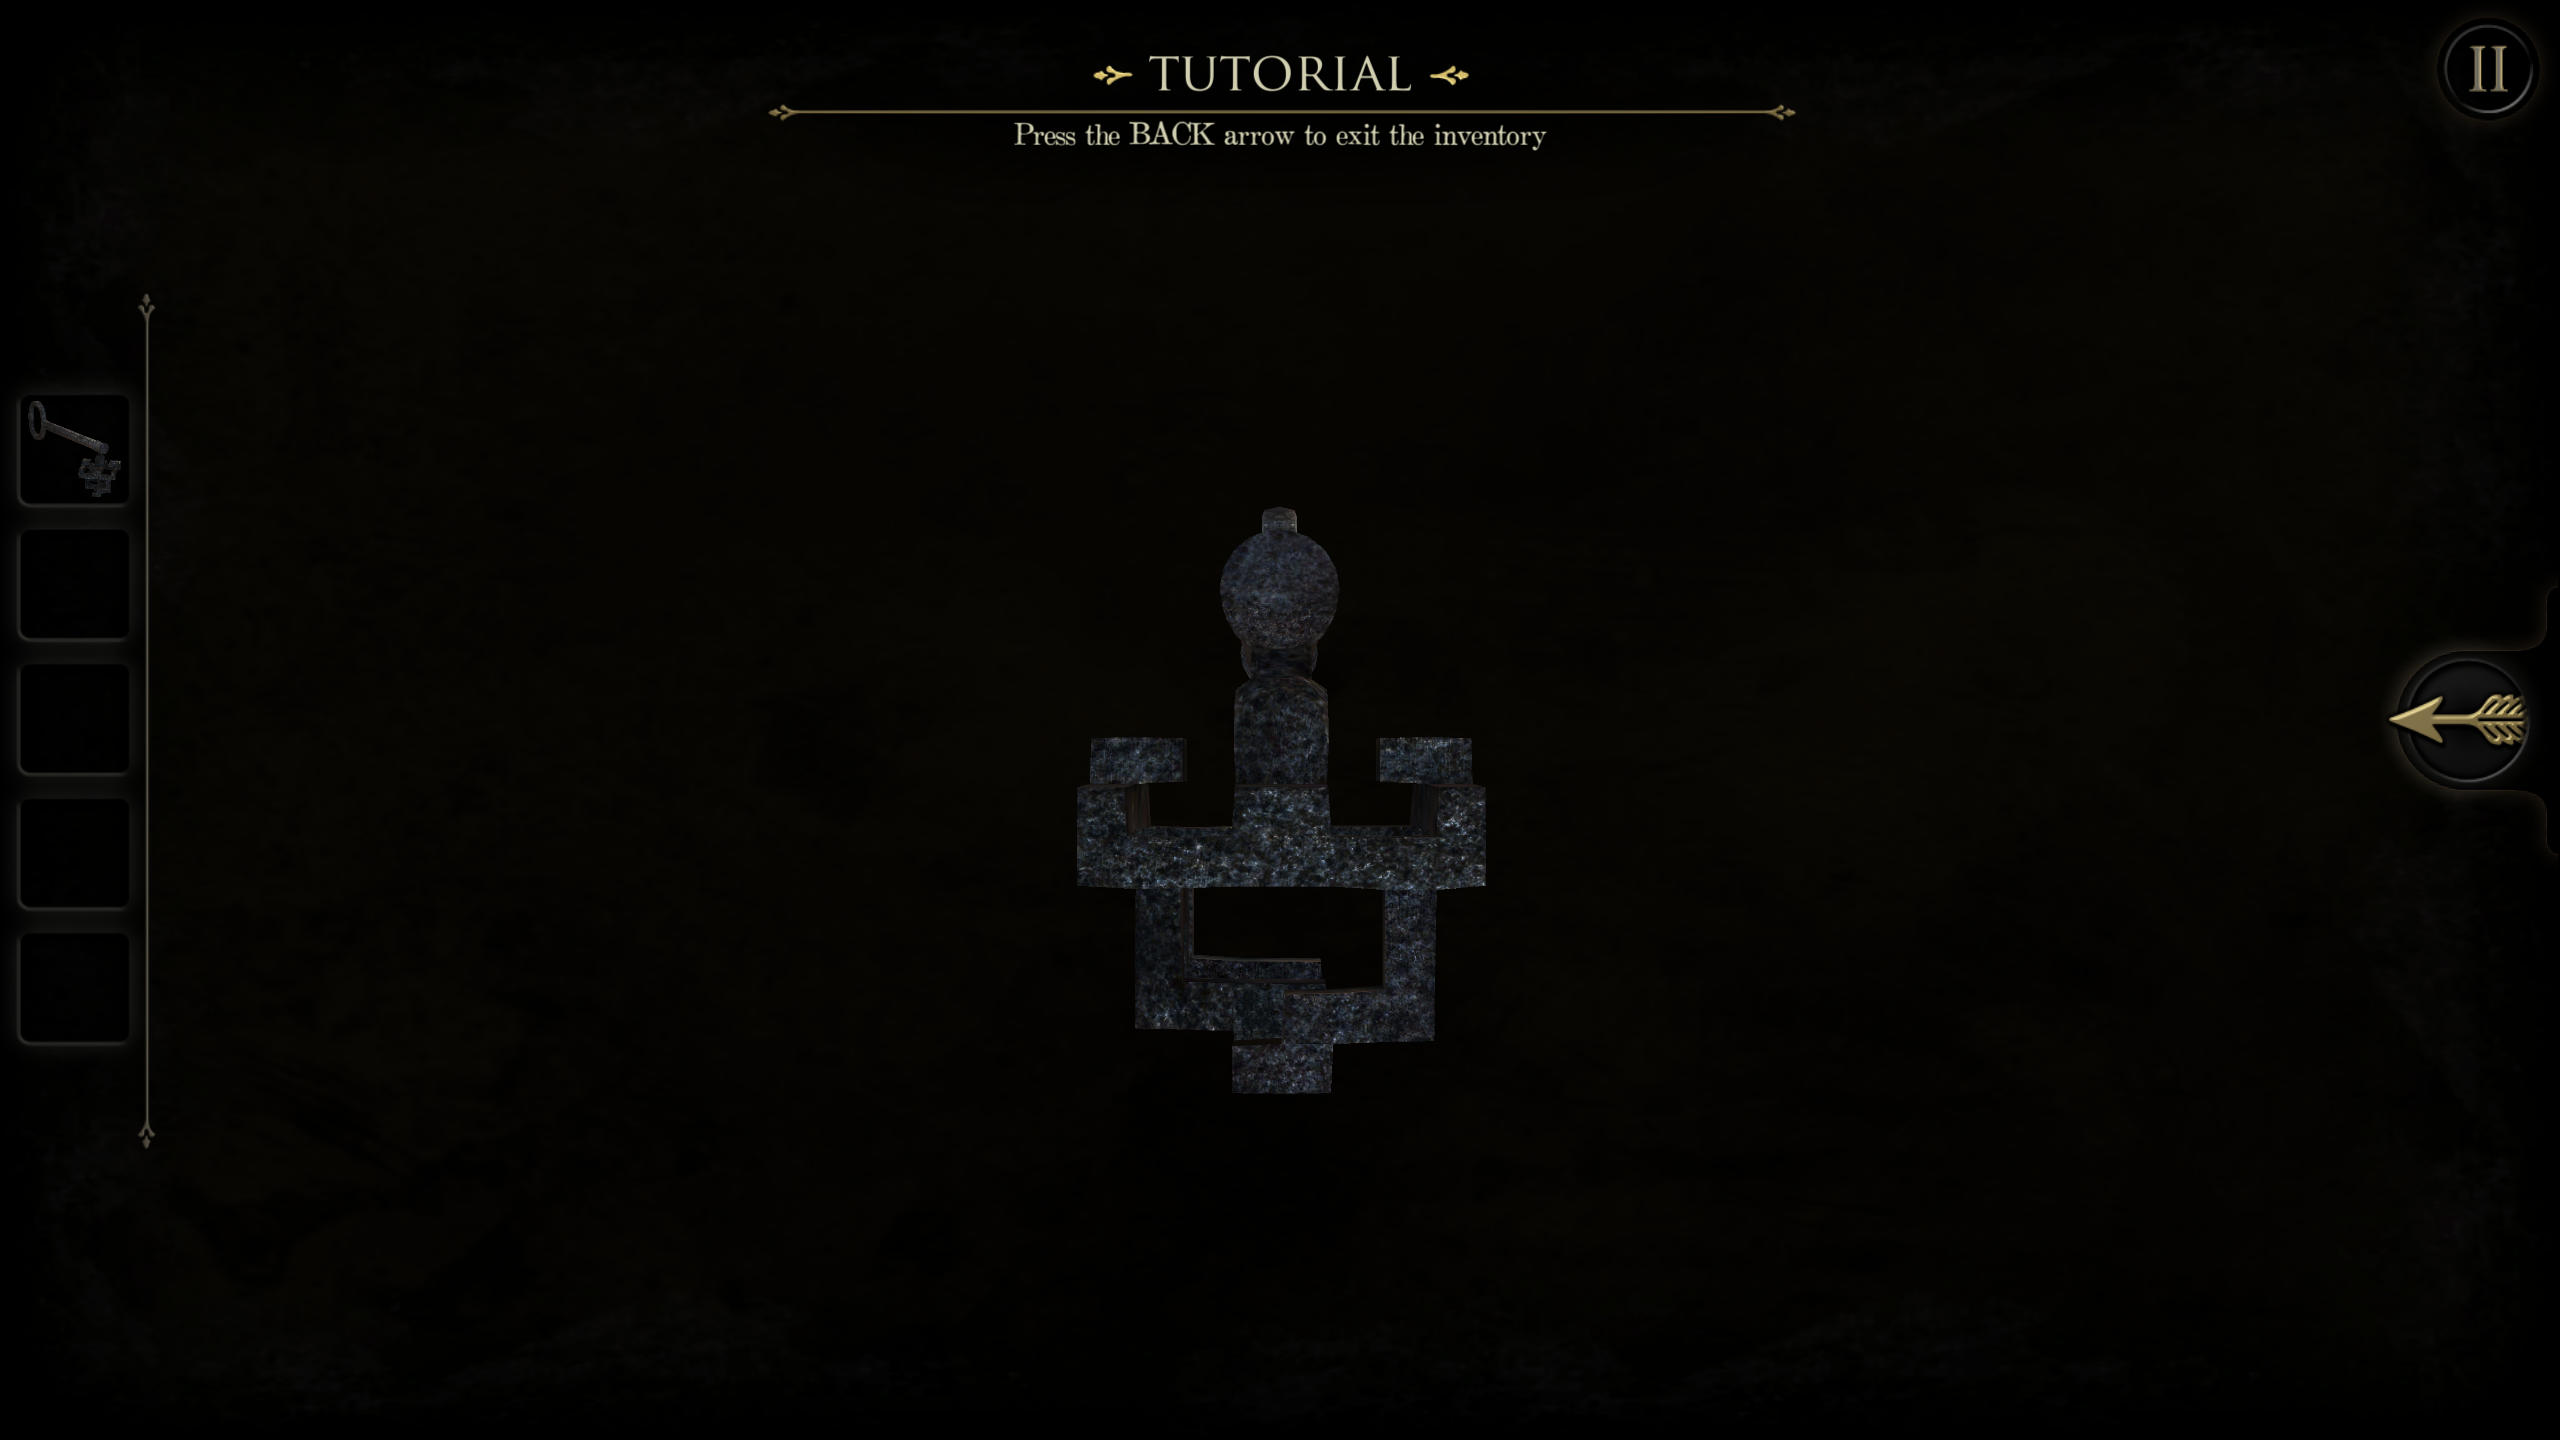
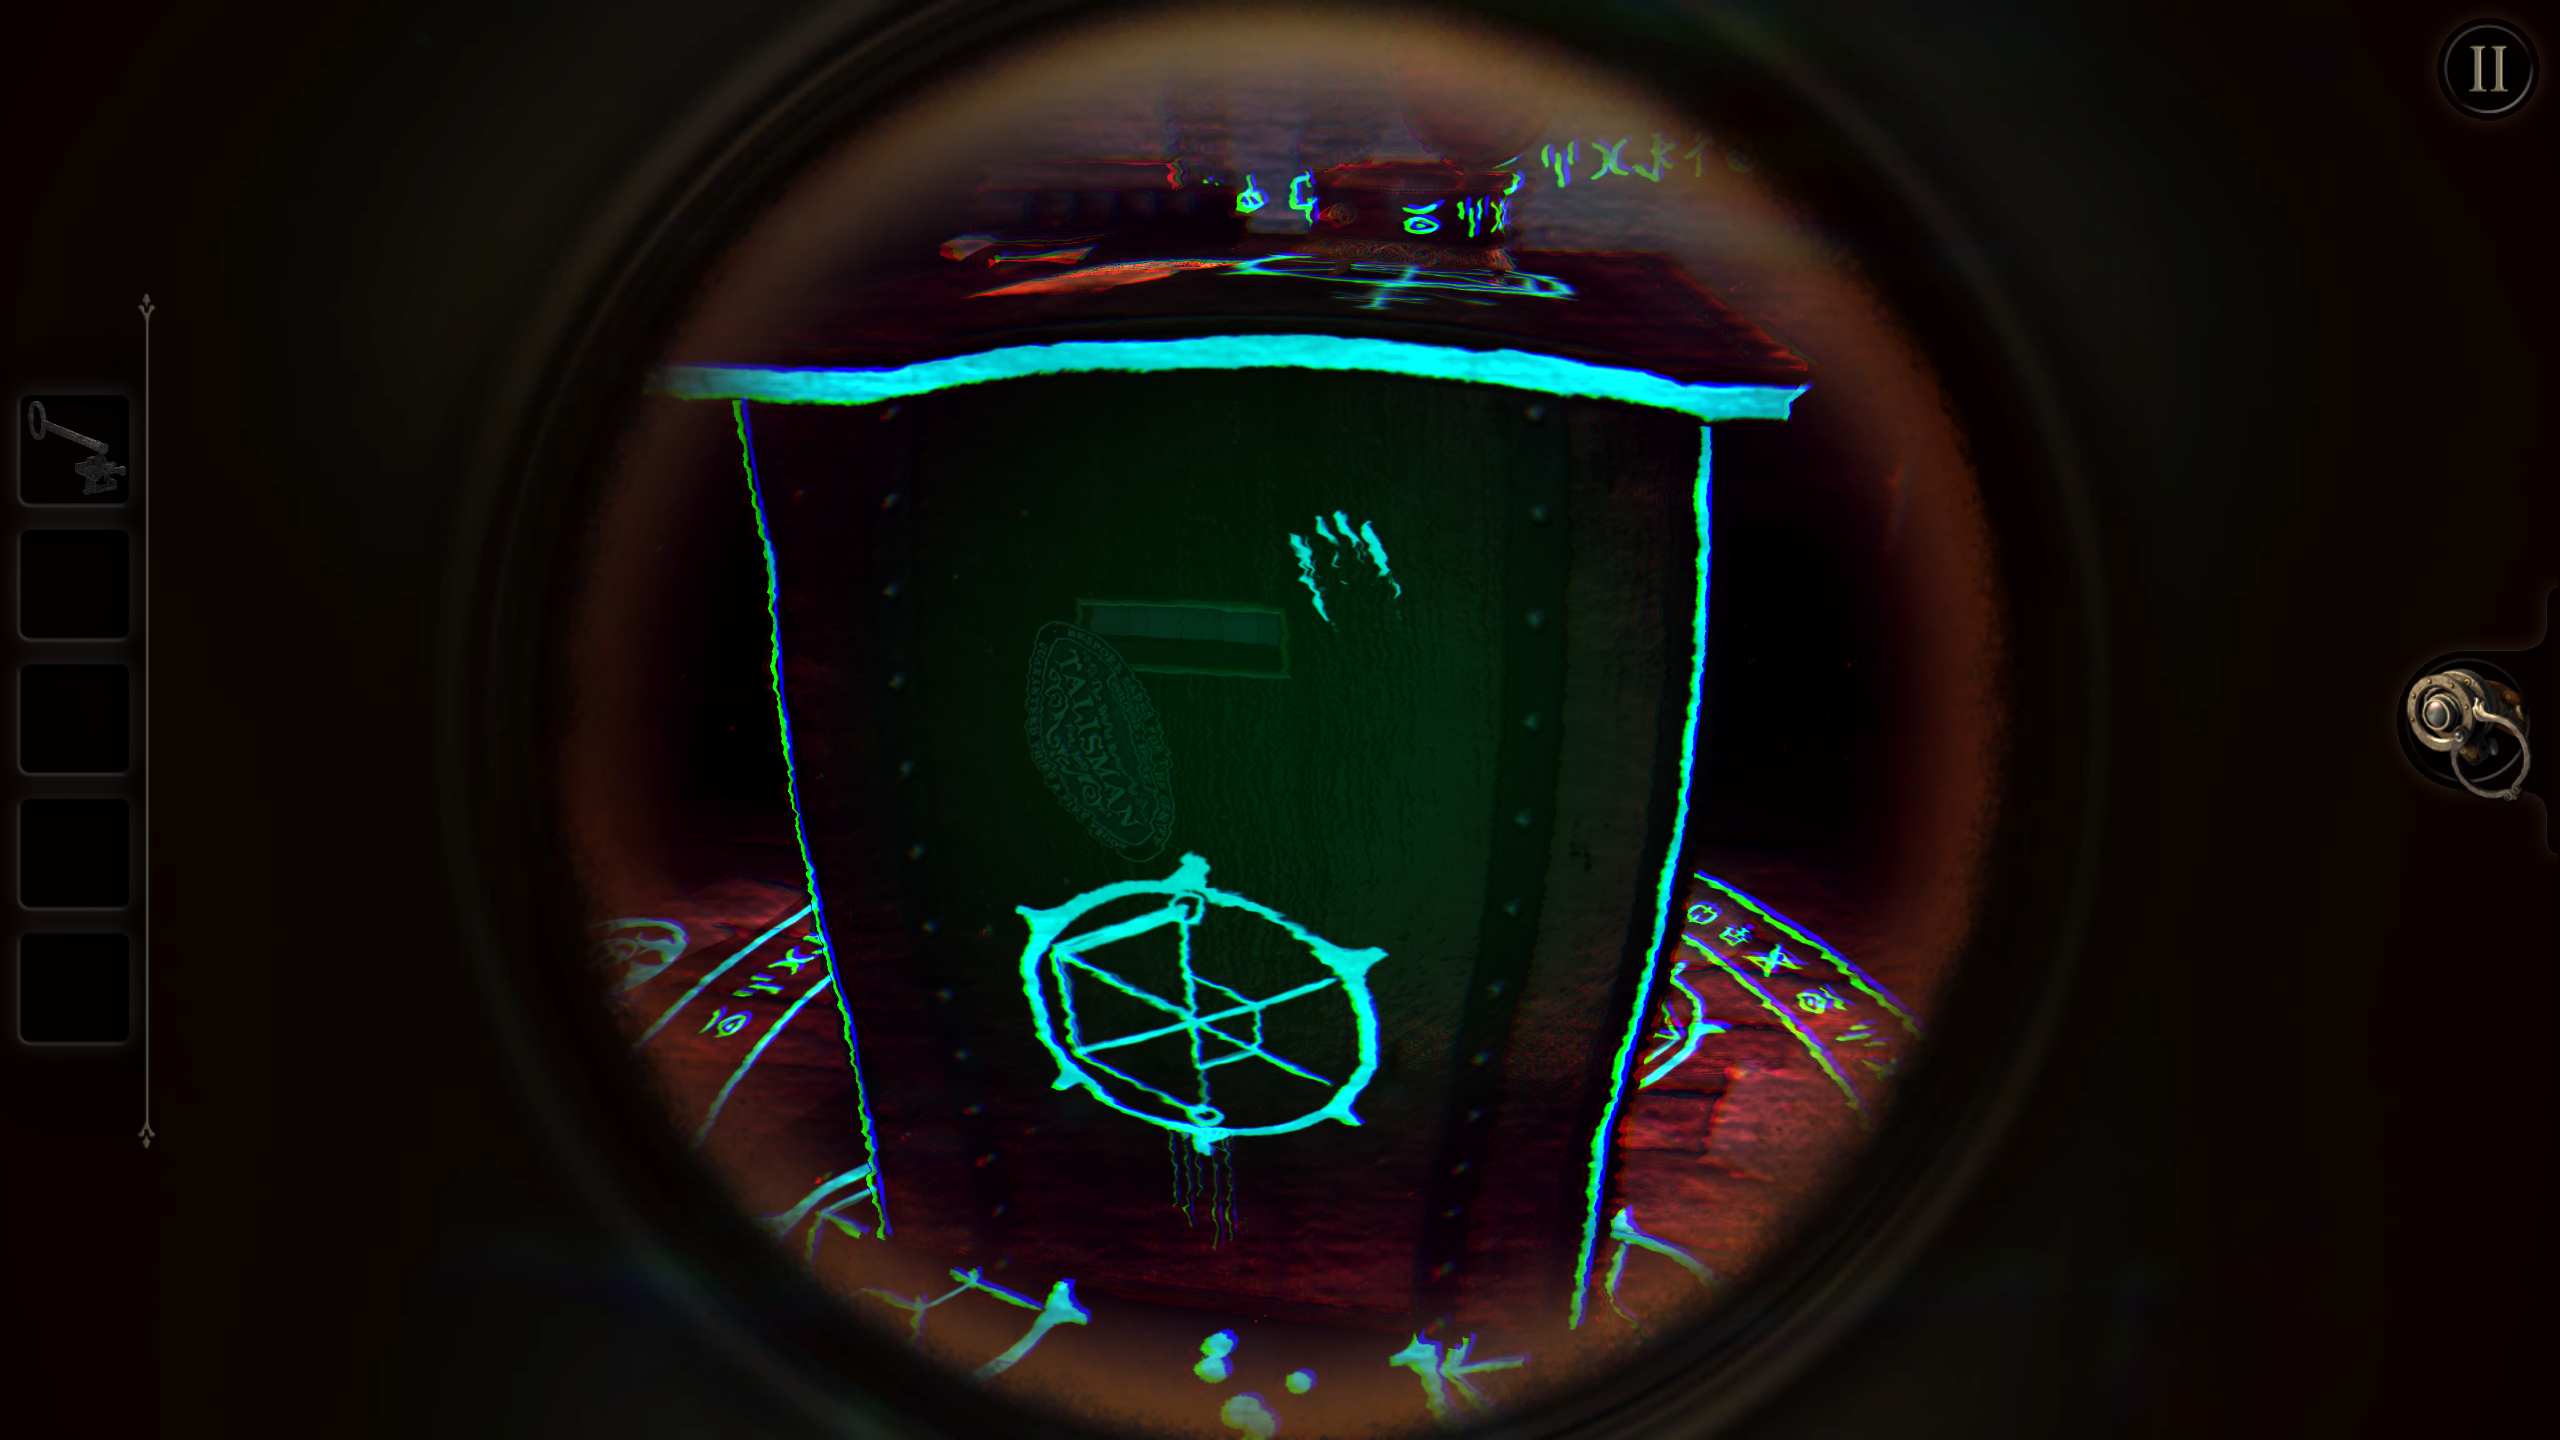
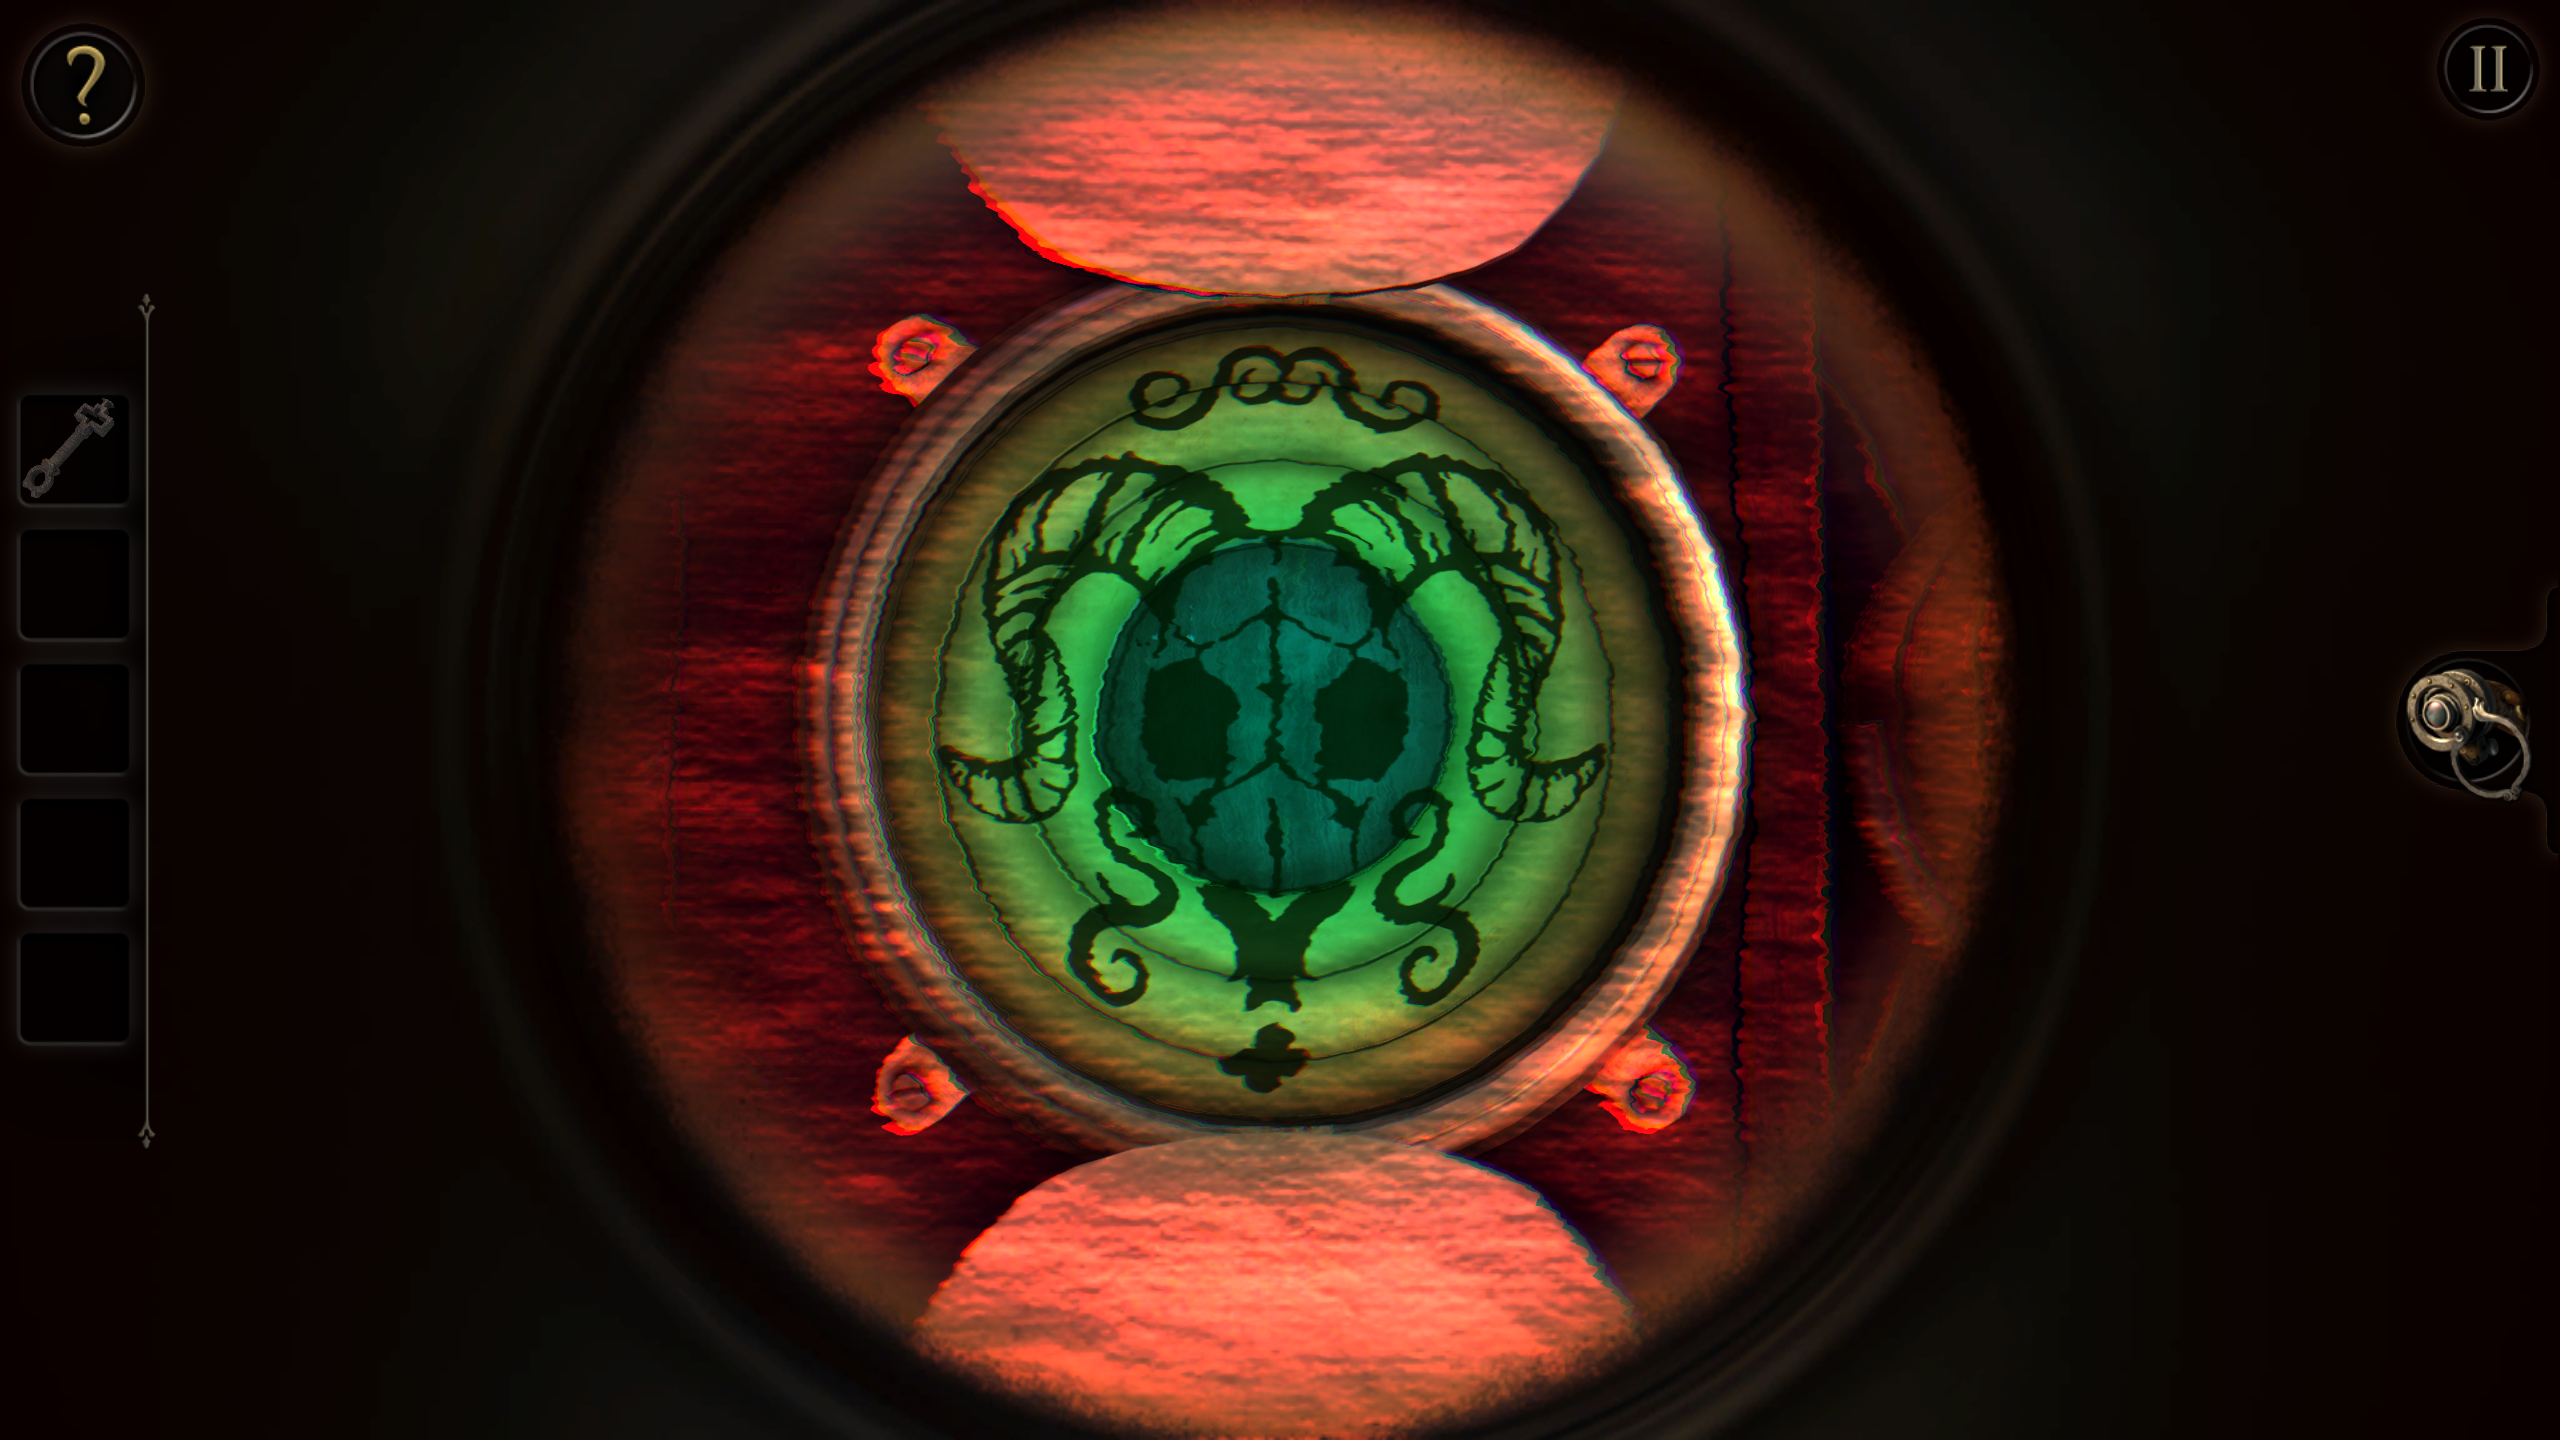
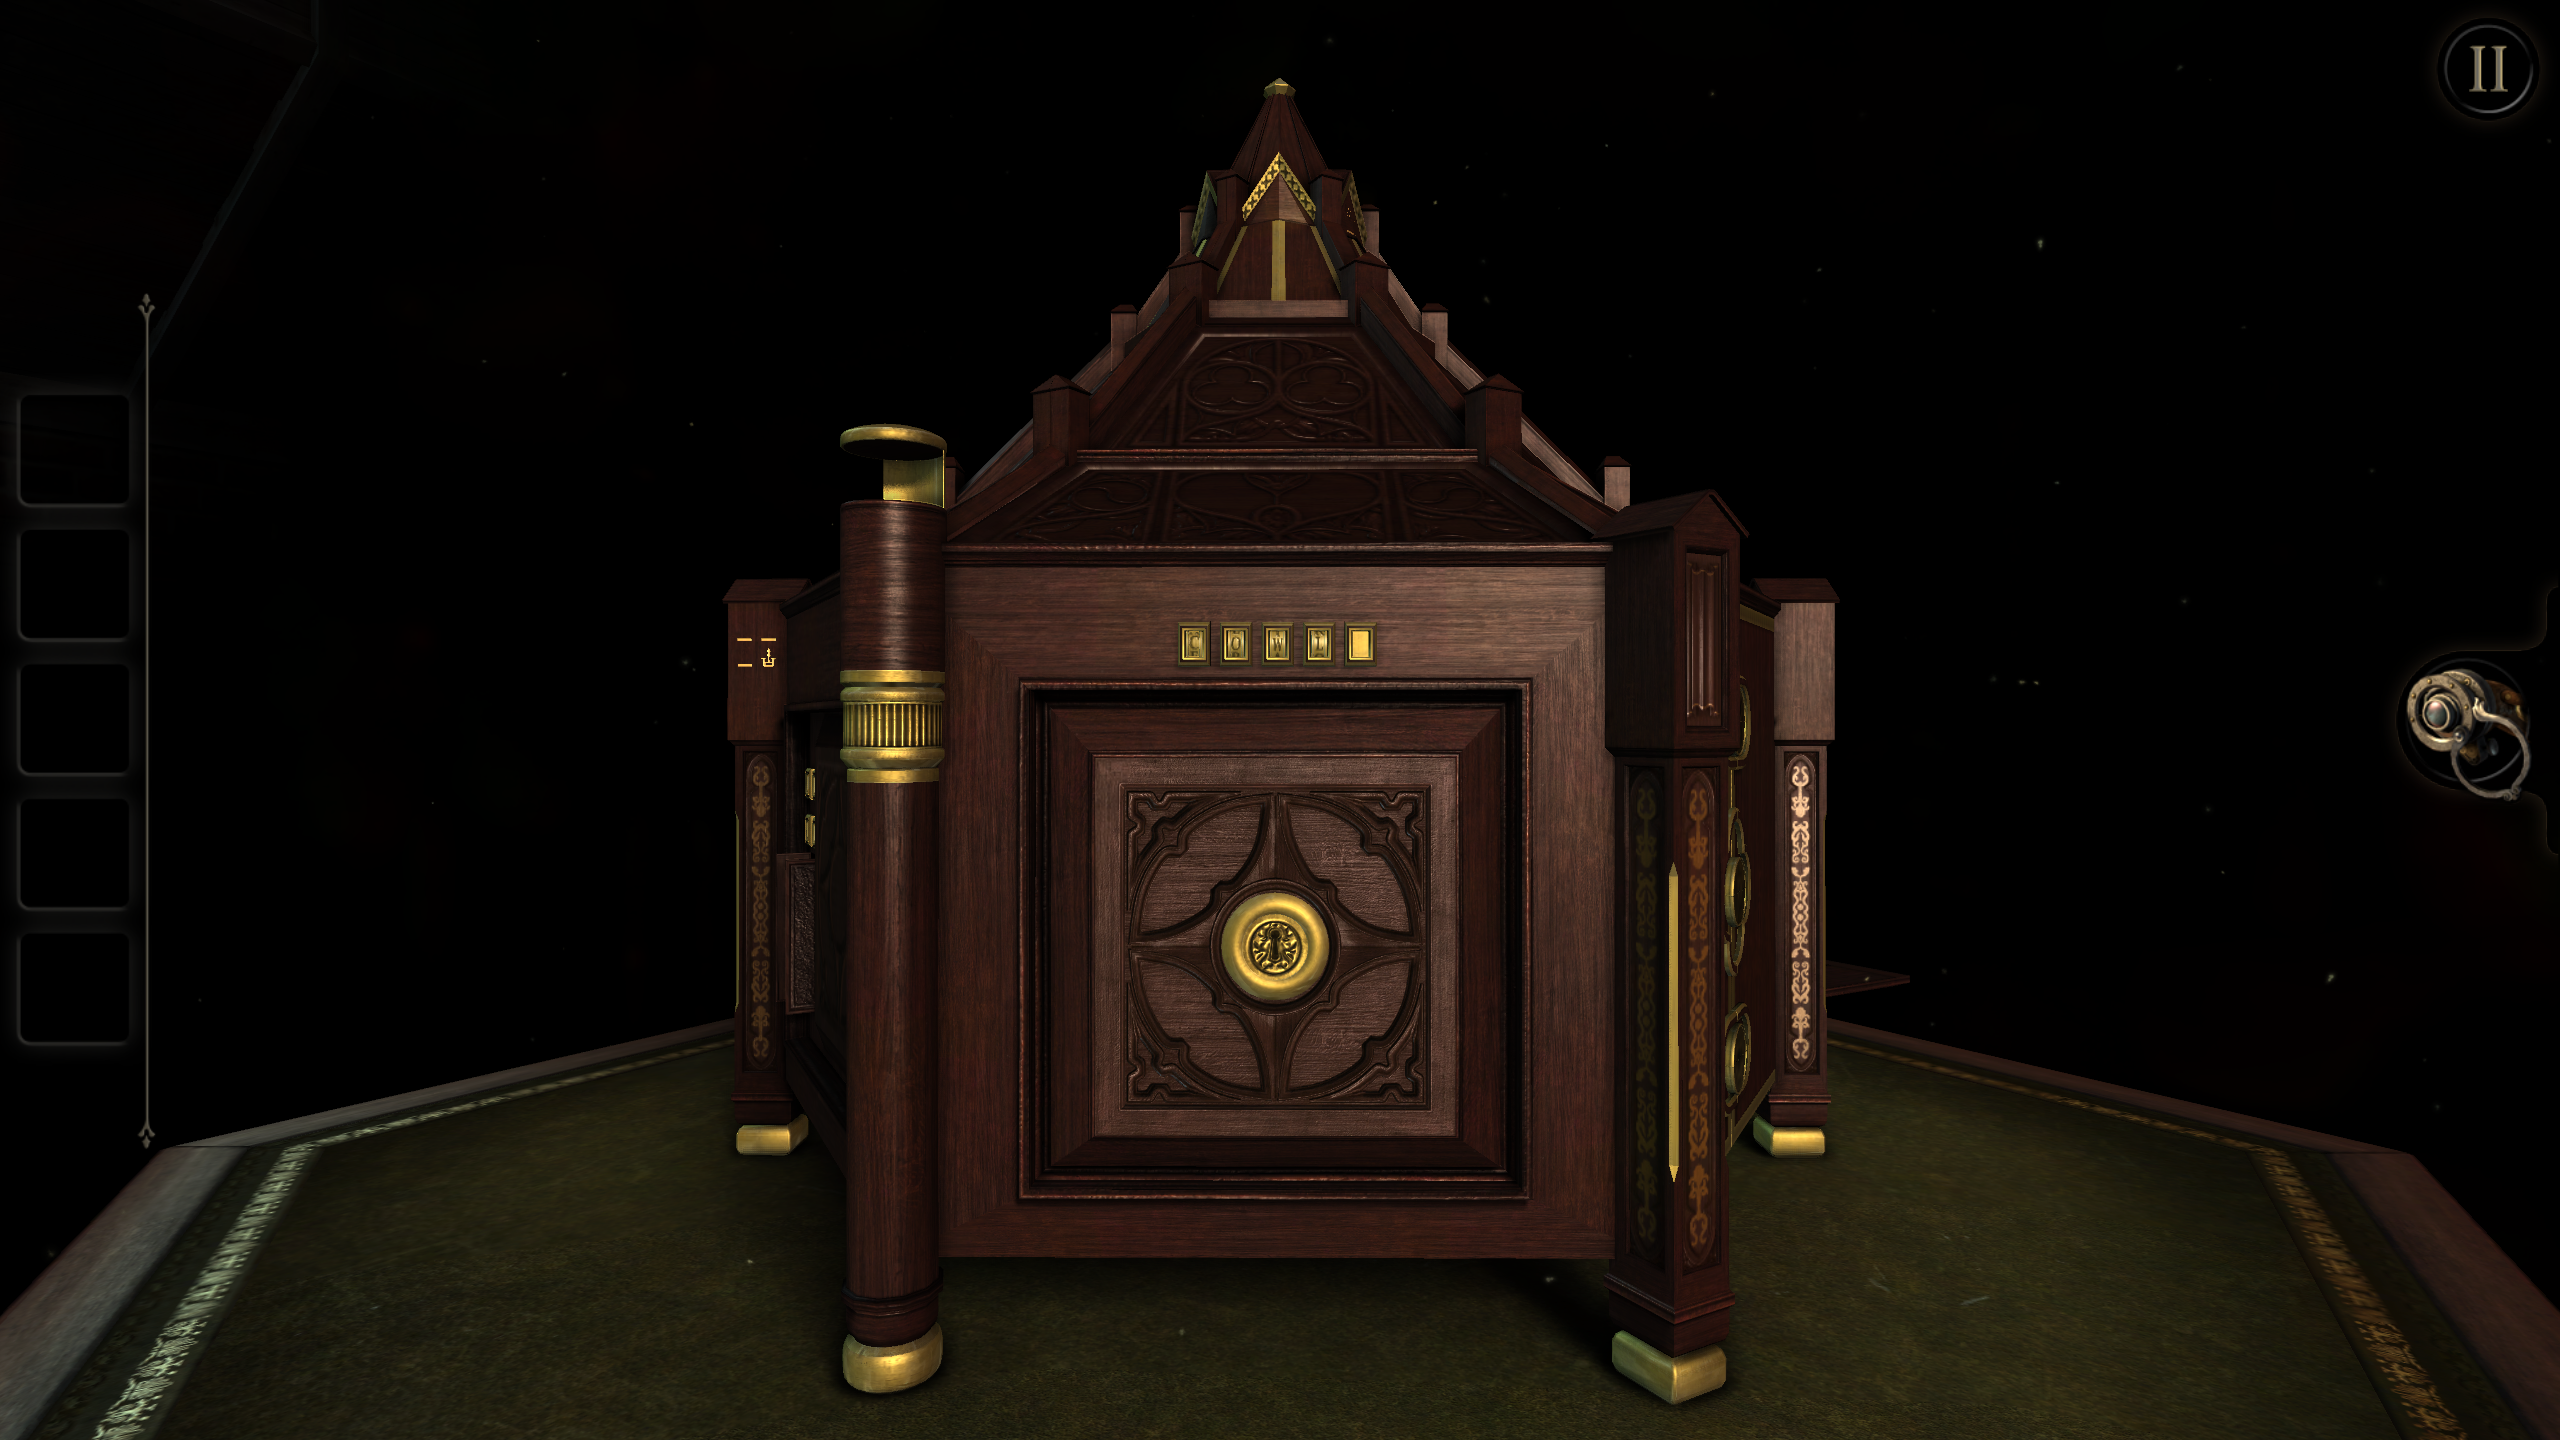
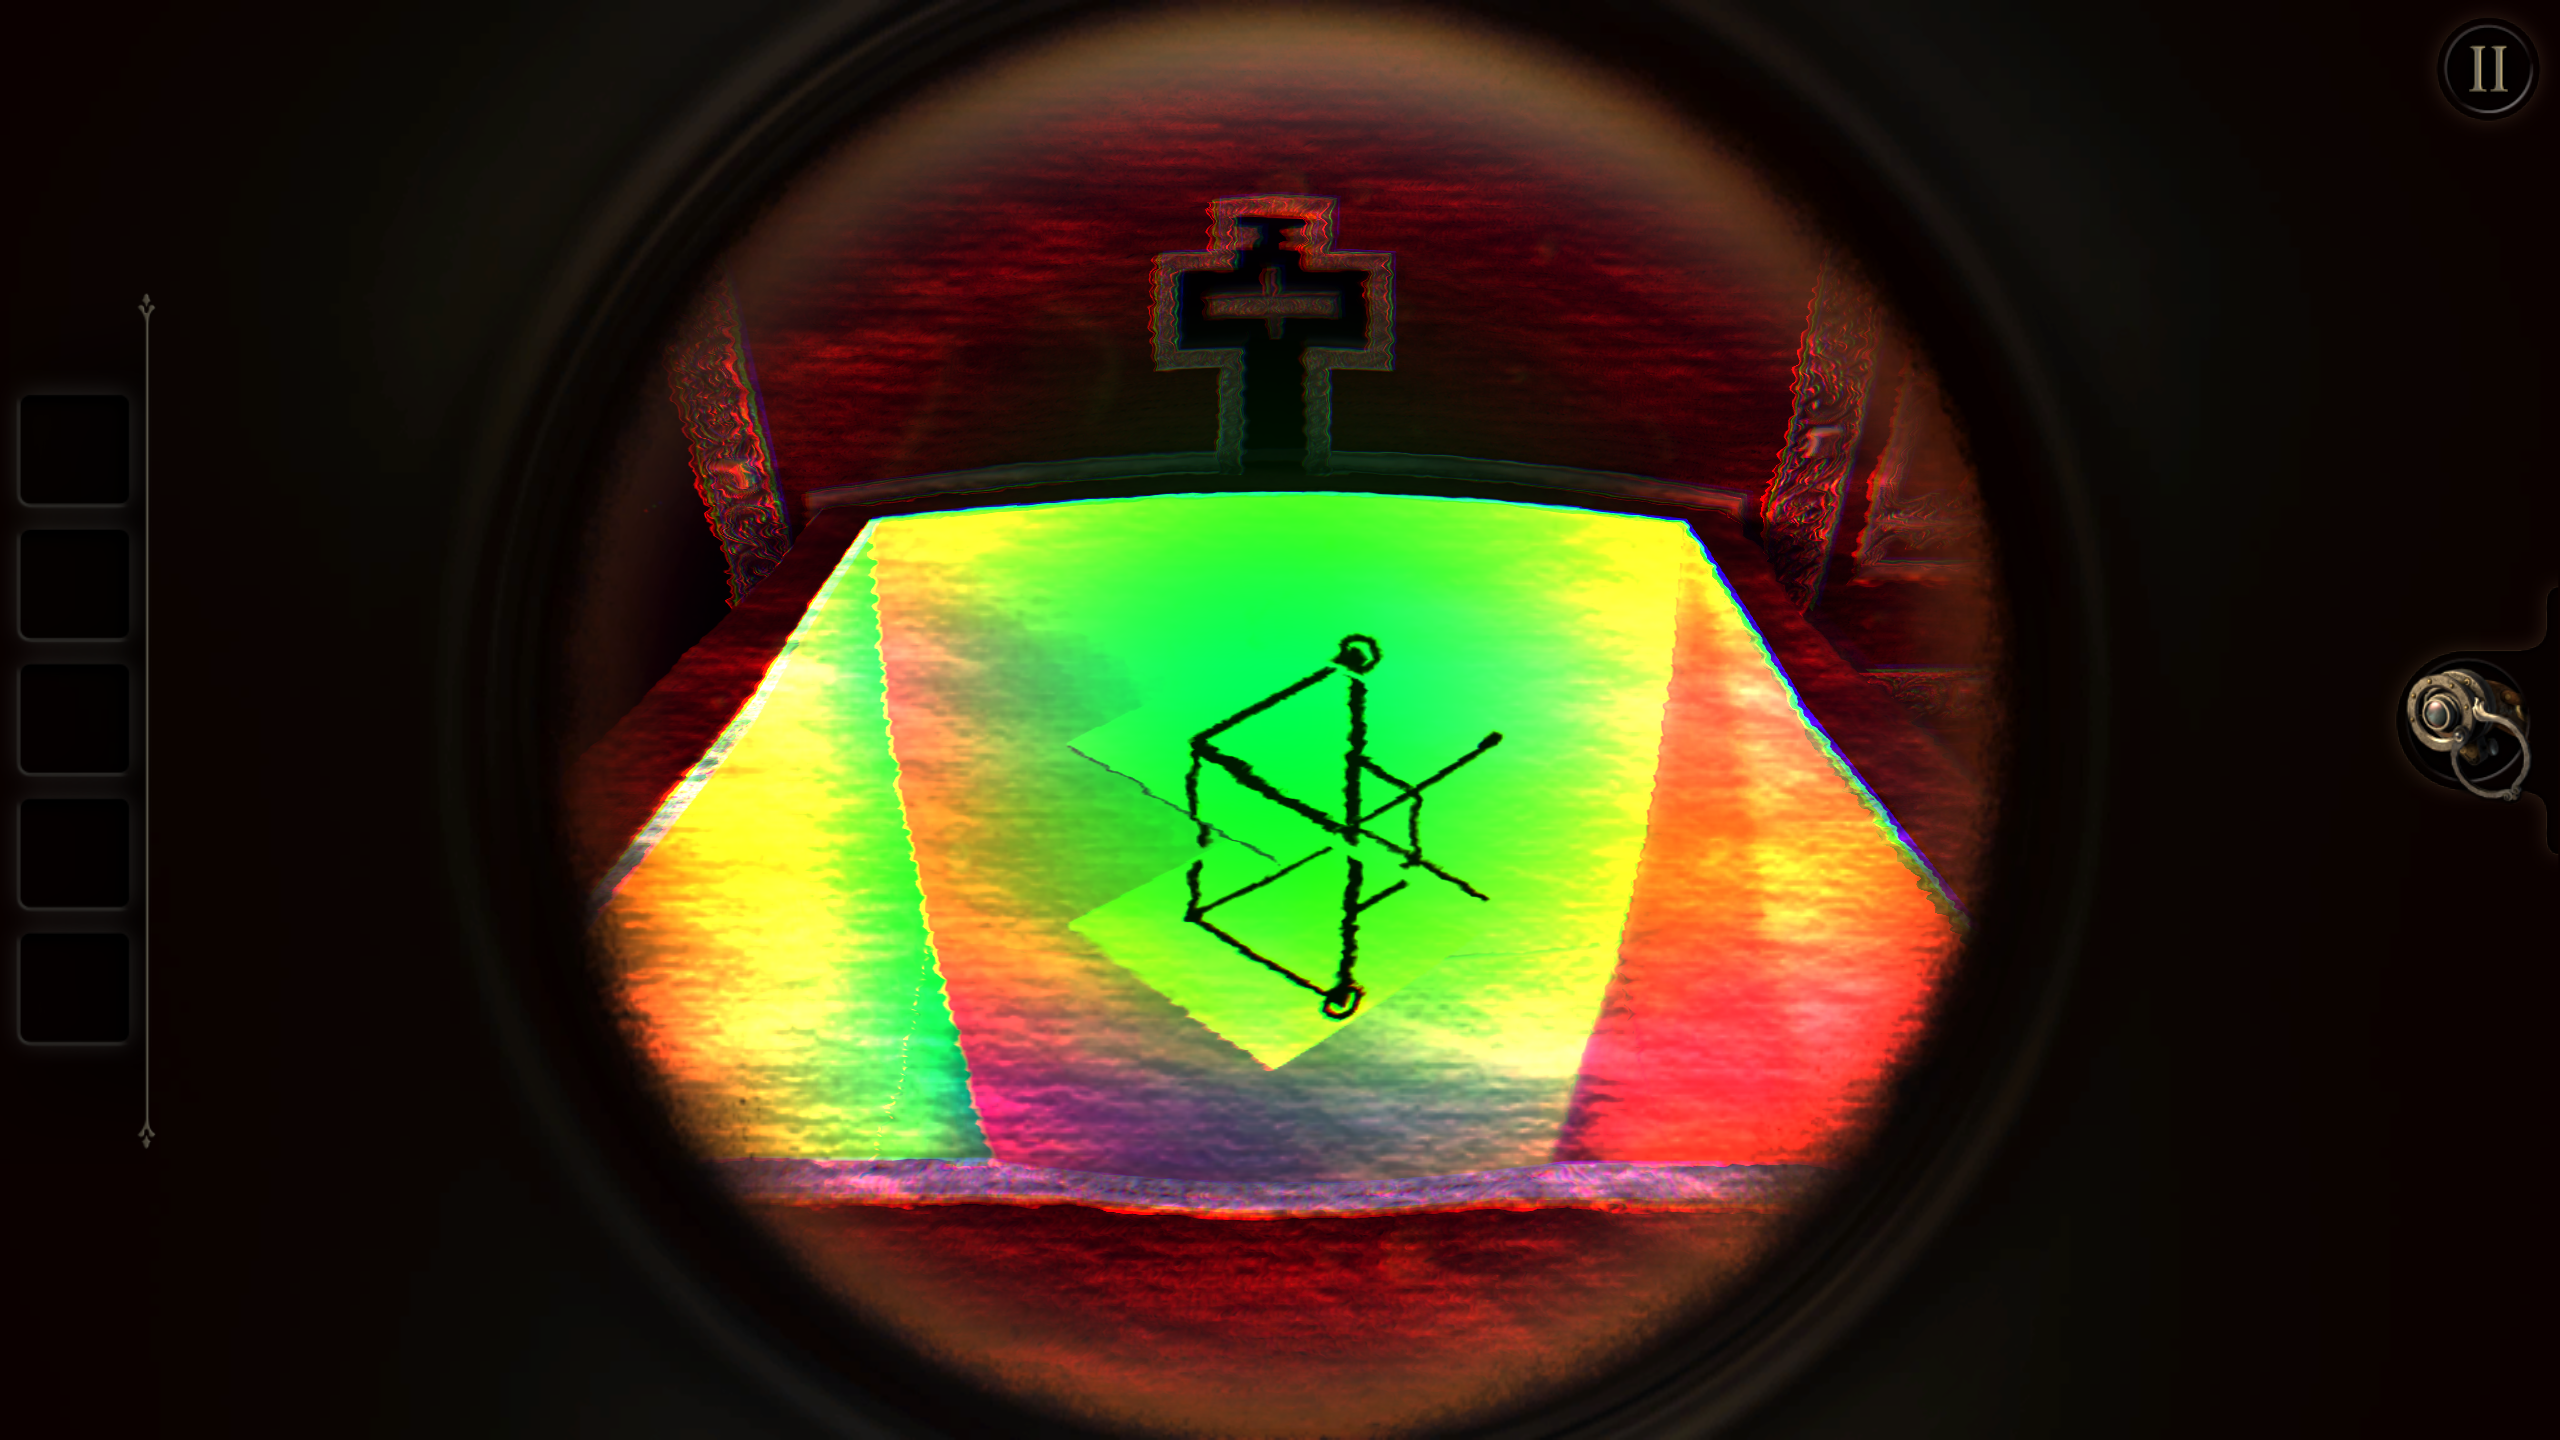
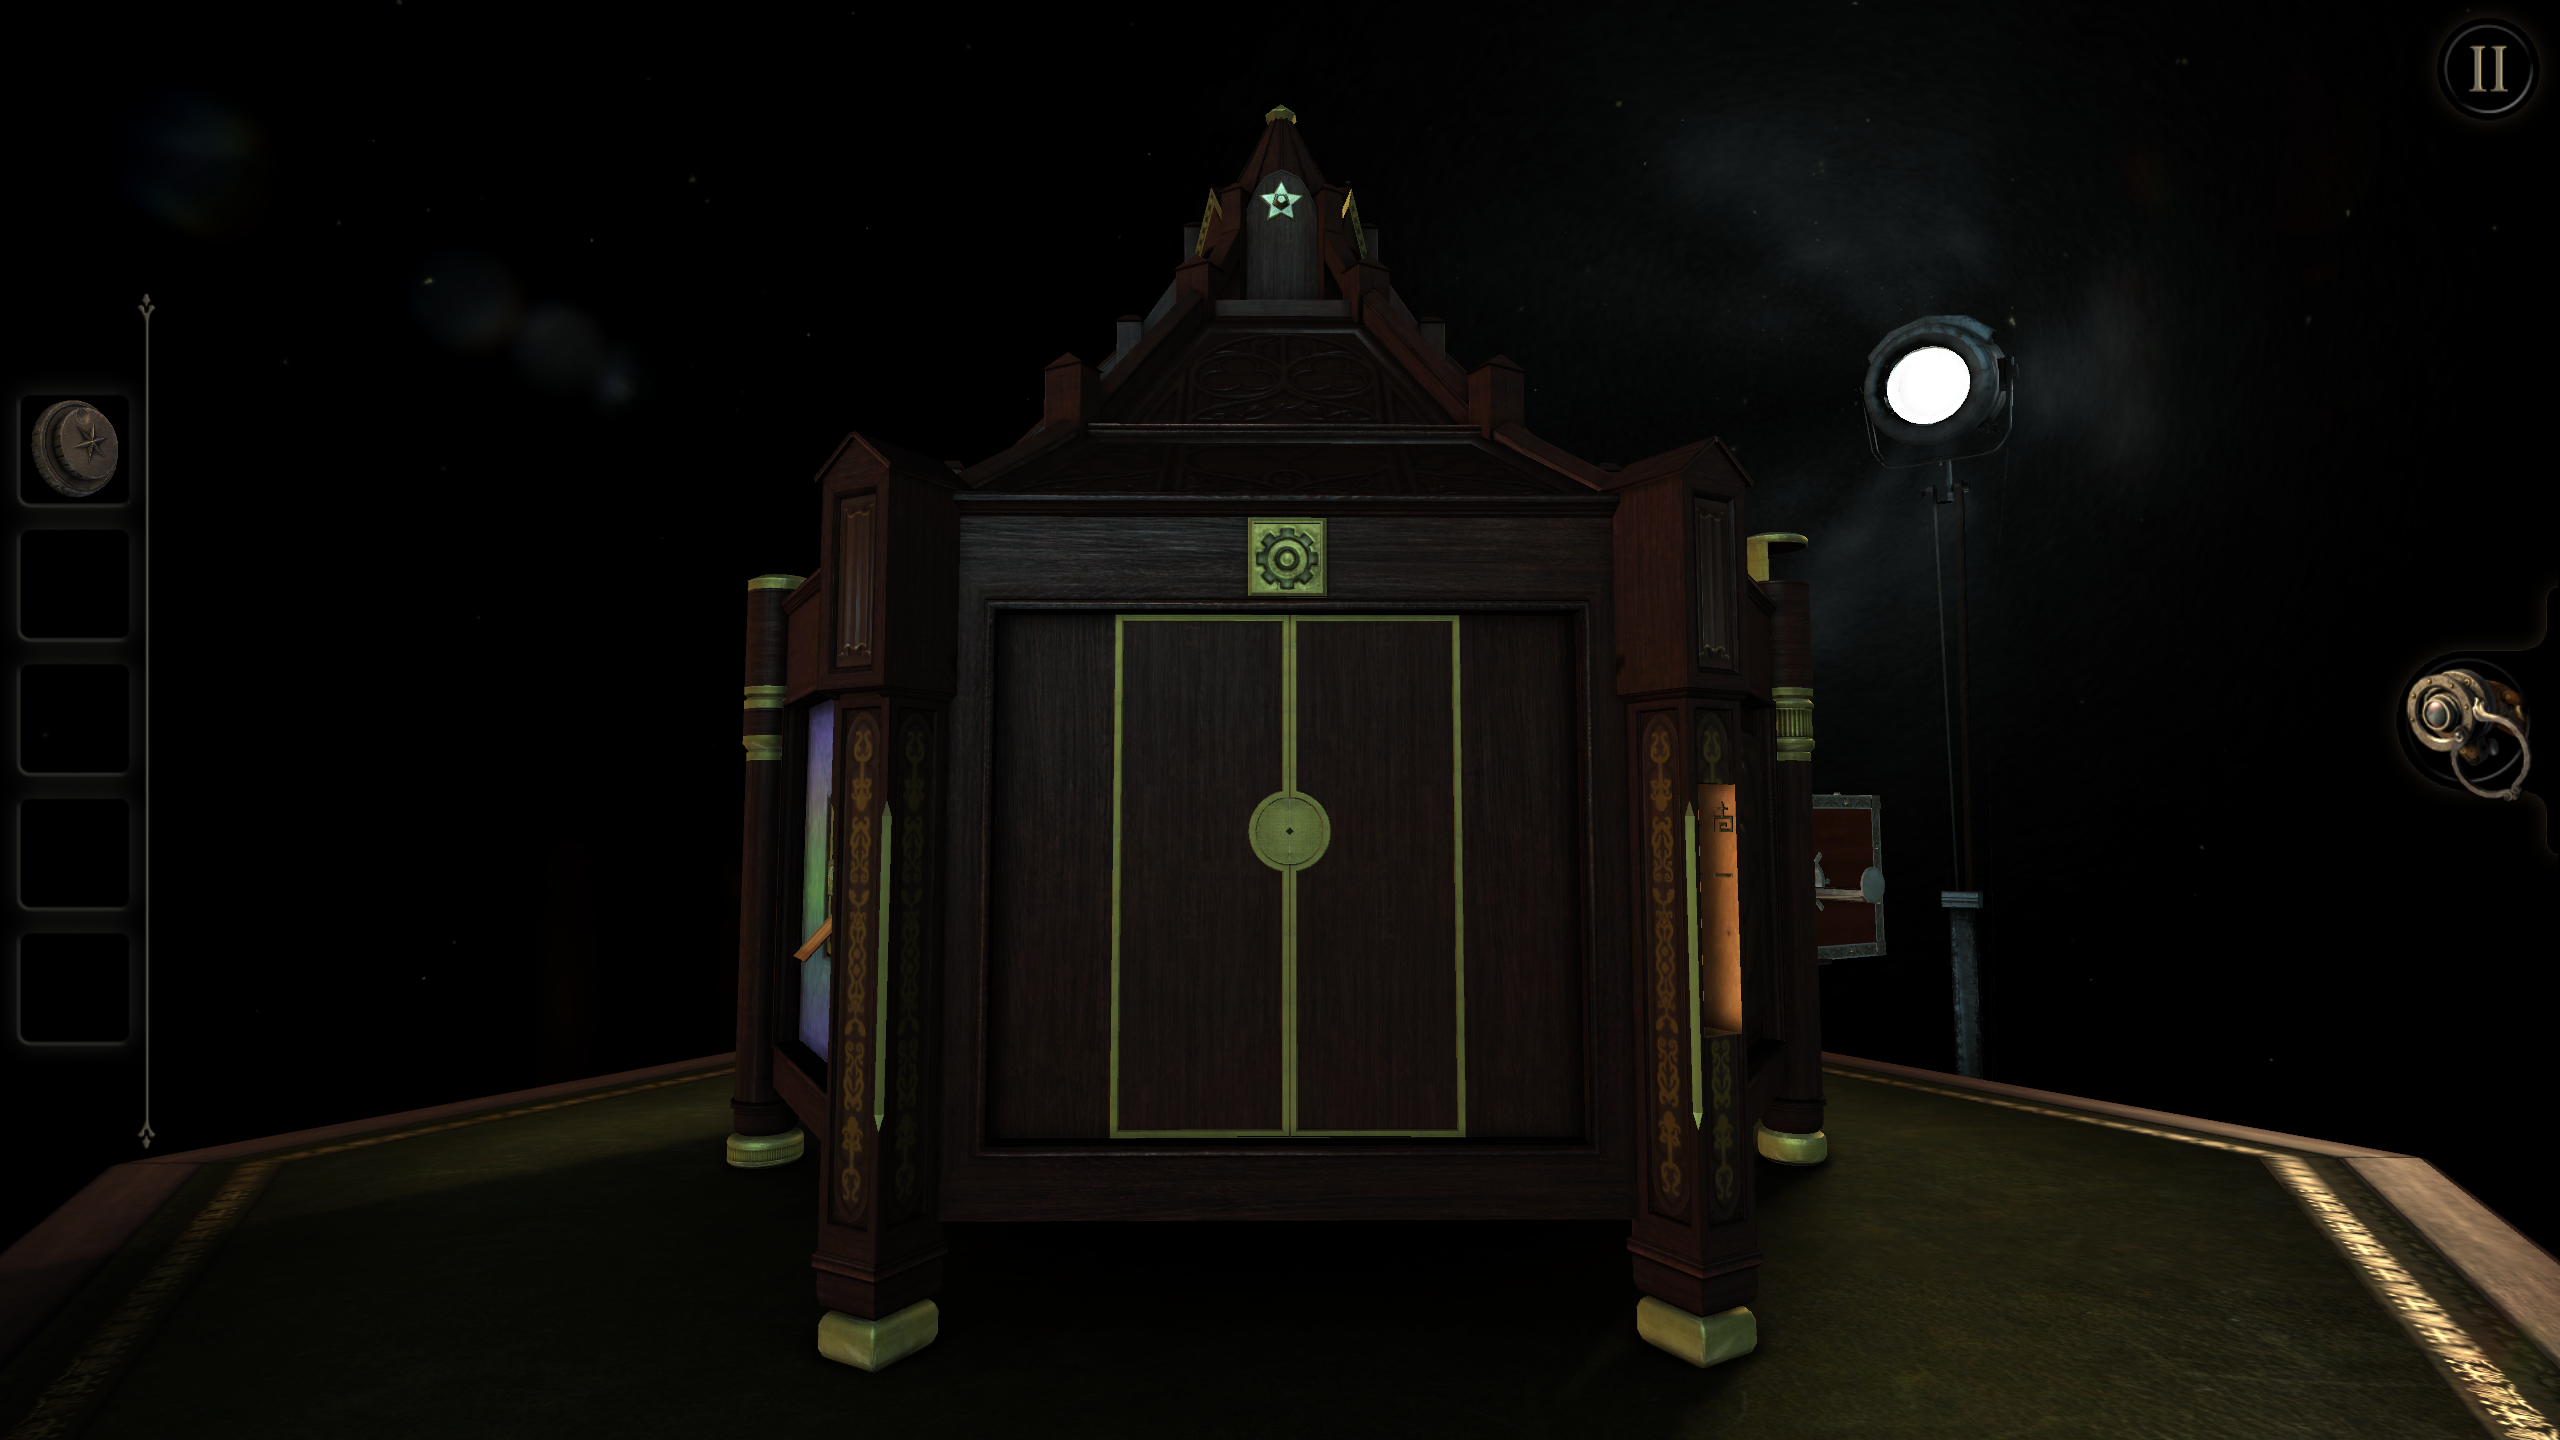
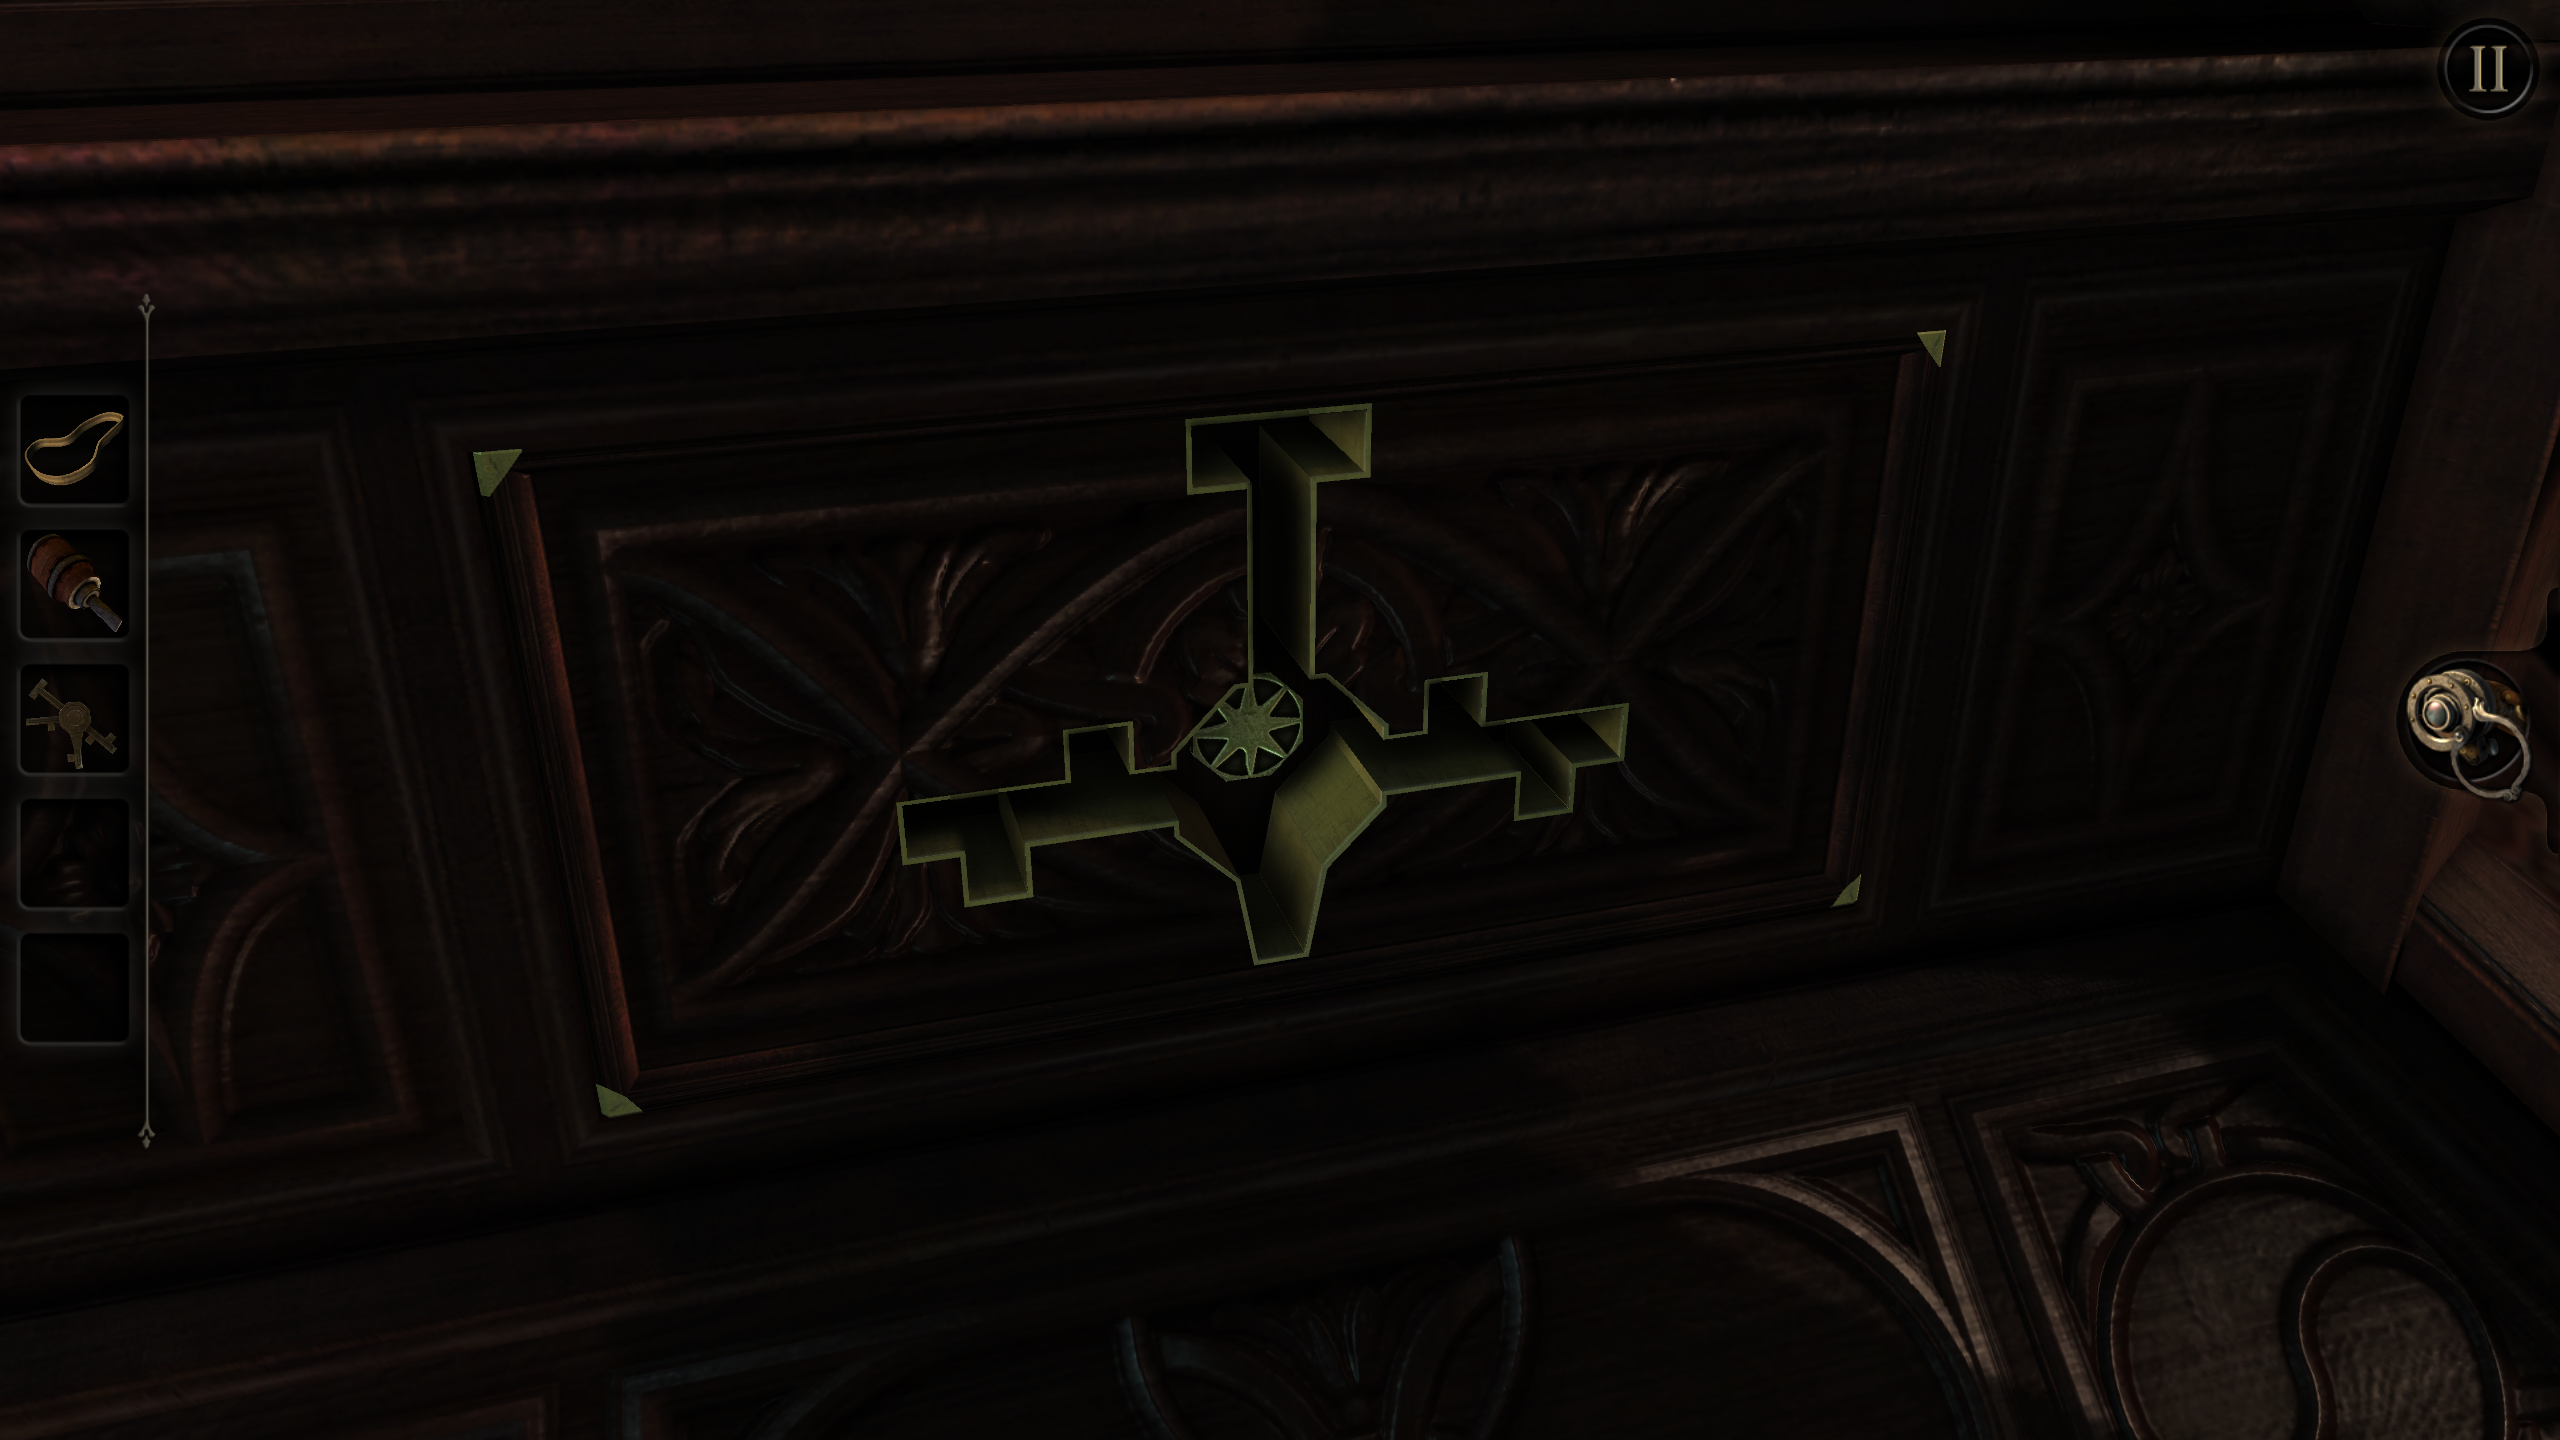
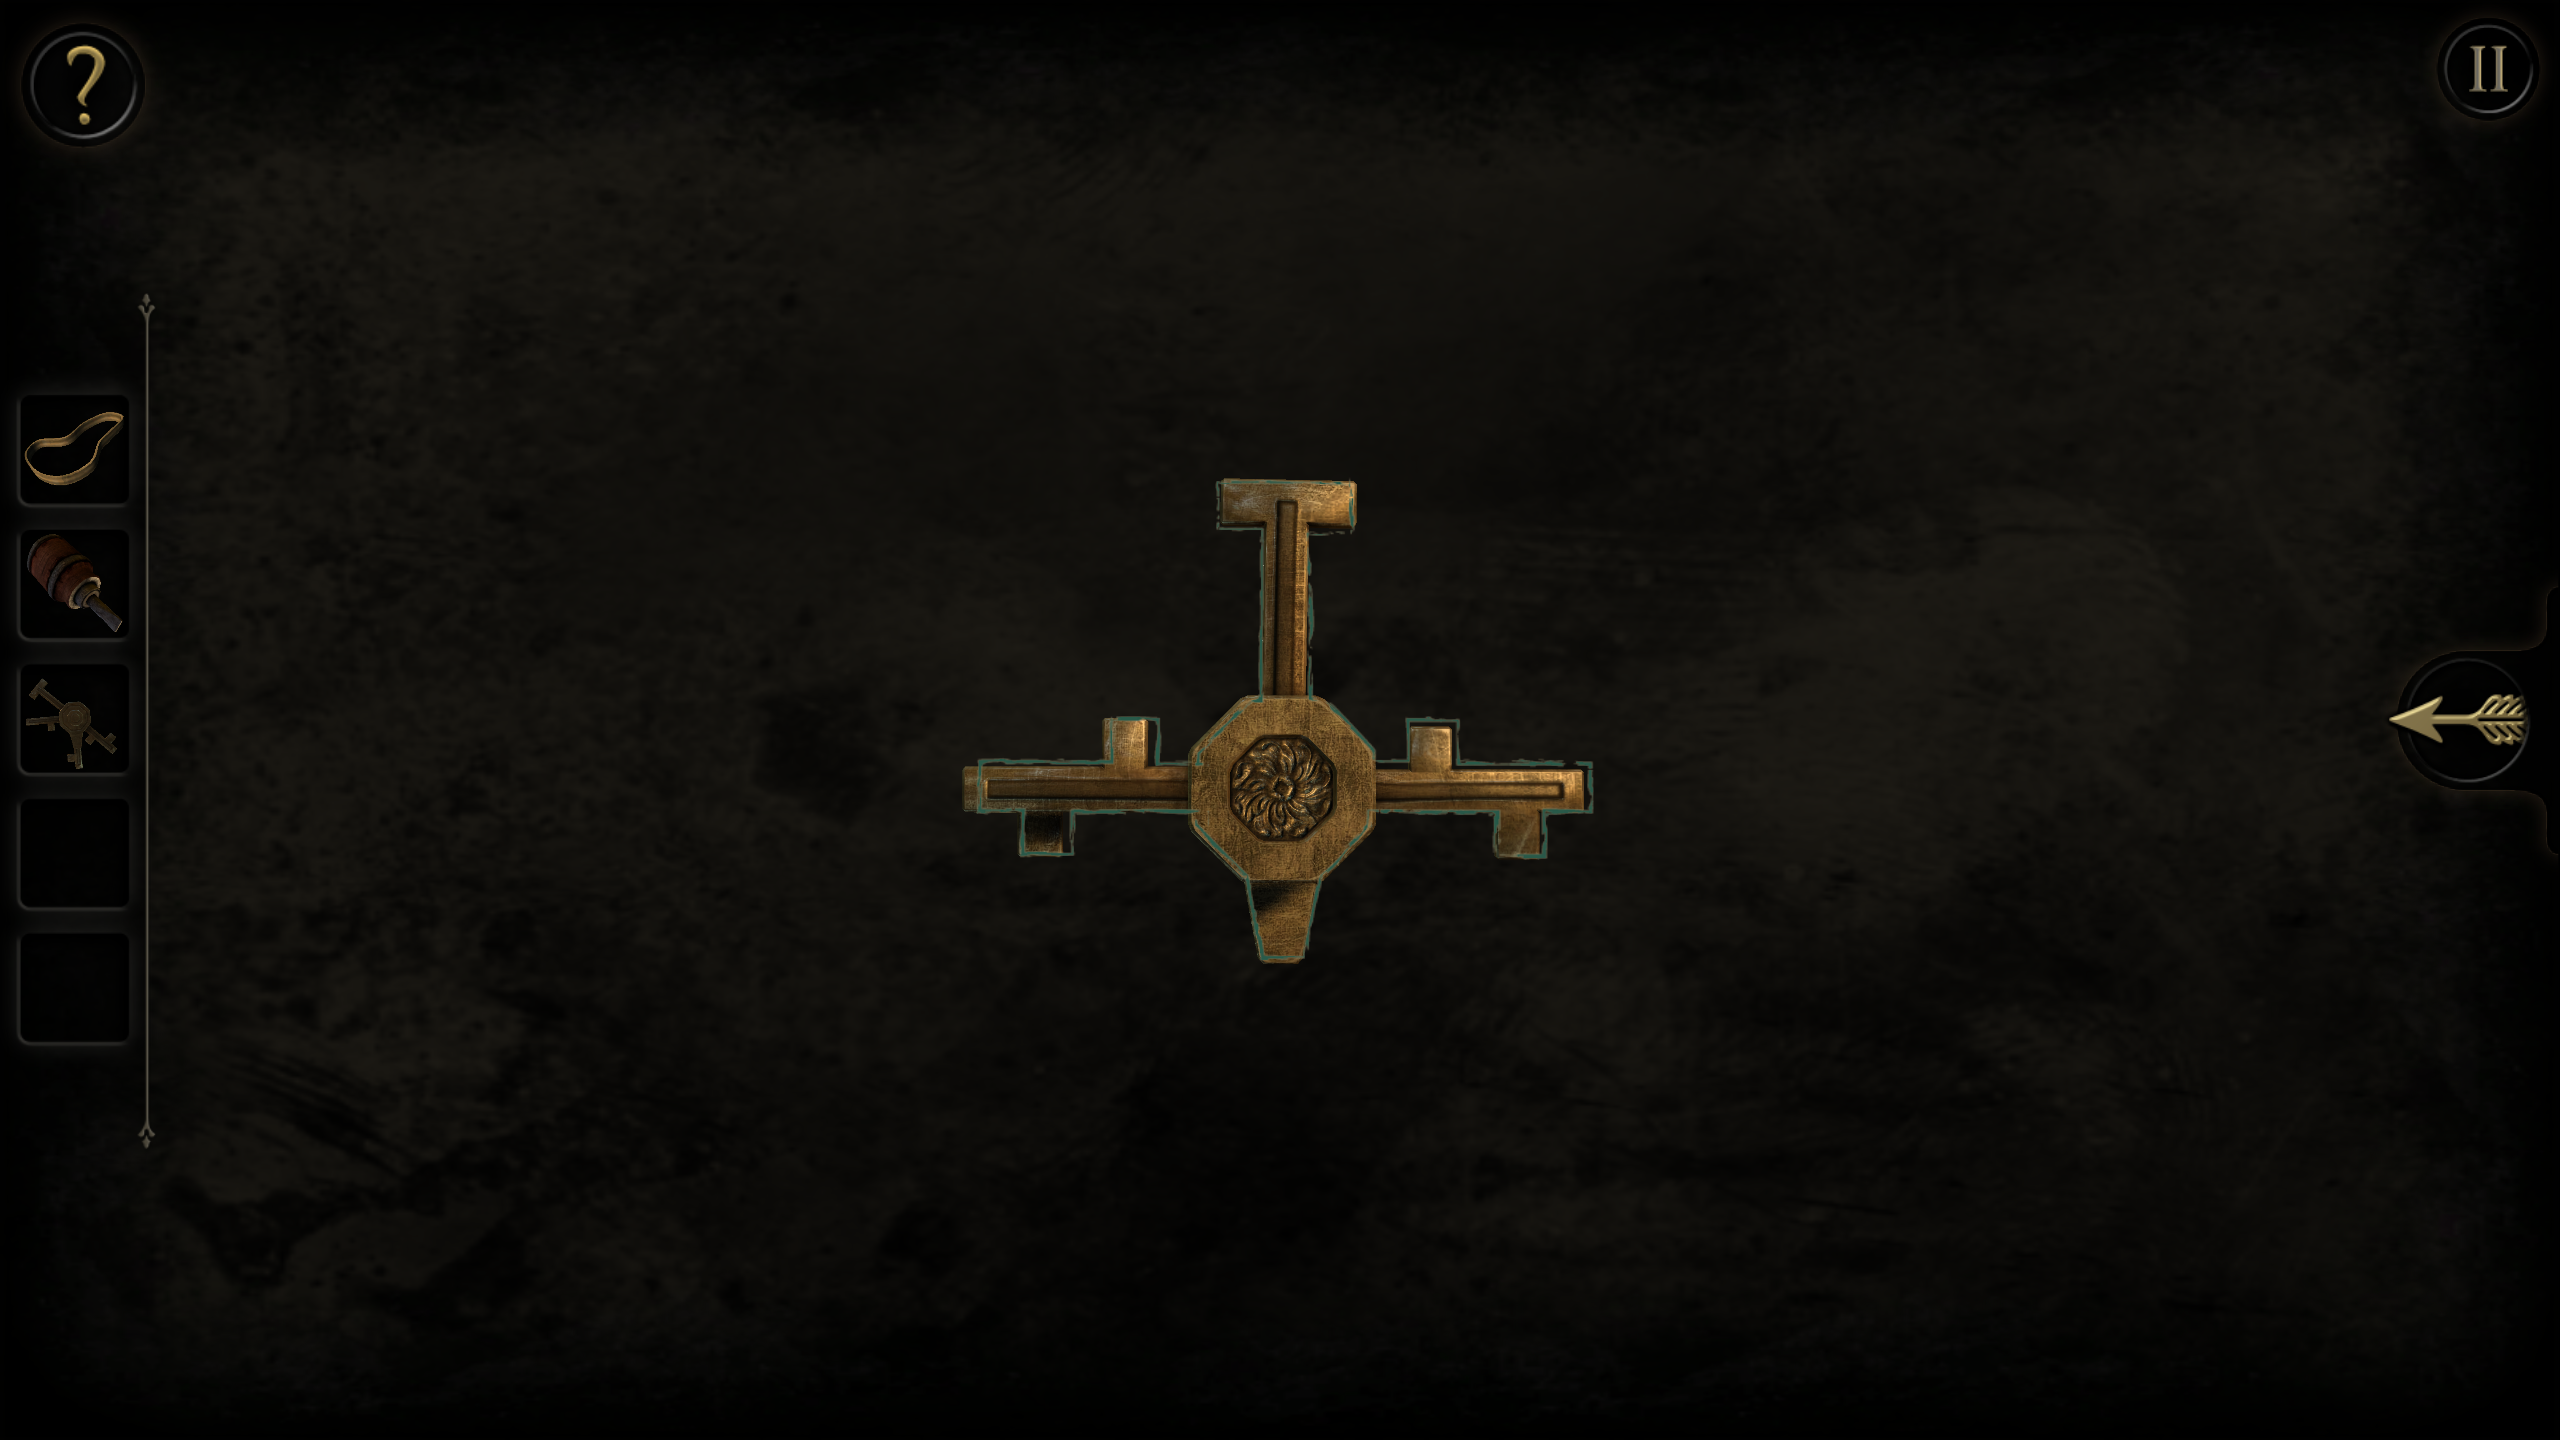
Look at the feet on the safe to see that they refer to the classical elements. Of these, it seems that Fire is the one most associated with "feeding", so press that foot to open a hatch from which you can retrieve an adjustable key. For this type of key, which you will encounter several times in the game, it's best to orient the key end on. Look up from the foot of the safe and move the decorative nailhead fourth from the top to disclose a keyhole. Adjust the key accordingly and insert it in to the lock. Turn the key so you can obtain a metal plate. Move to the left side of the safe and use the metal plate to unscrew a bolt on the manufacturer's TALISMAN plaque. Pick up the eyepiece lens inside. Use the eyepiece to view a distinctive pattern on the side of the safe.
Go to the opposite side of the safe and move the switch above the segmented circle. Another keyhole is disclosed, so open that one with the key after reconfiguring it to match. Faced with concentric gold rings, use the eyepiece to orient them from the inside out:
Open the safe, which completes Chapter 1.
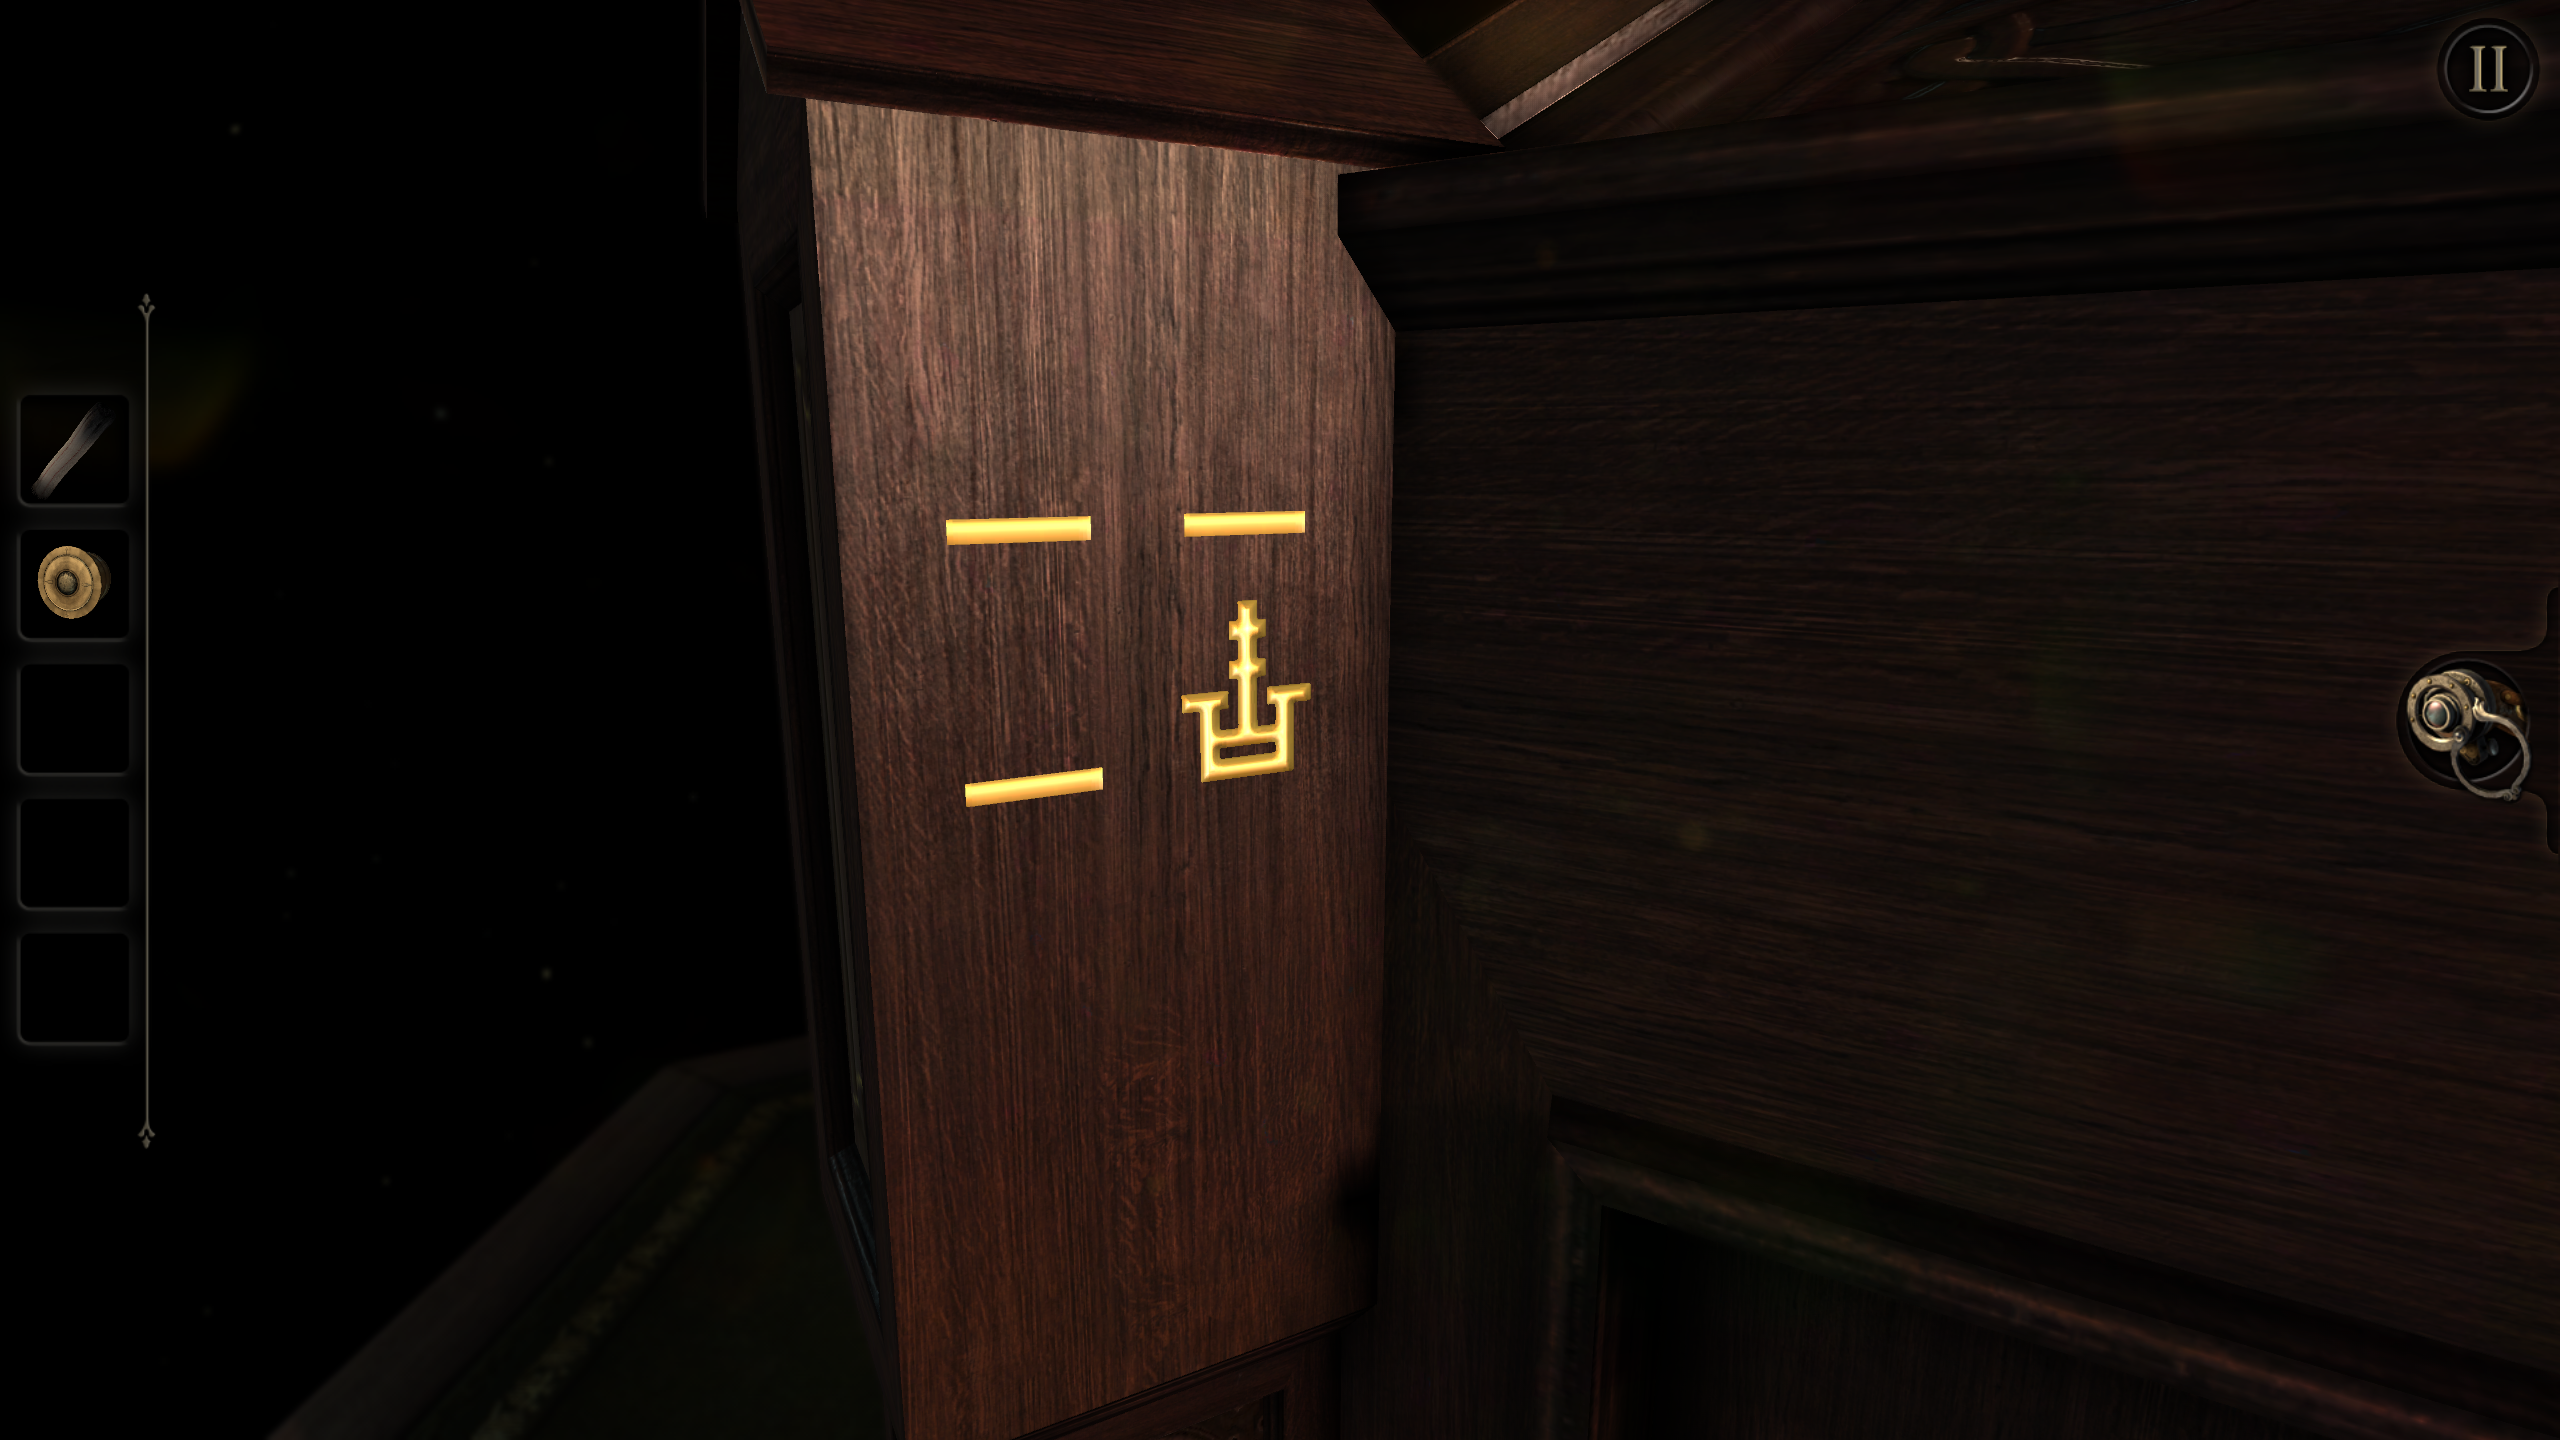
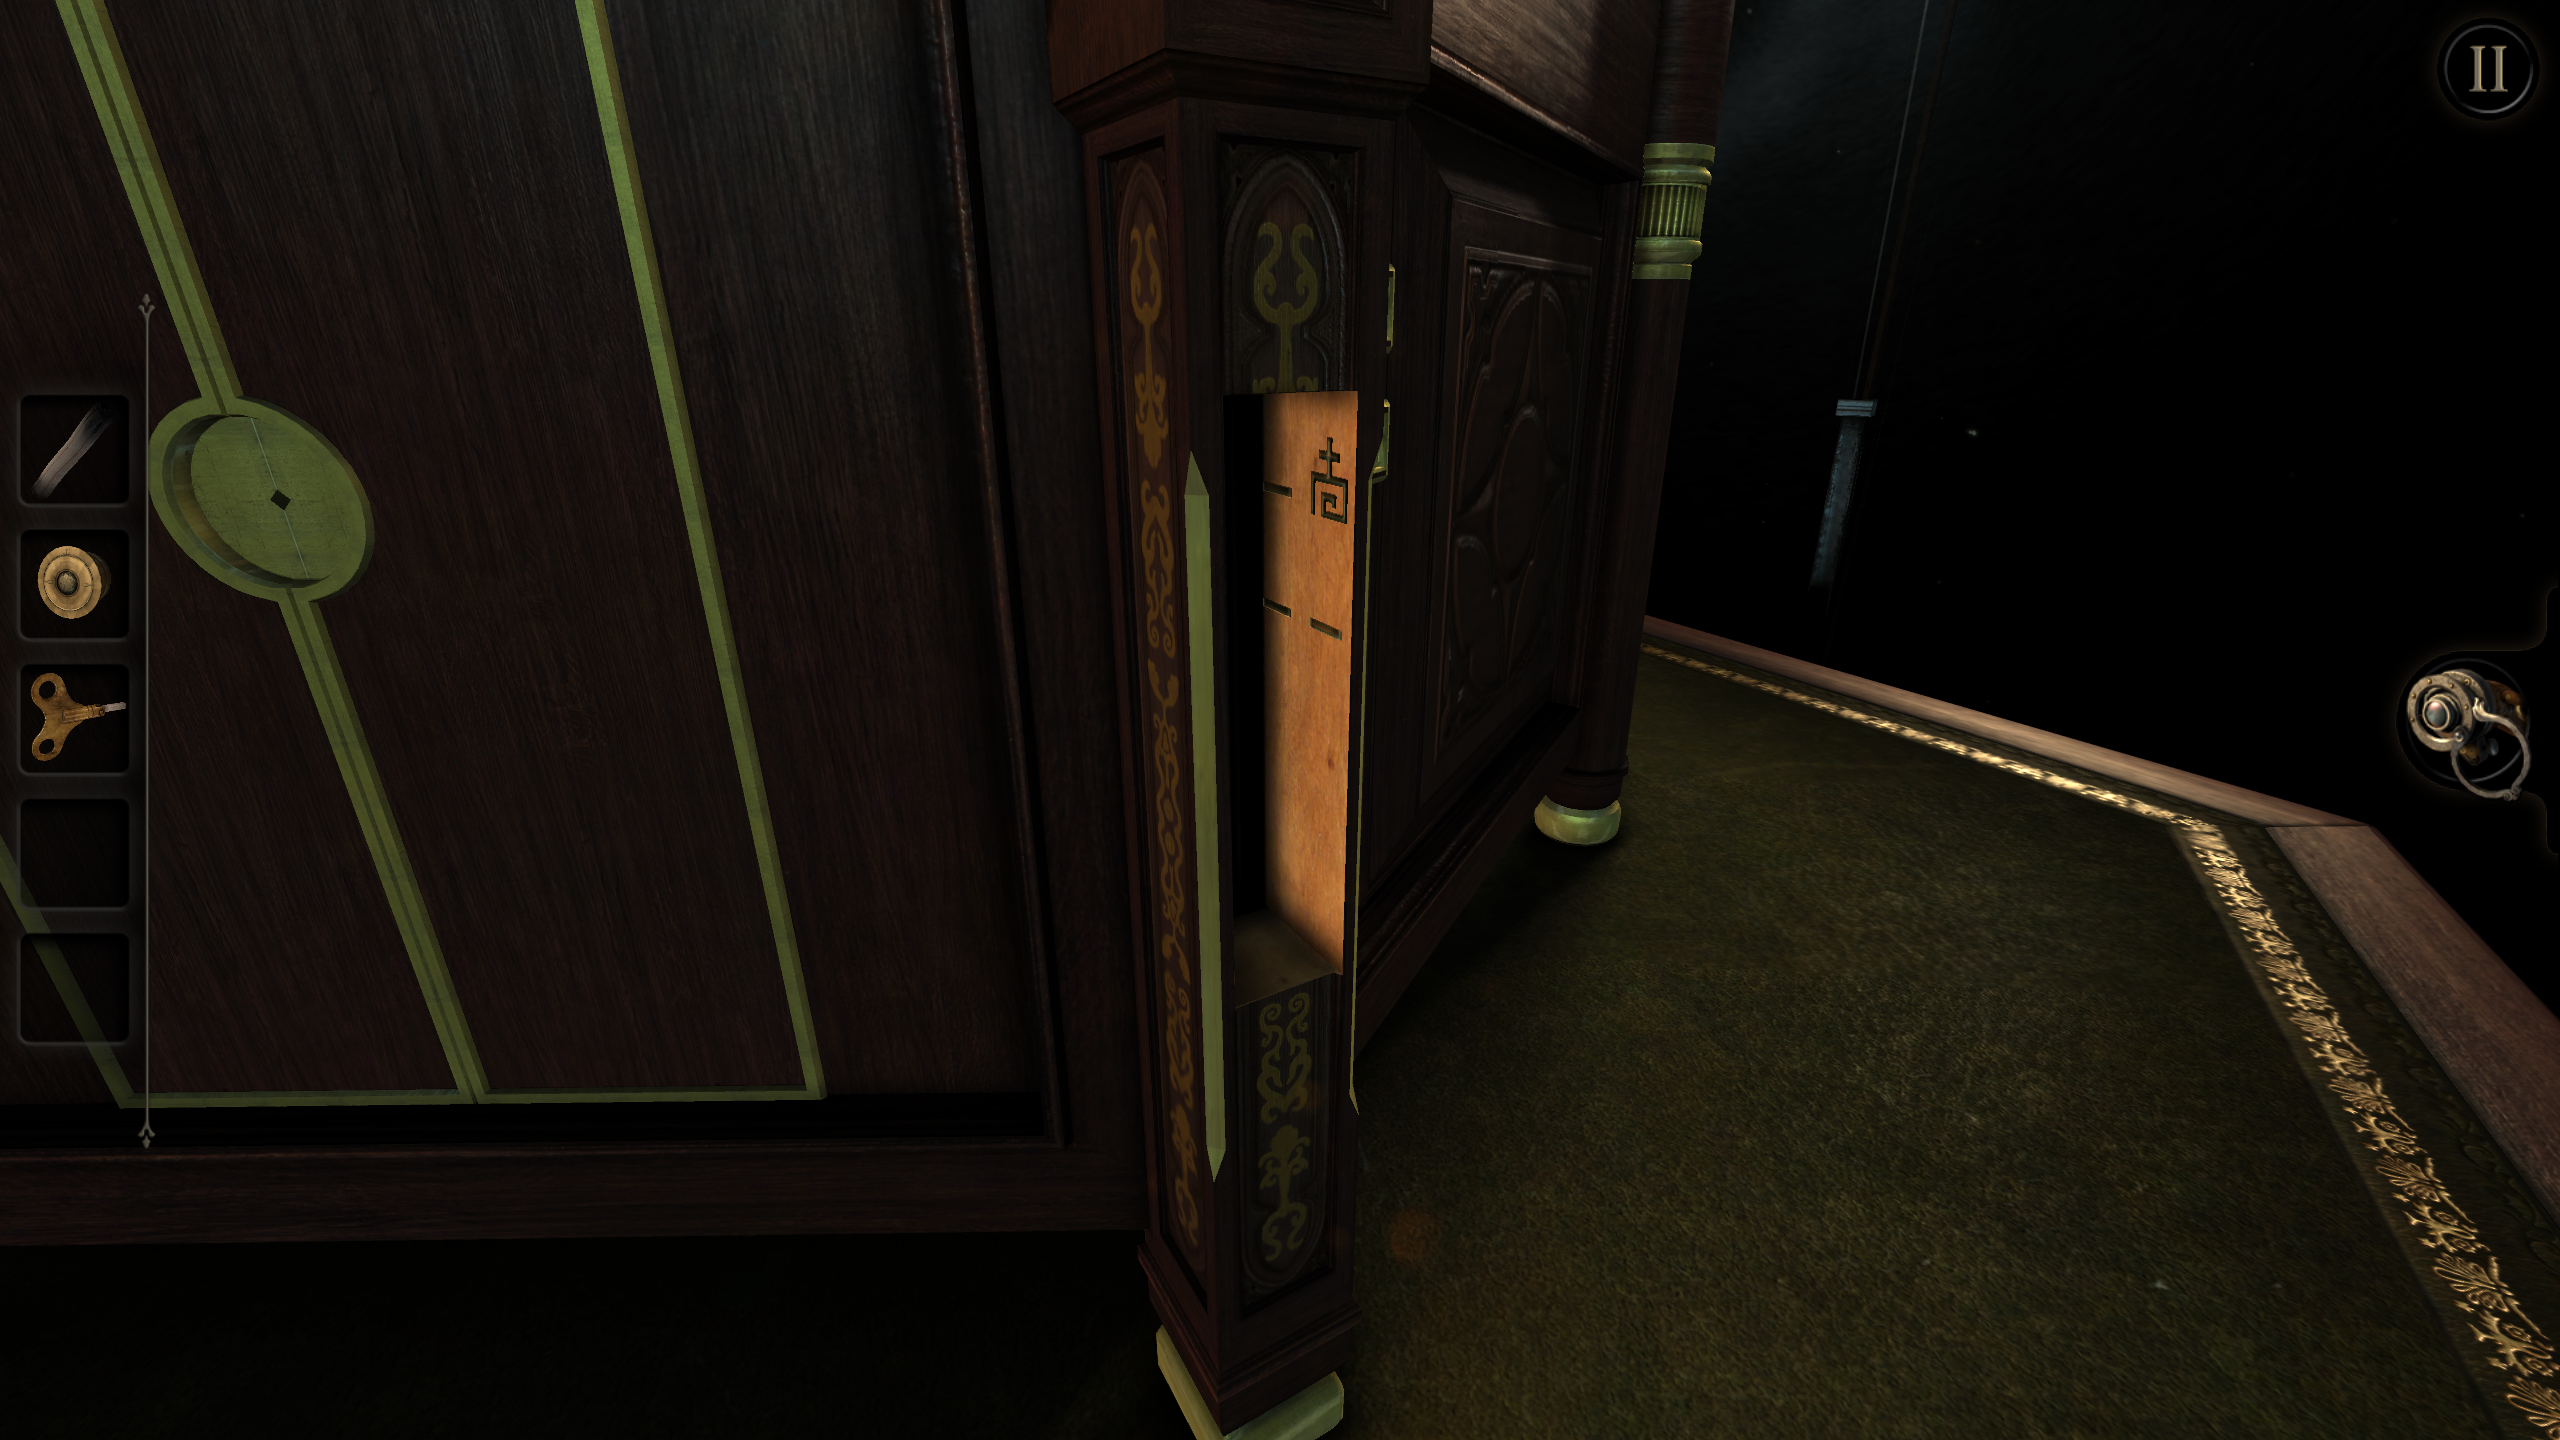
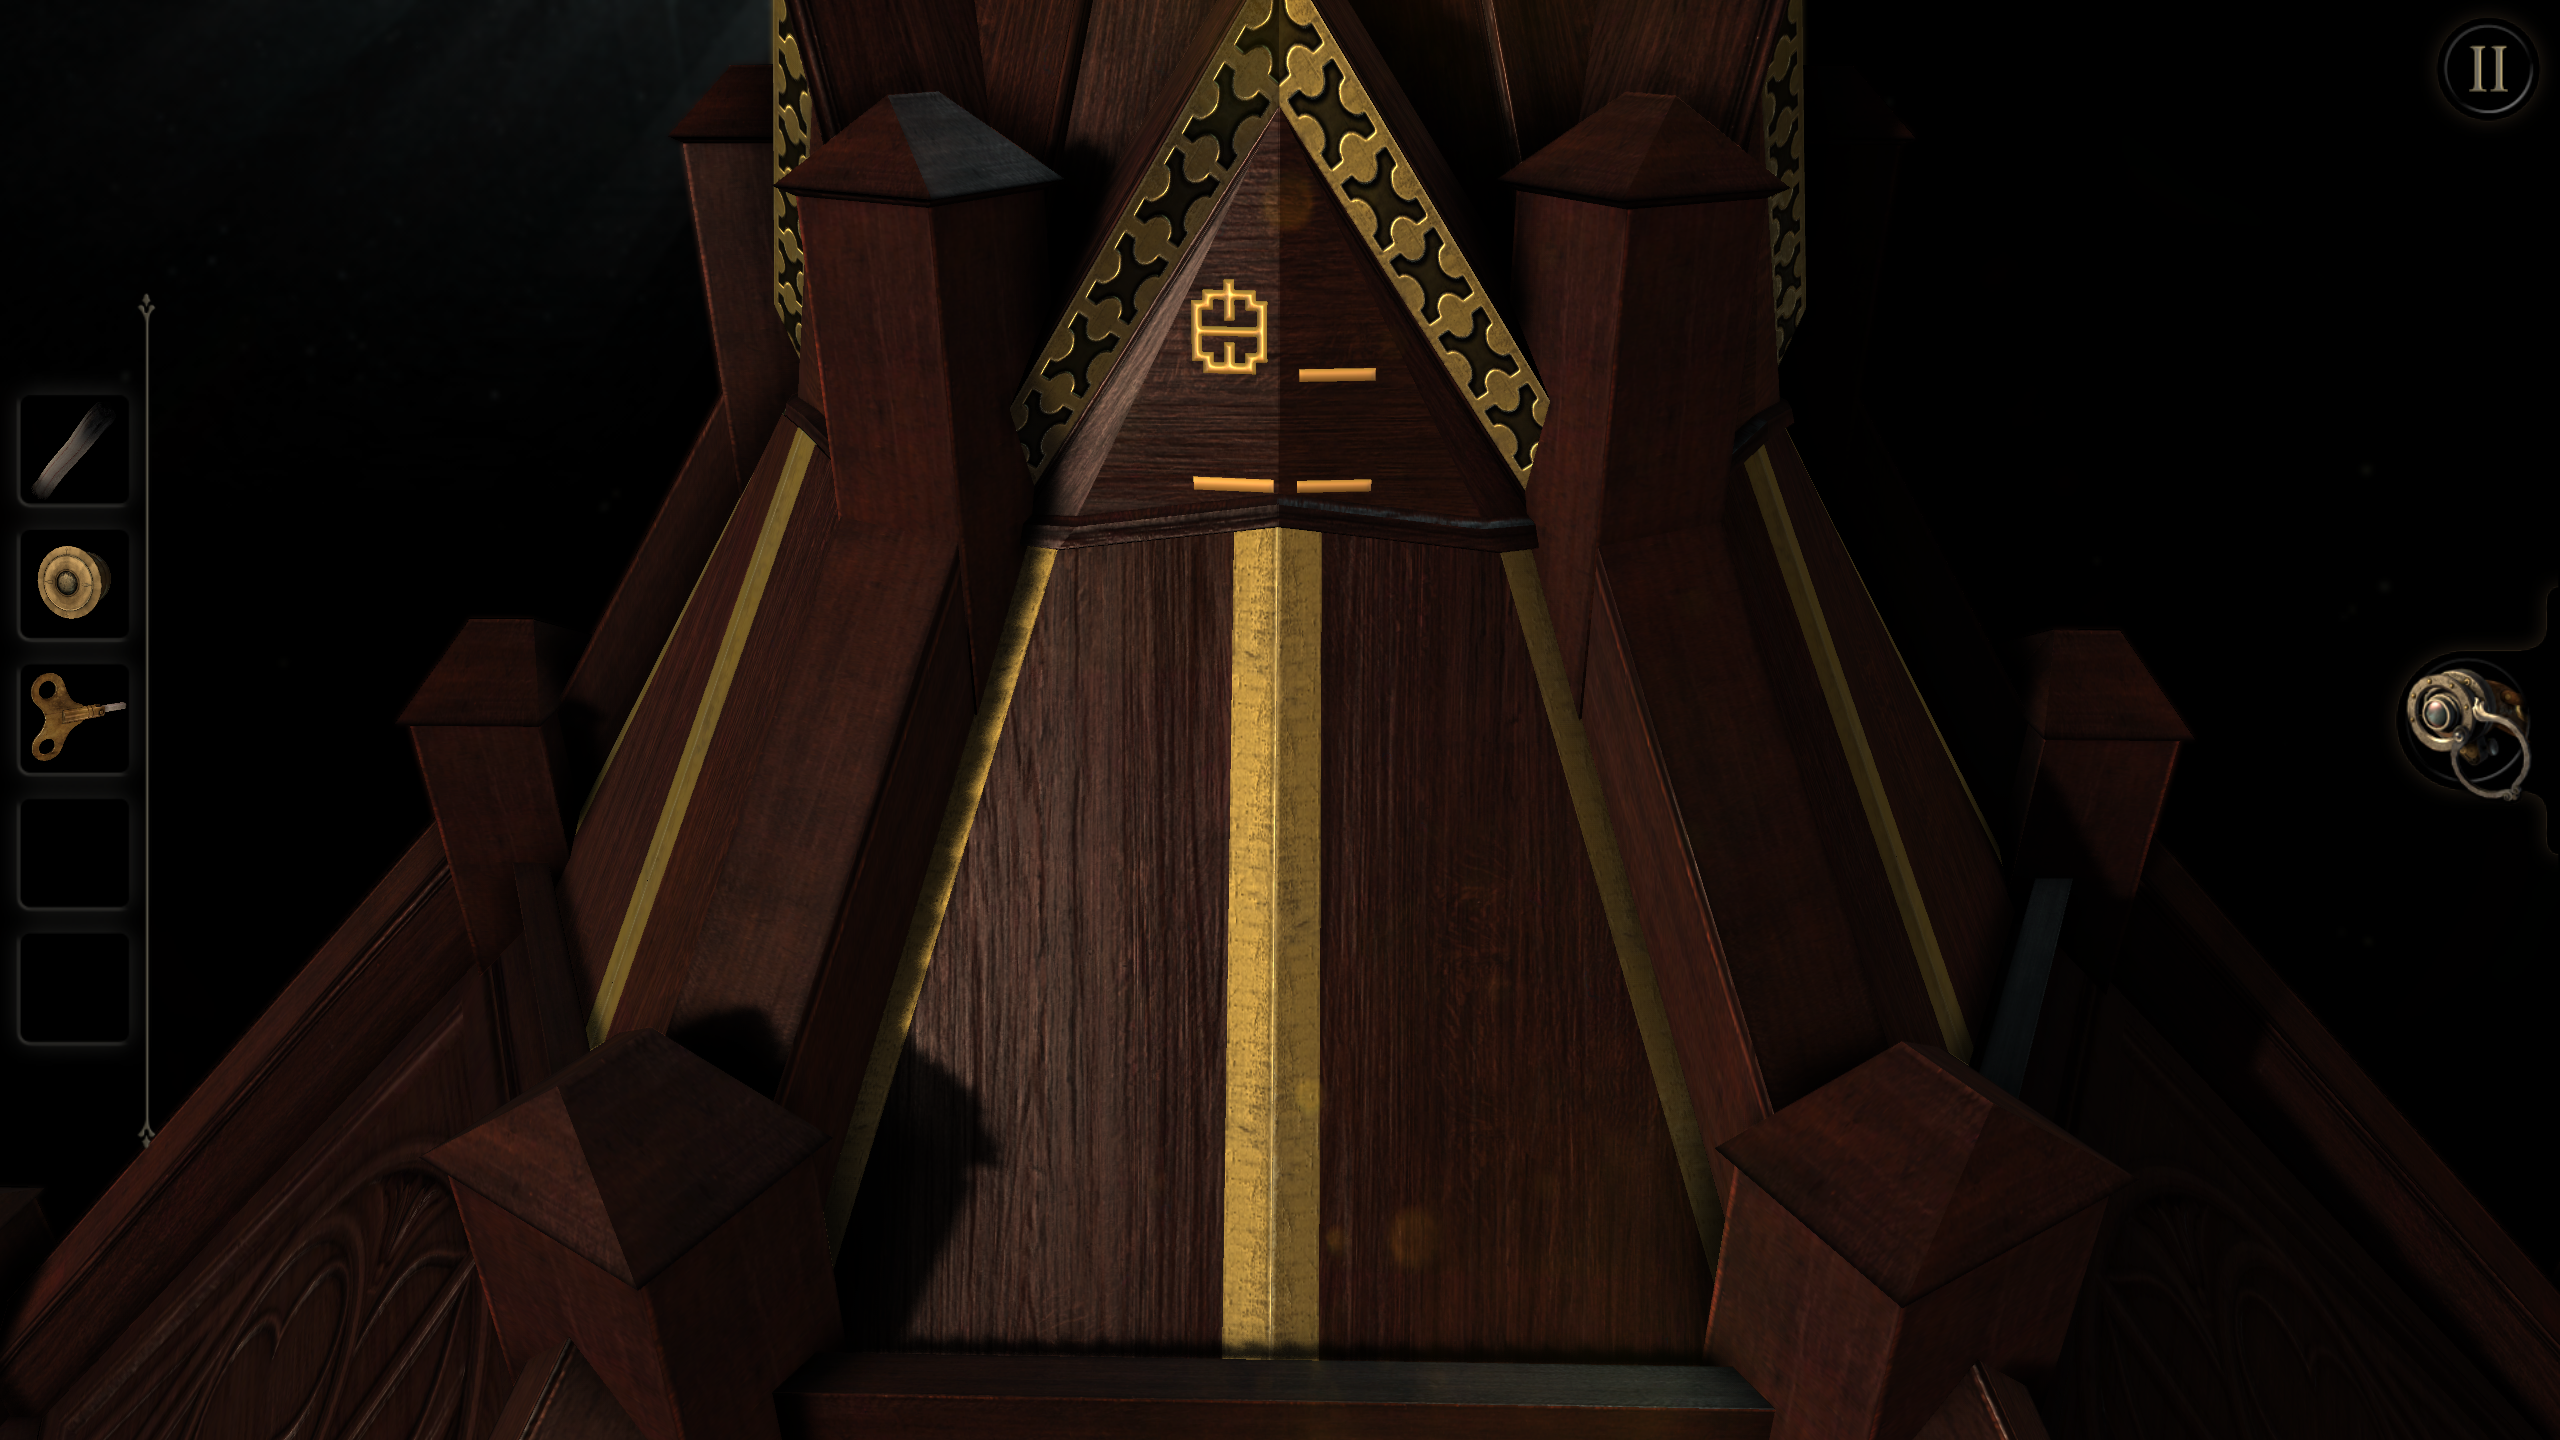
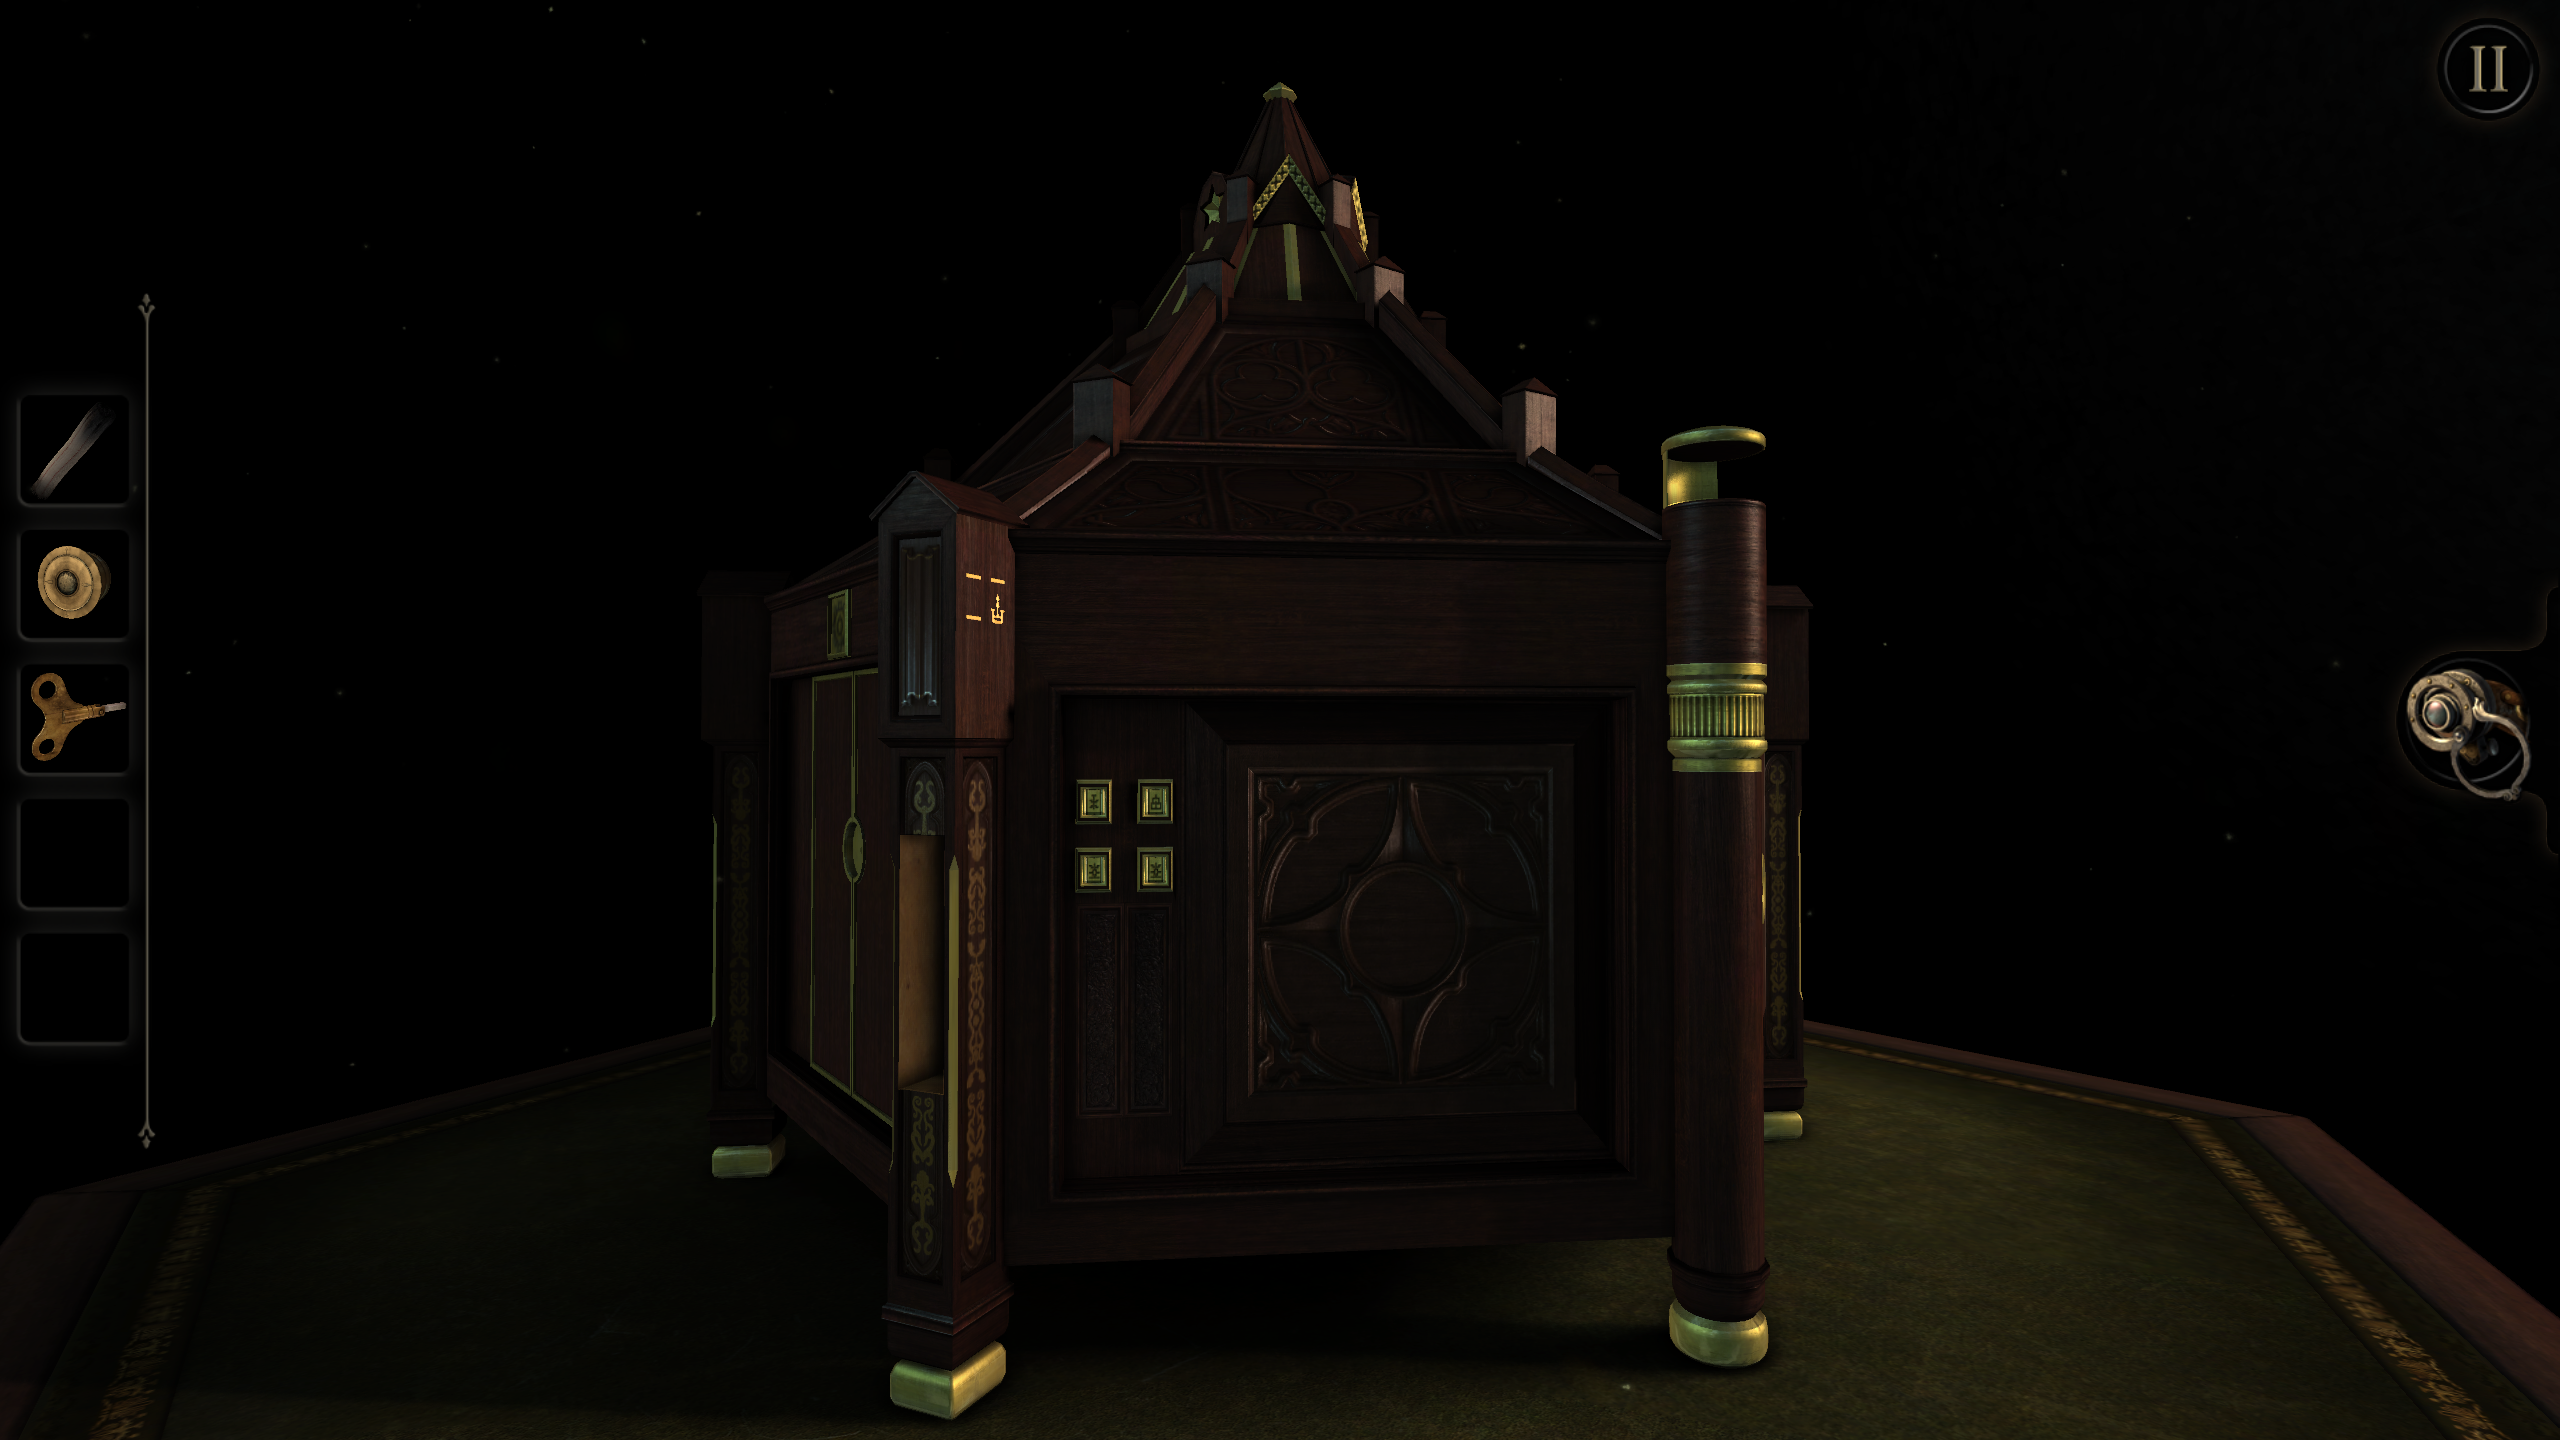
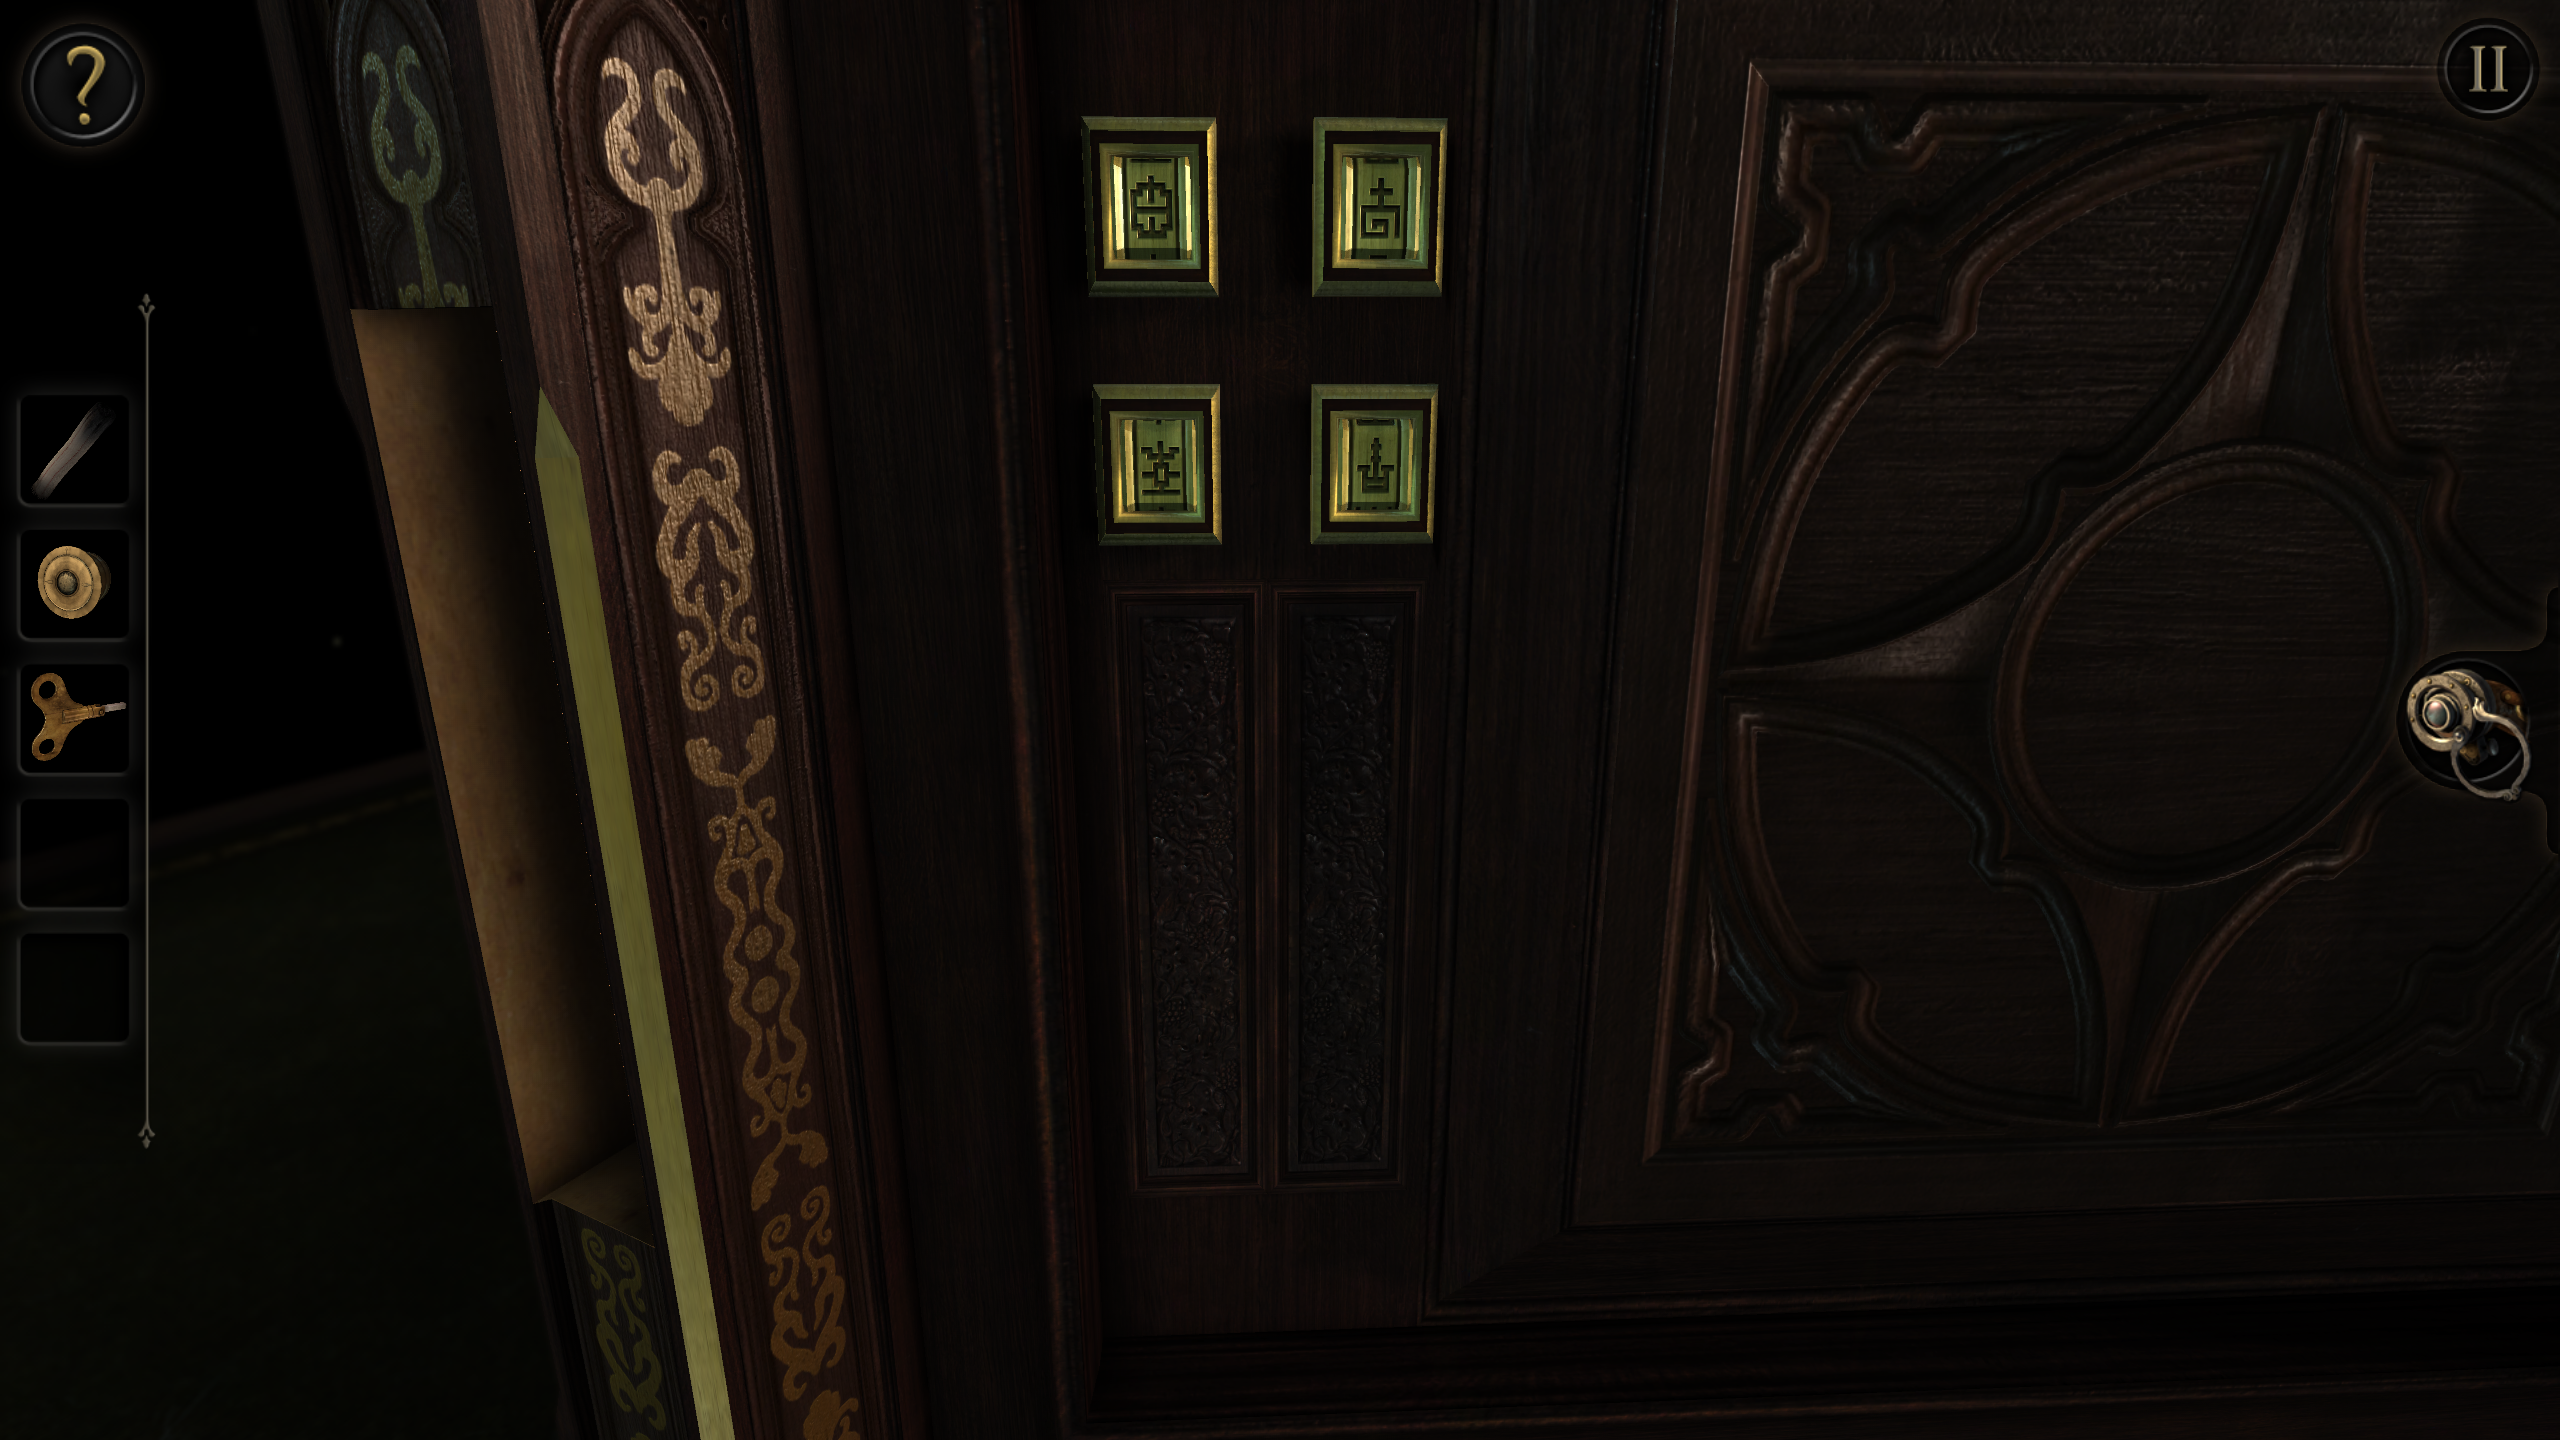
Look at the post to the left to see a symbol at the lower right corner of a 2 x 2 array. Zoom in on the middle part of this post and press a panel to obtain a book. In inventory, rotate the top, bottom, center and right dials to open the book. Pick up a winder from inside. Note the upper-right symbol inside the empty post compartment. Look at the top of the puzzle box and rotate the view until you can see an upper-left symbol.
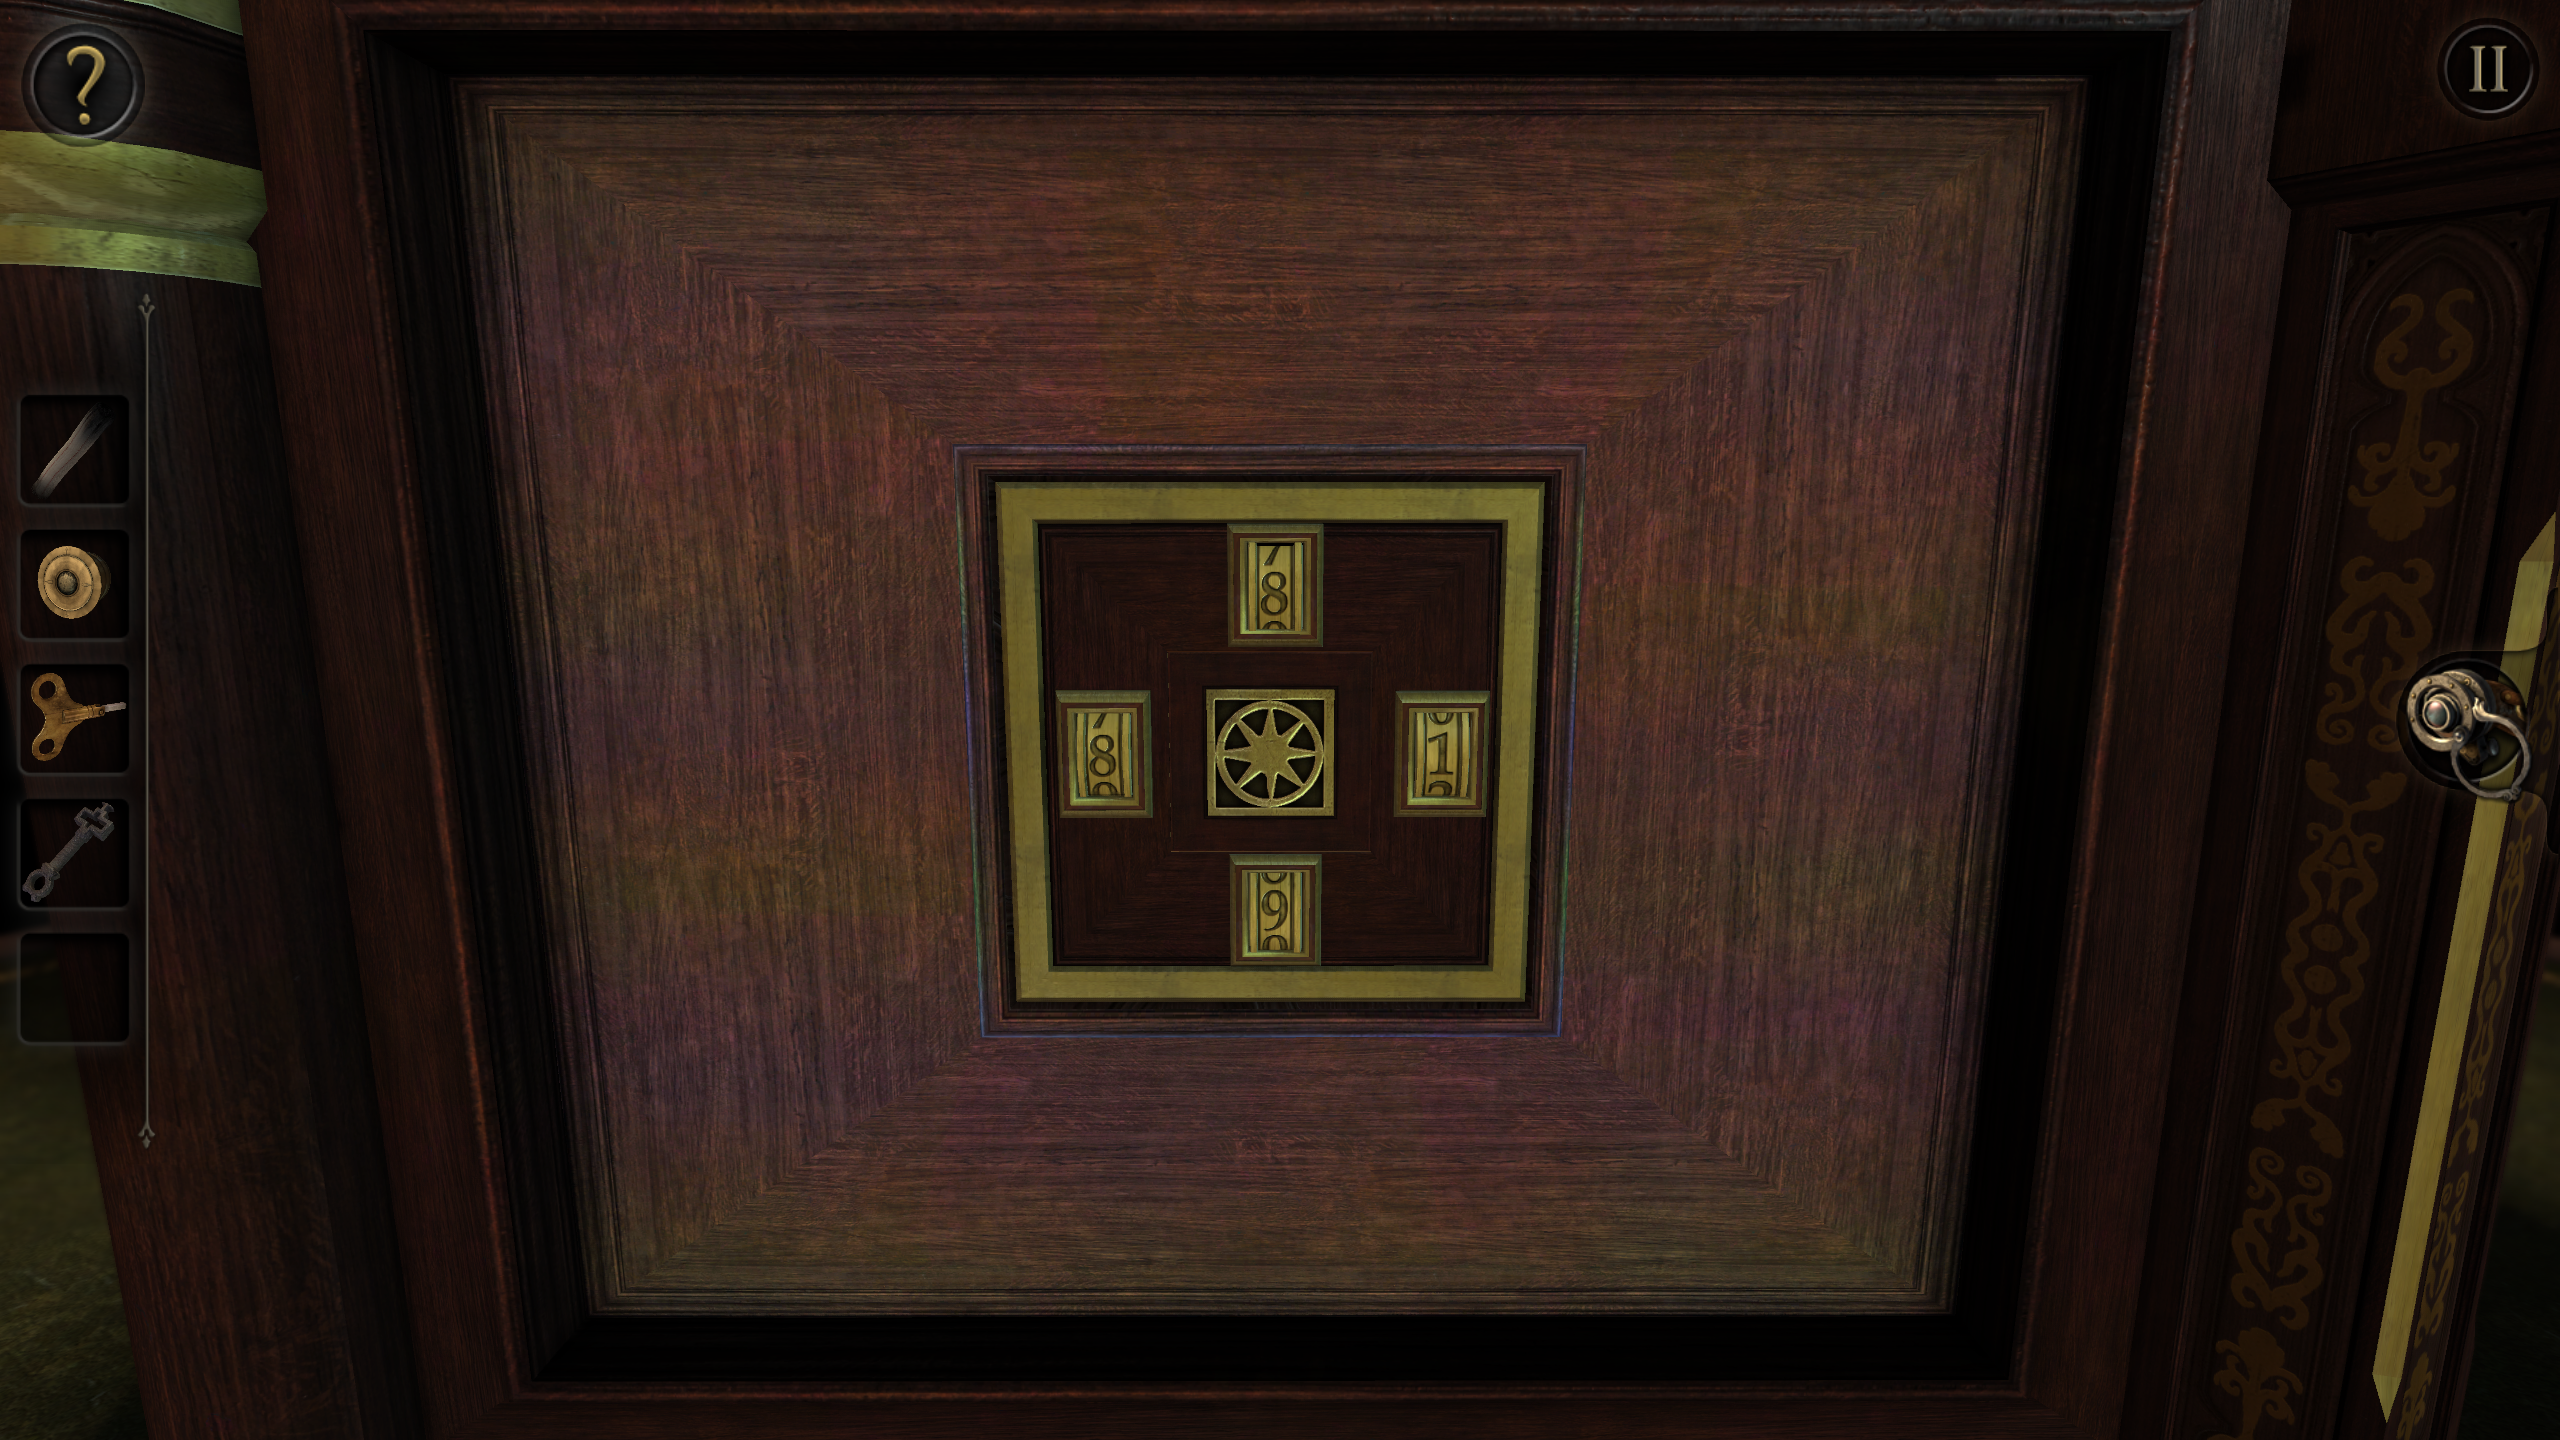
Zoom in on this side of the box. Adjust the dials to match the three symbols seen so far. Then rotate the lower left dial down once (or more) until the panel opens and you can obtain a heavy cast iron key. We're now finished with this side of the box.
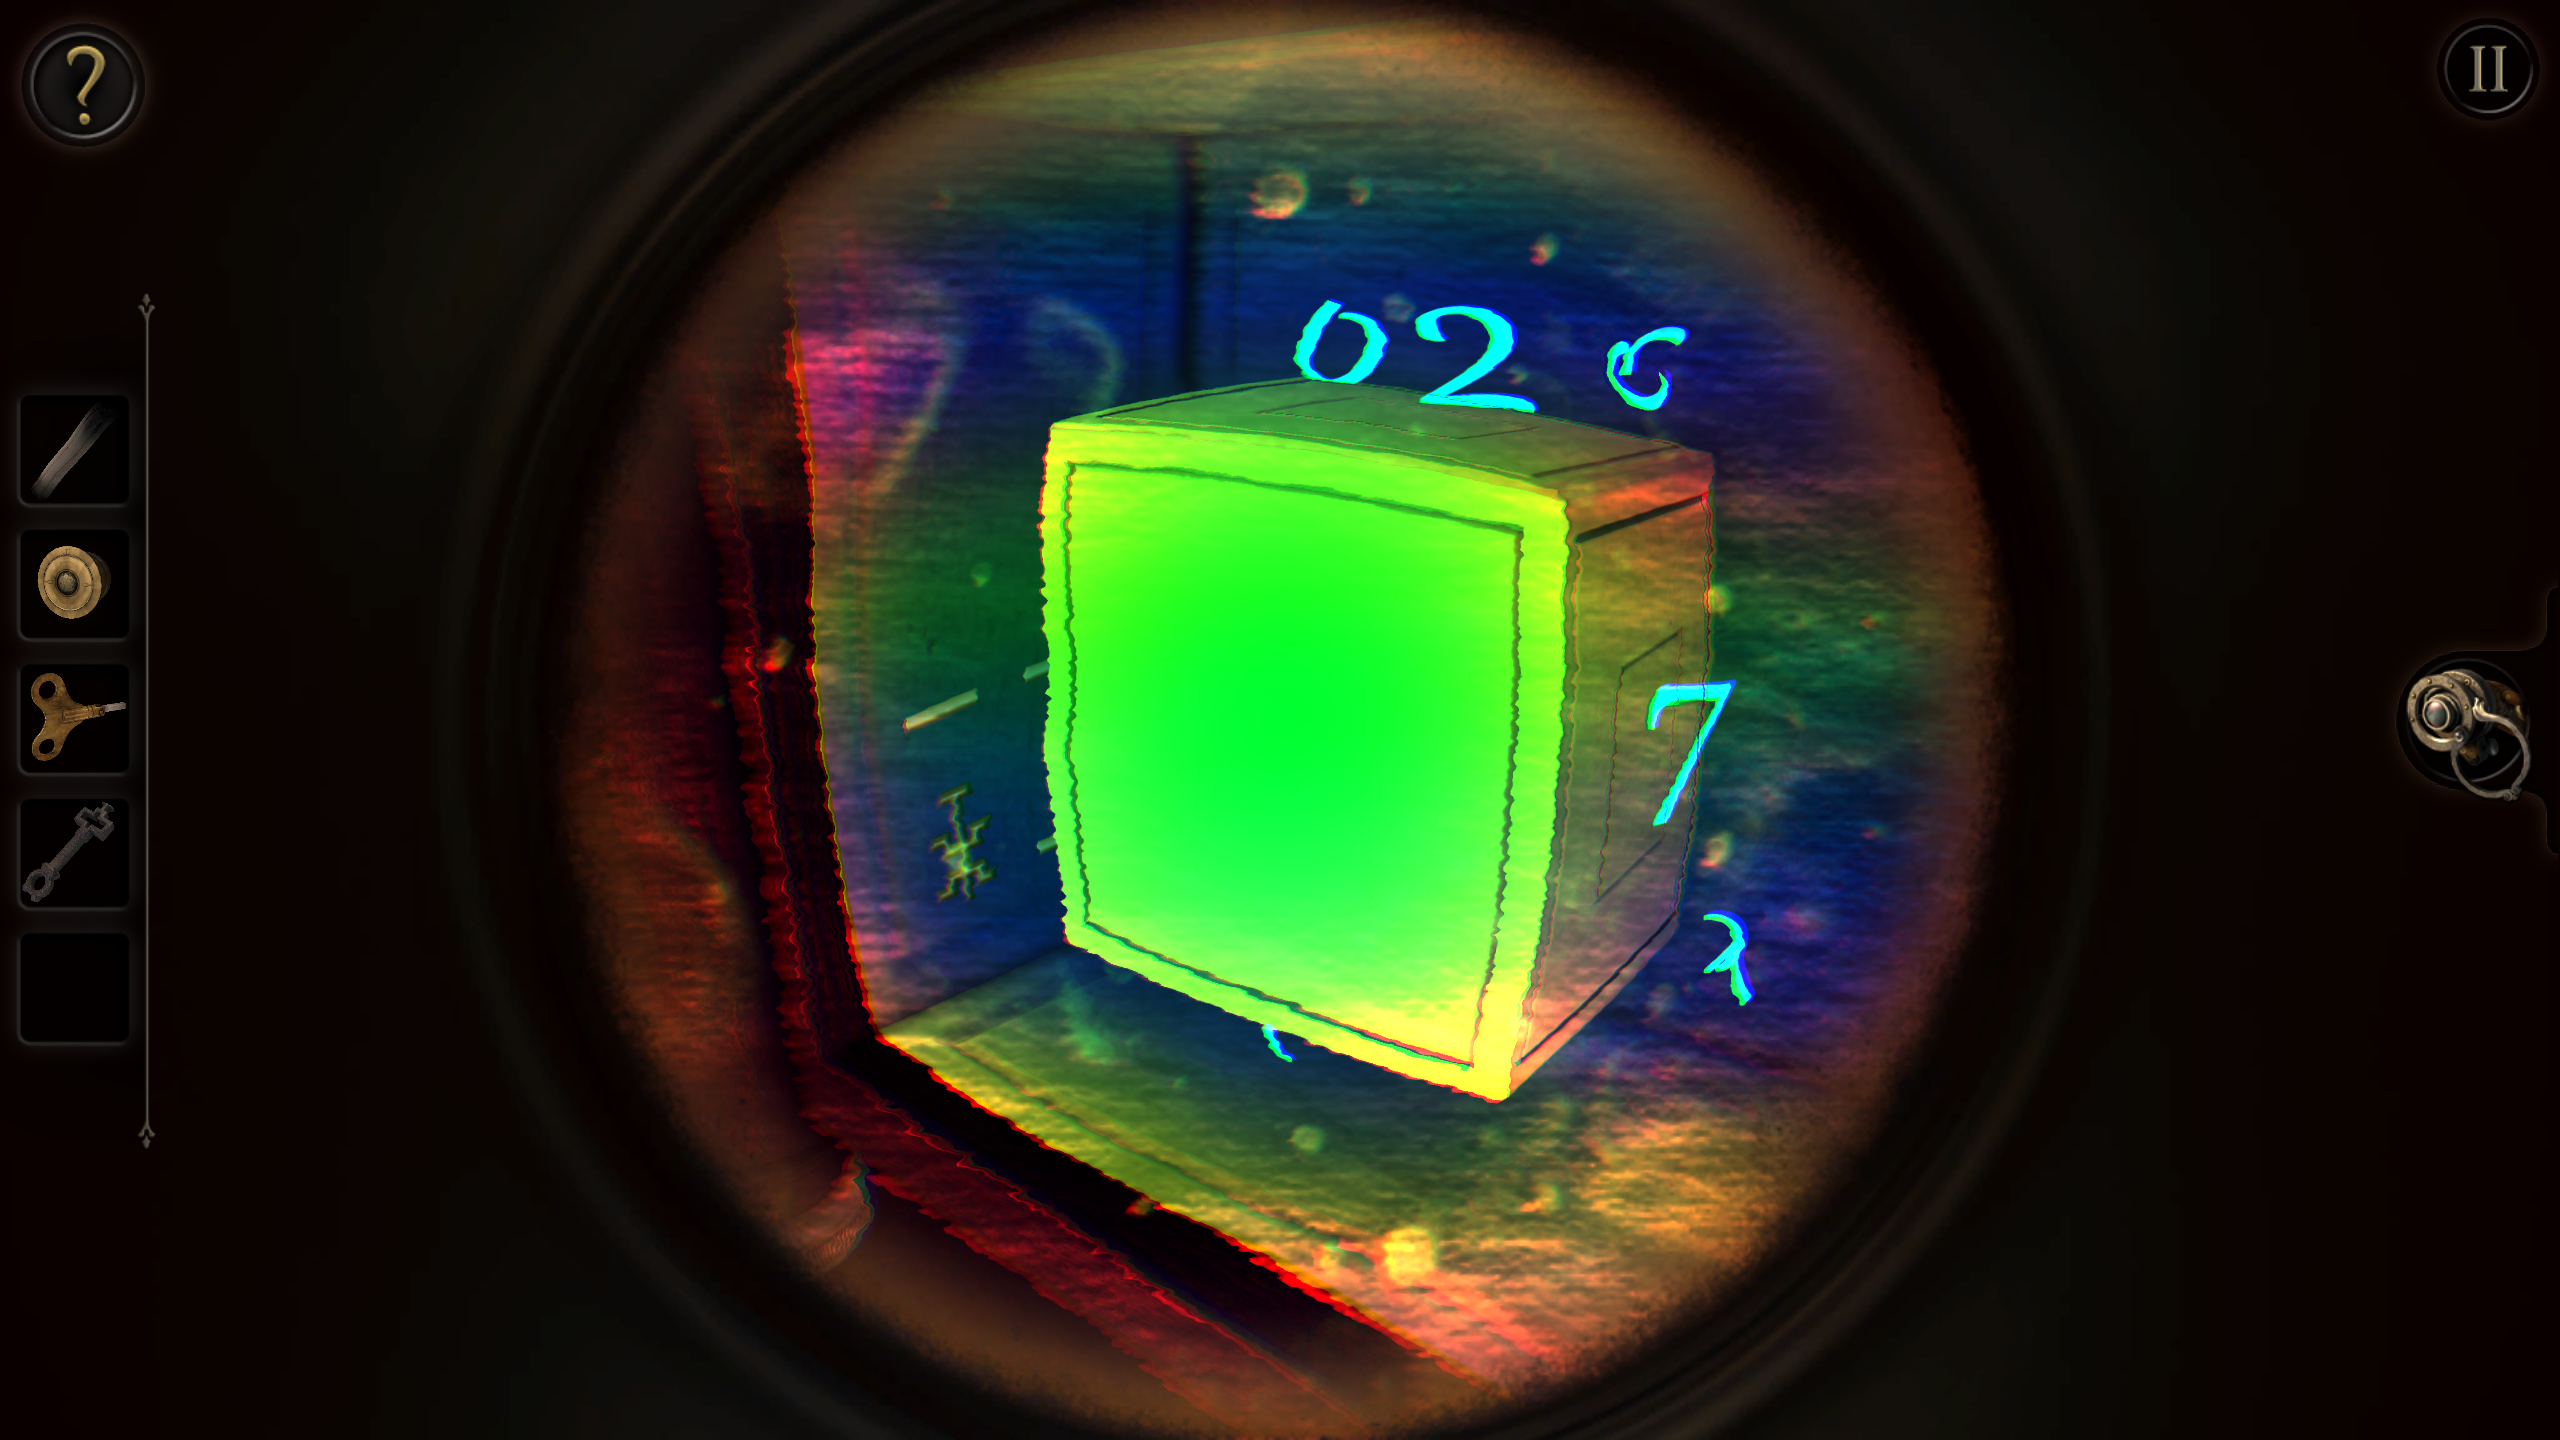
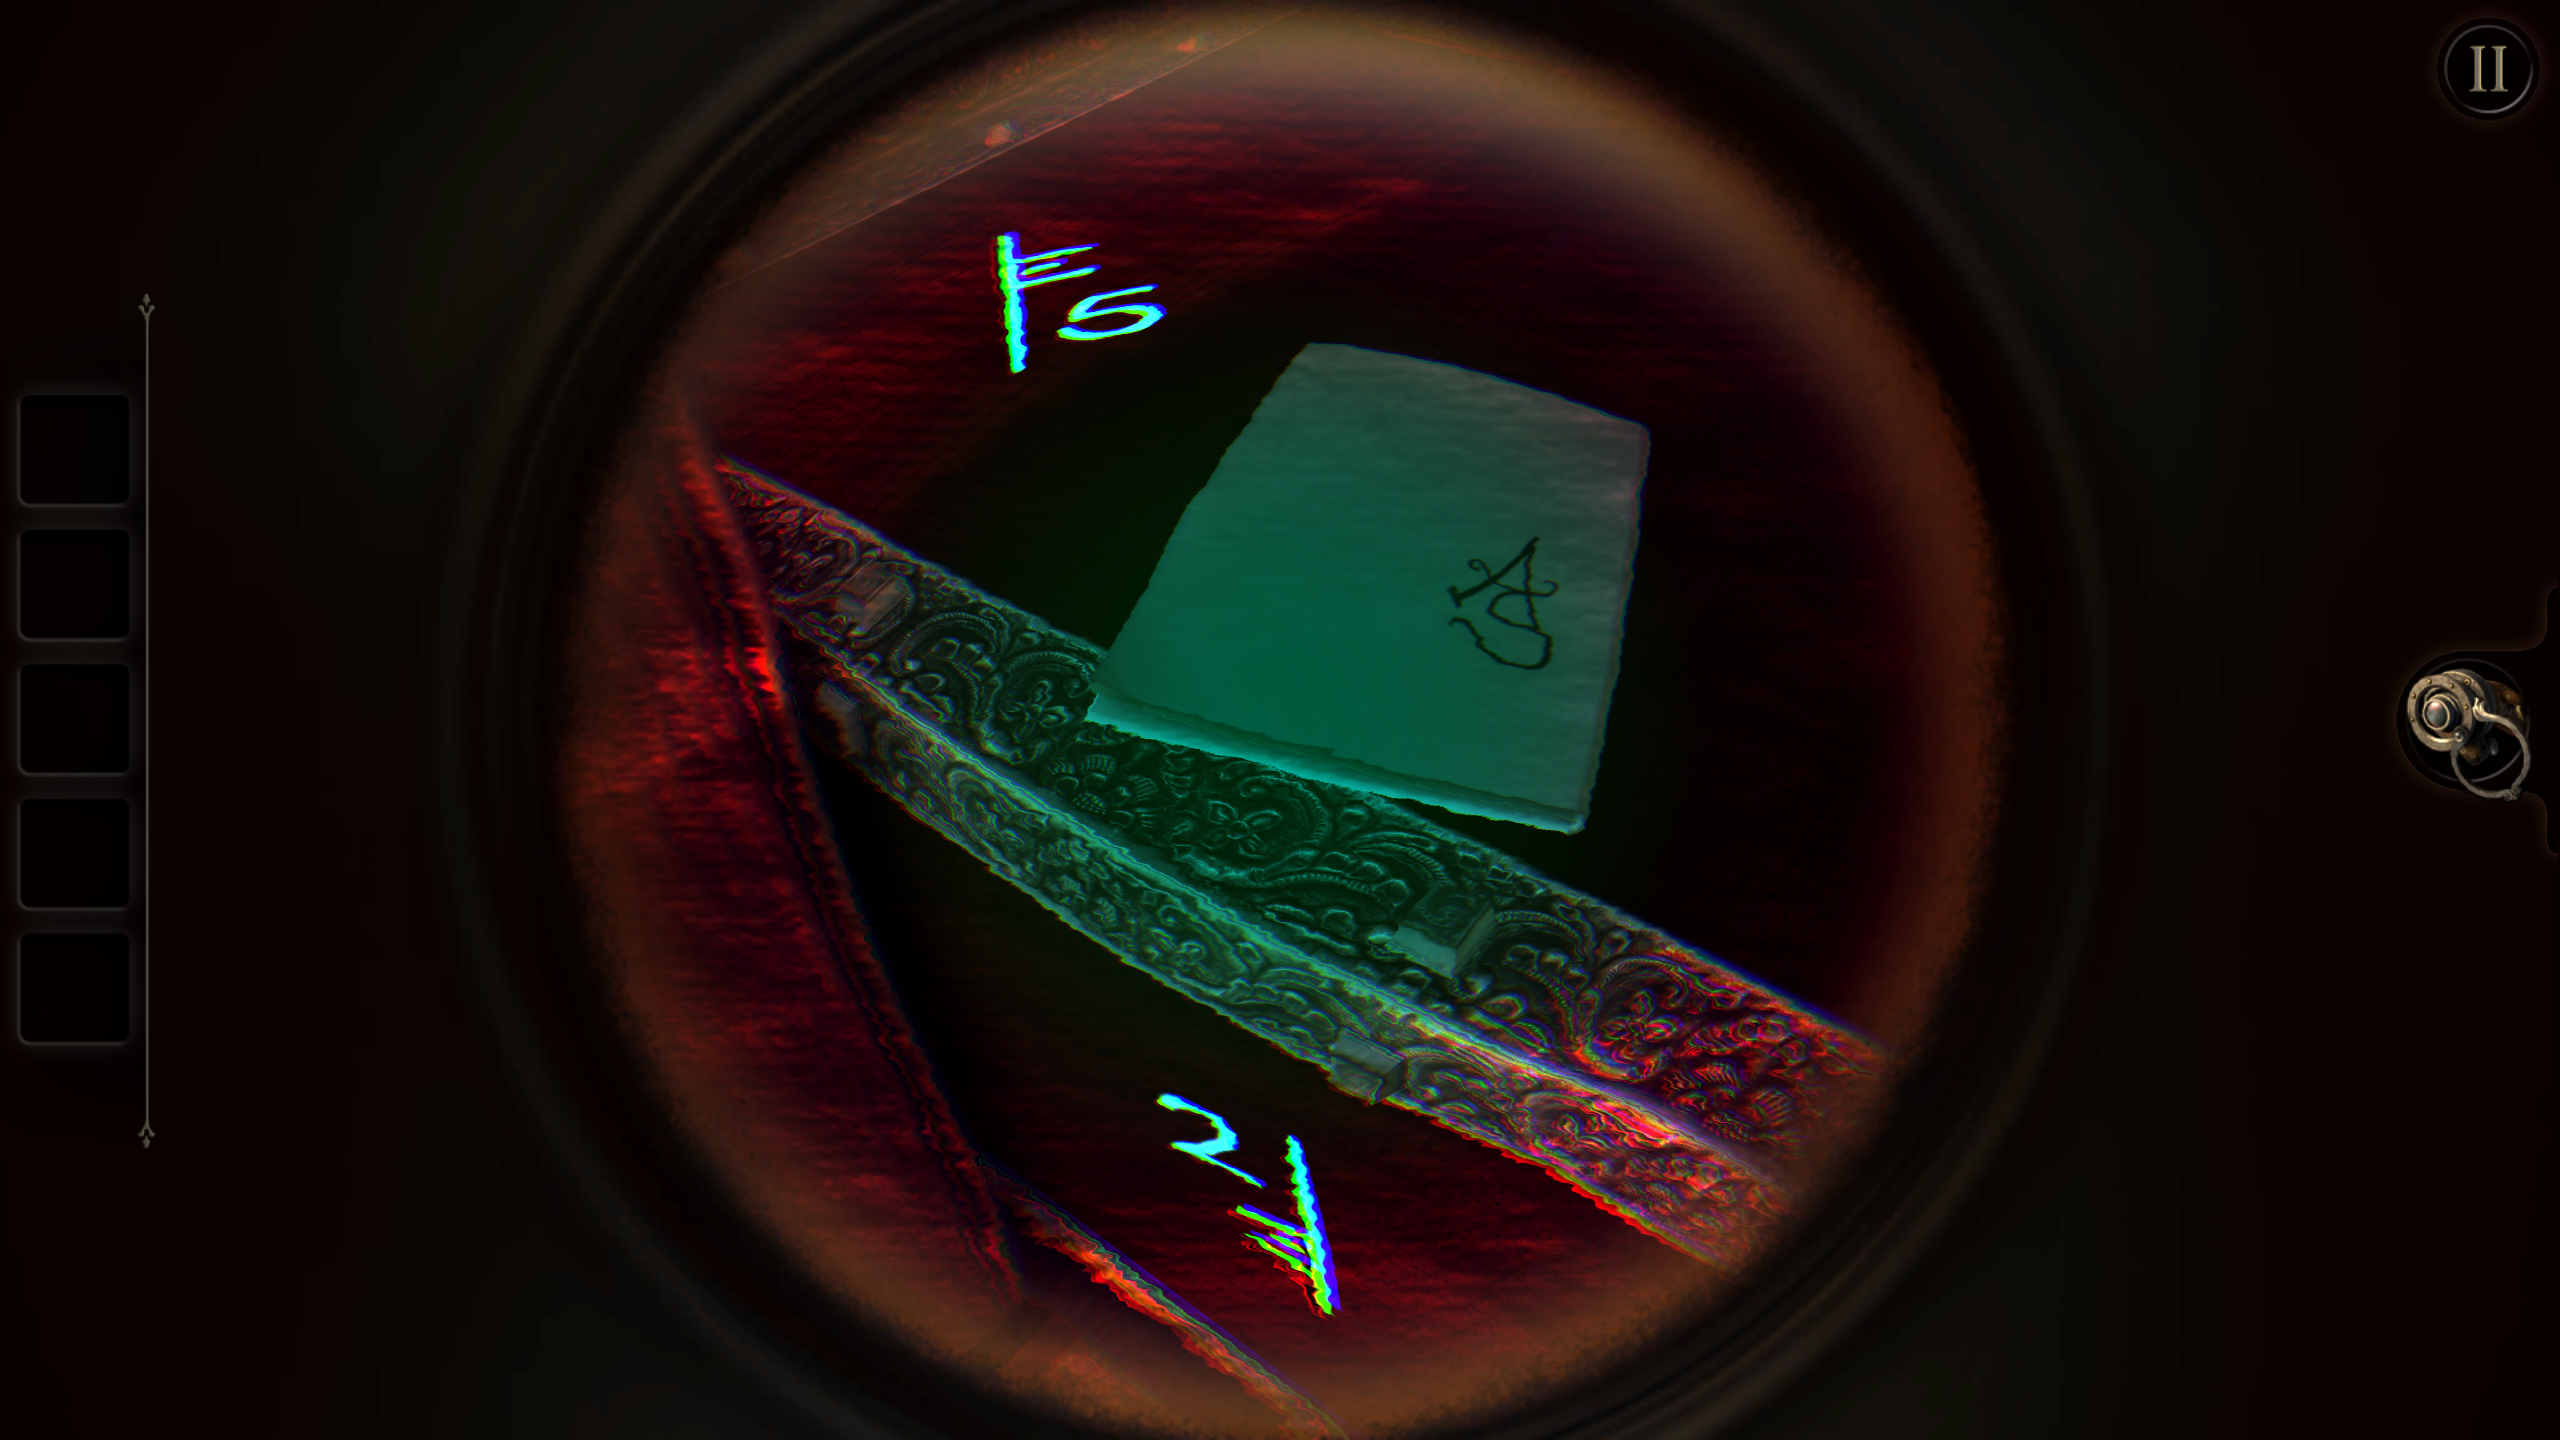
Zoom in on this side of the box and use the eyepiece. Rotate the view around to see 5 on the left side and 7 on the right. You should be able to align the view to see 2 on the top. Remove the eyepiece and enter the three numbers you found so far:
Rotate the lower dial (to 6) until the central panel opens and you can move down the switch inside. We're now finished with this side of the box, and can move to the new mechanism available to the left.
2 5 7
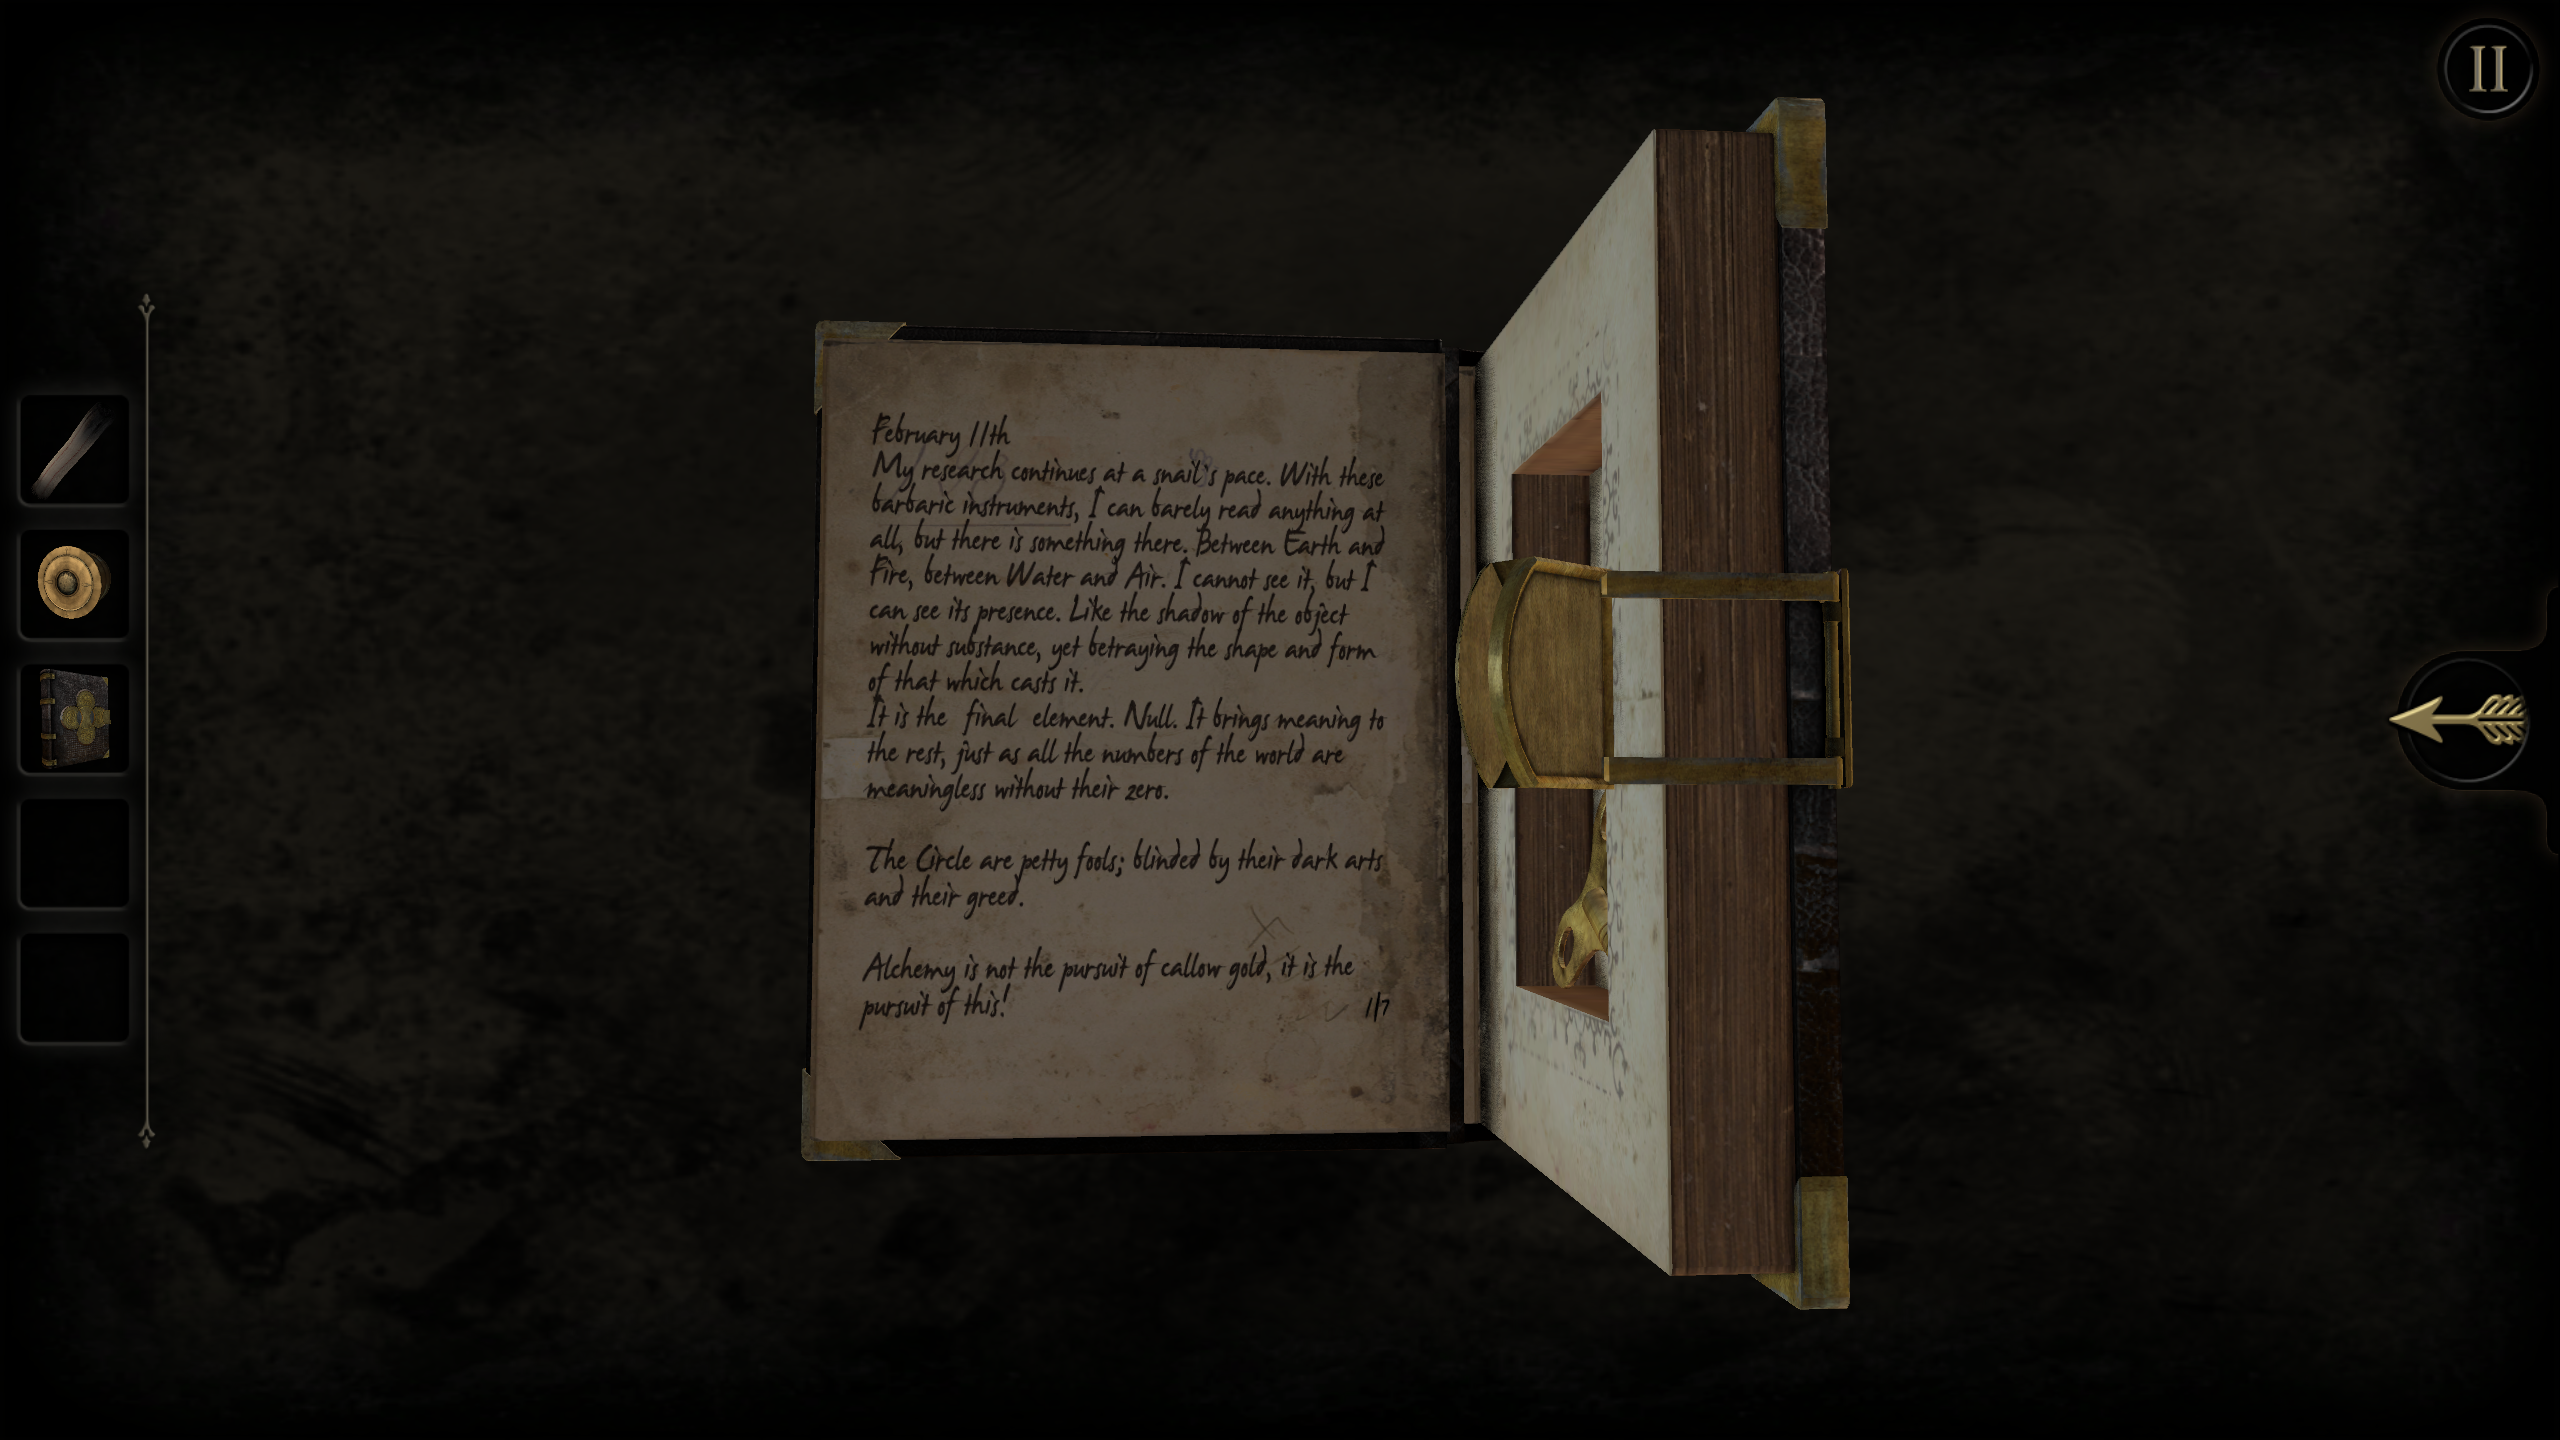
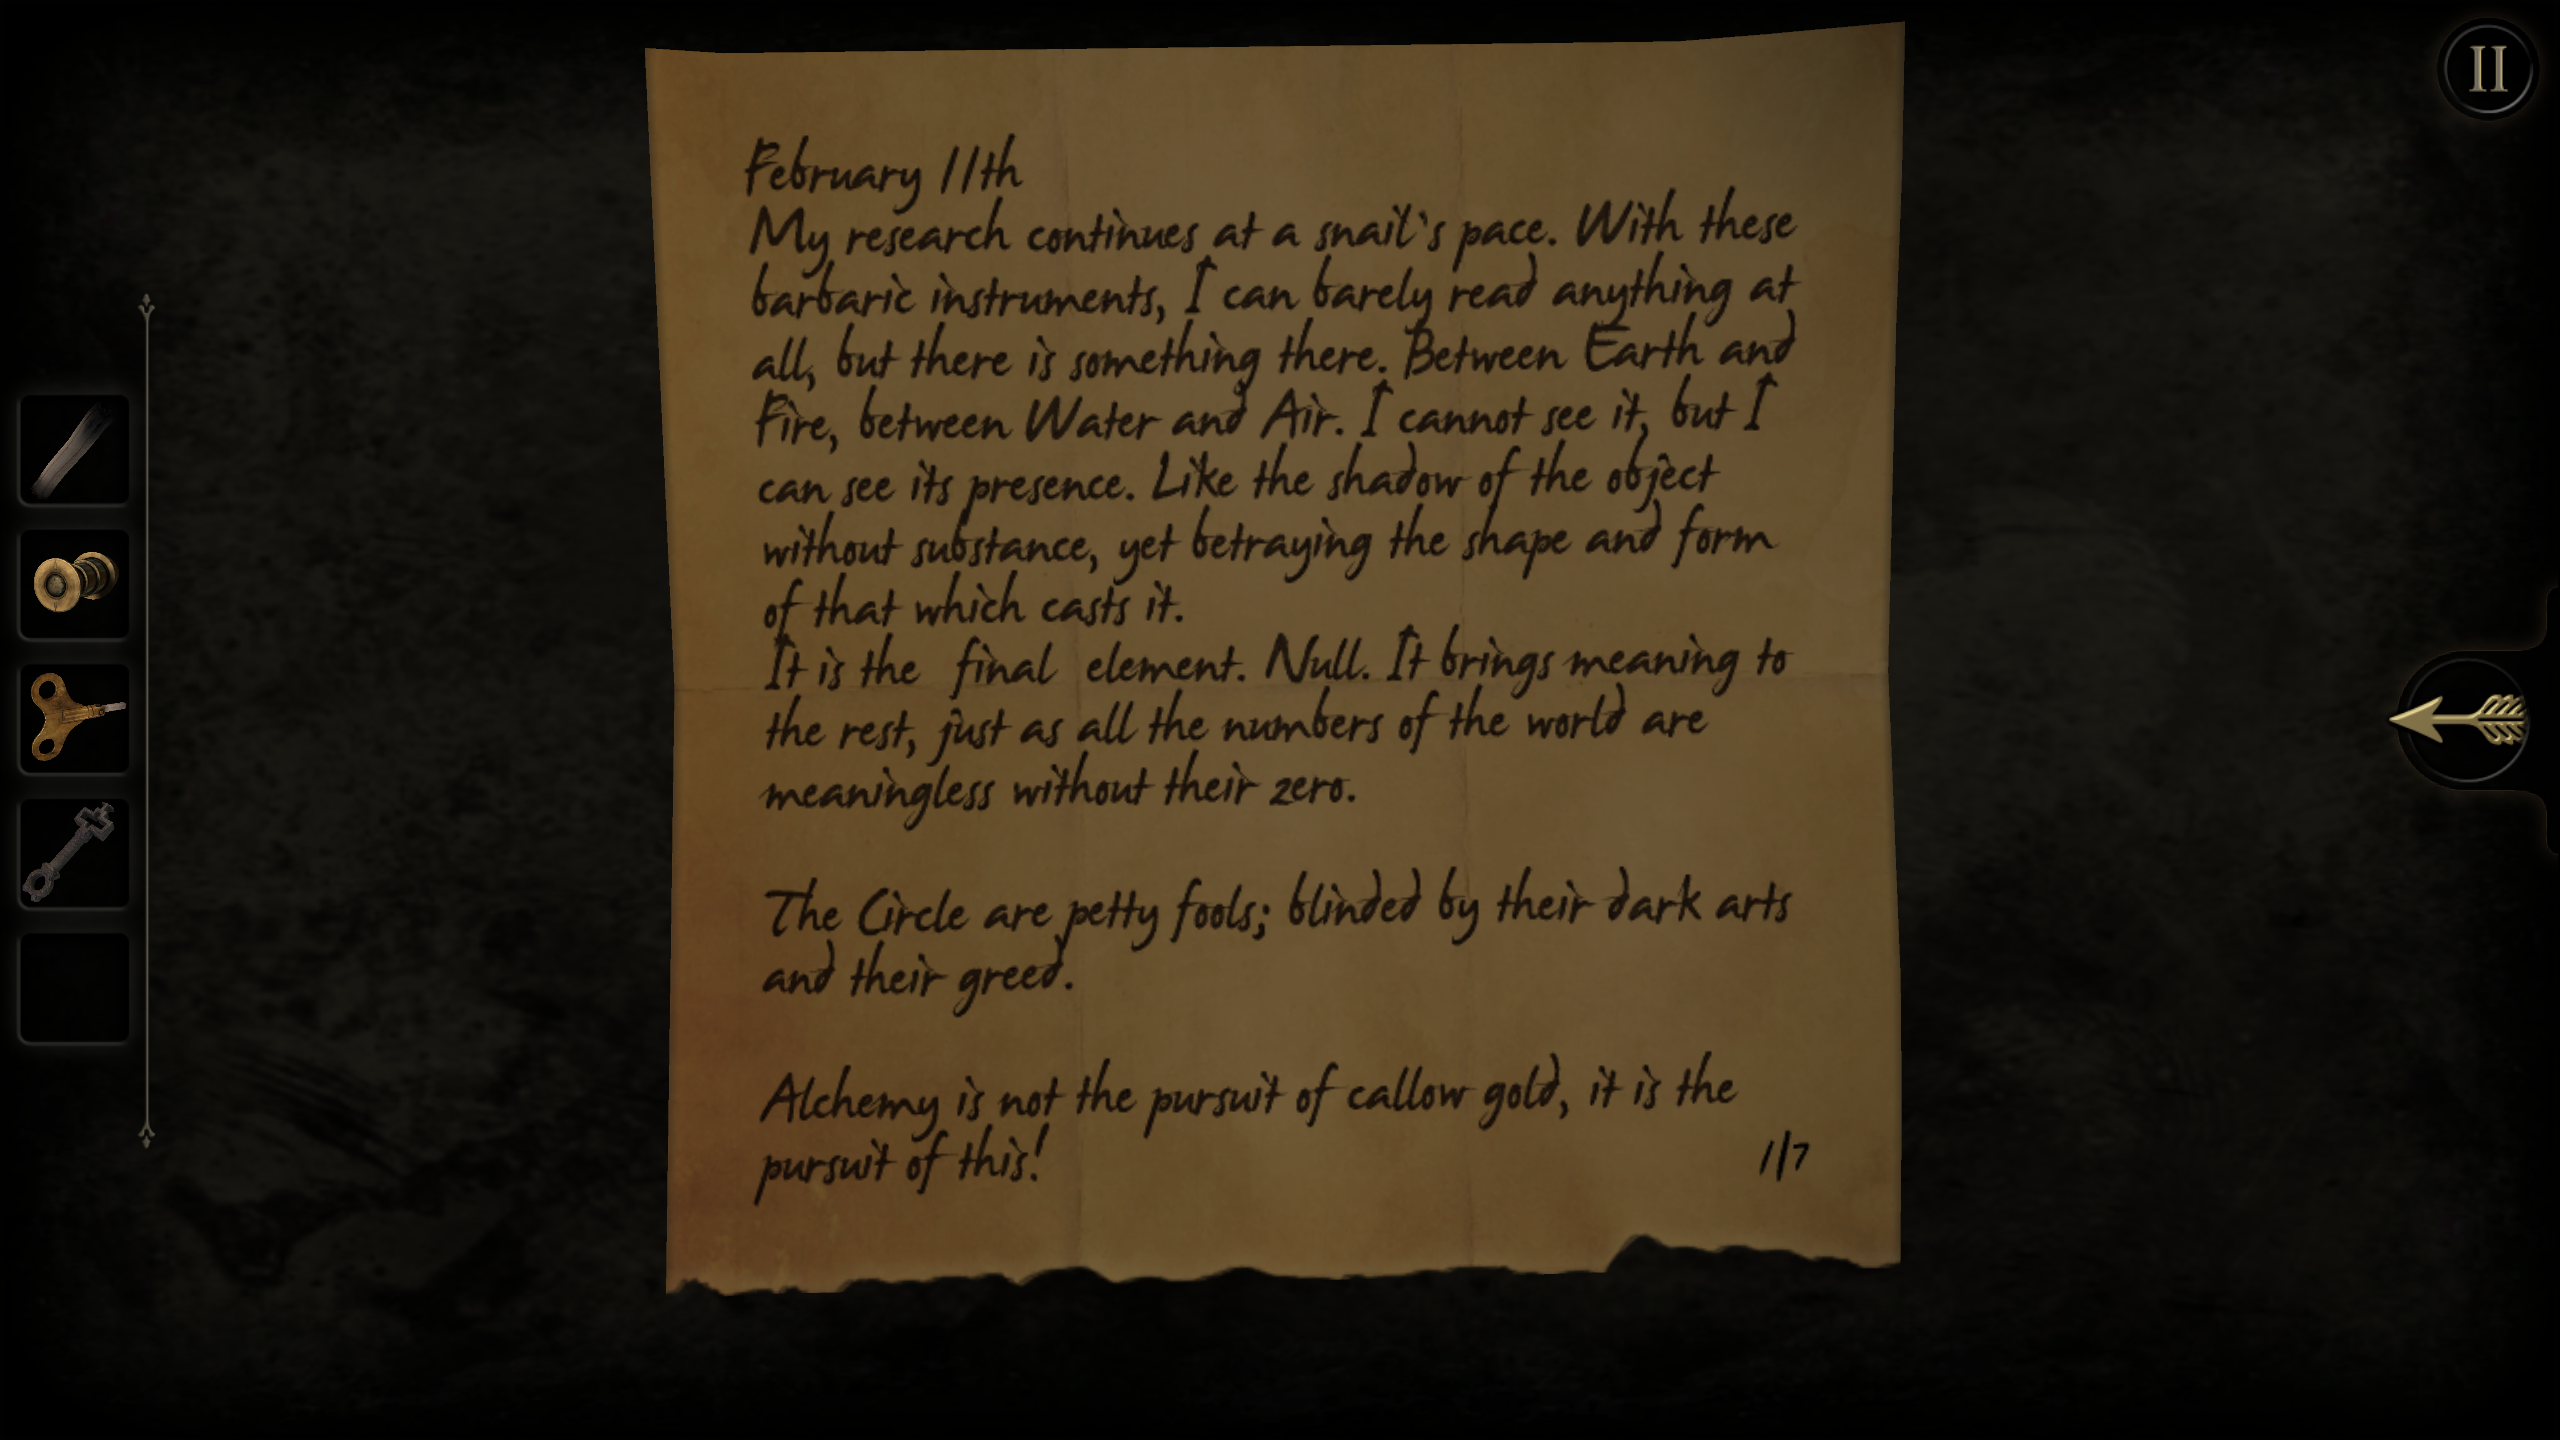
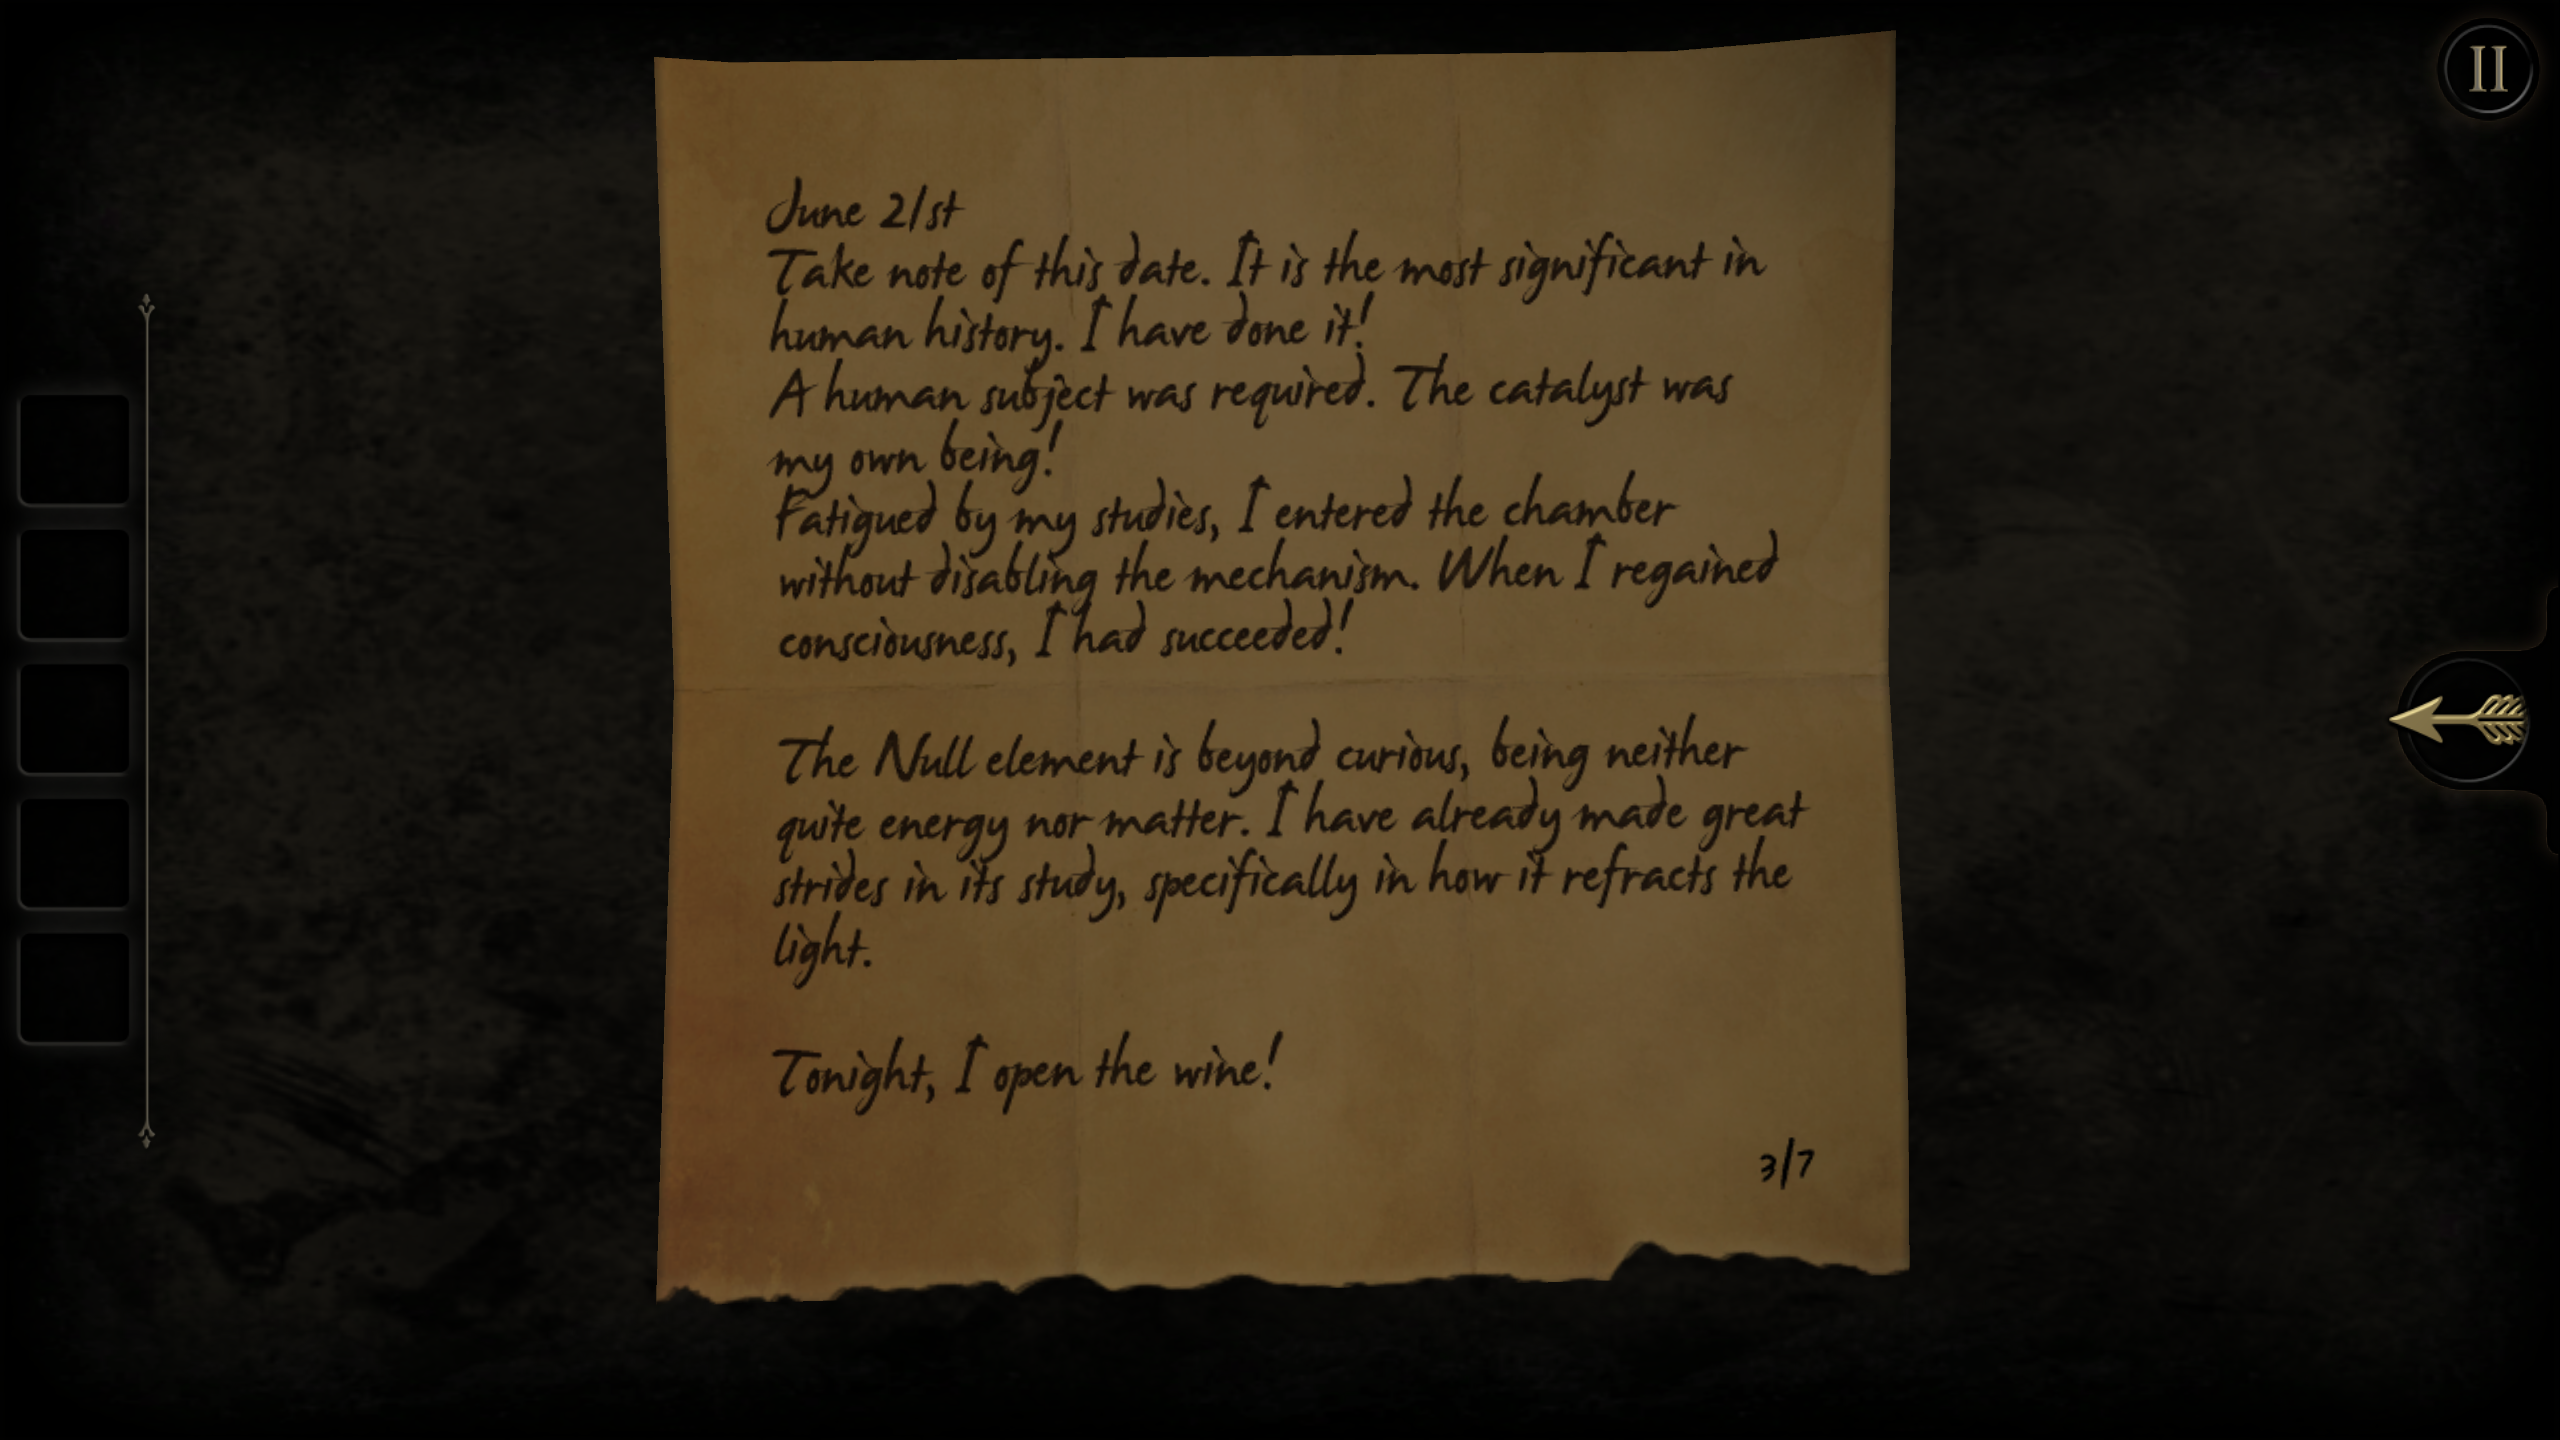
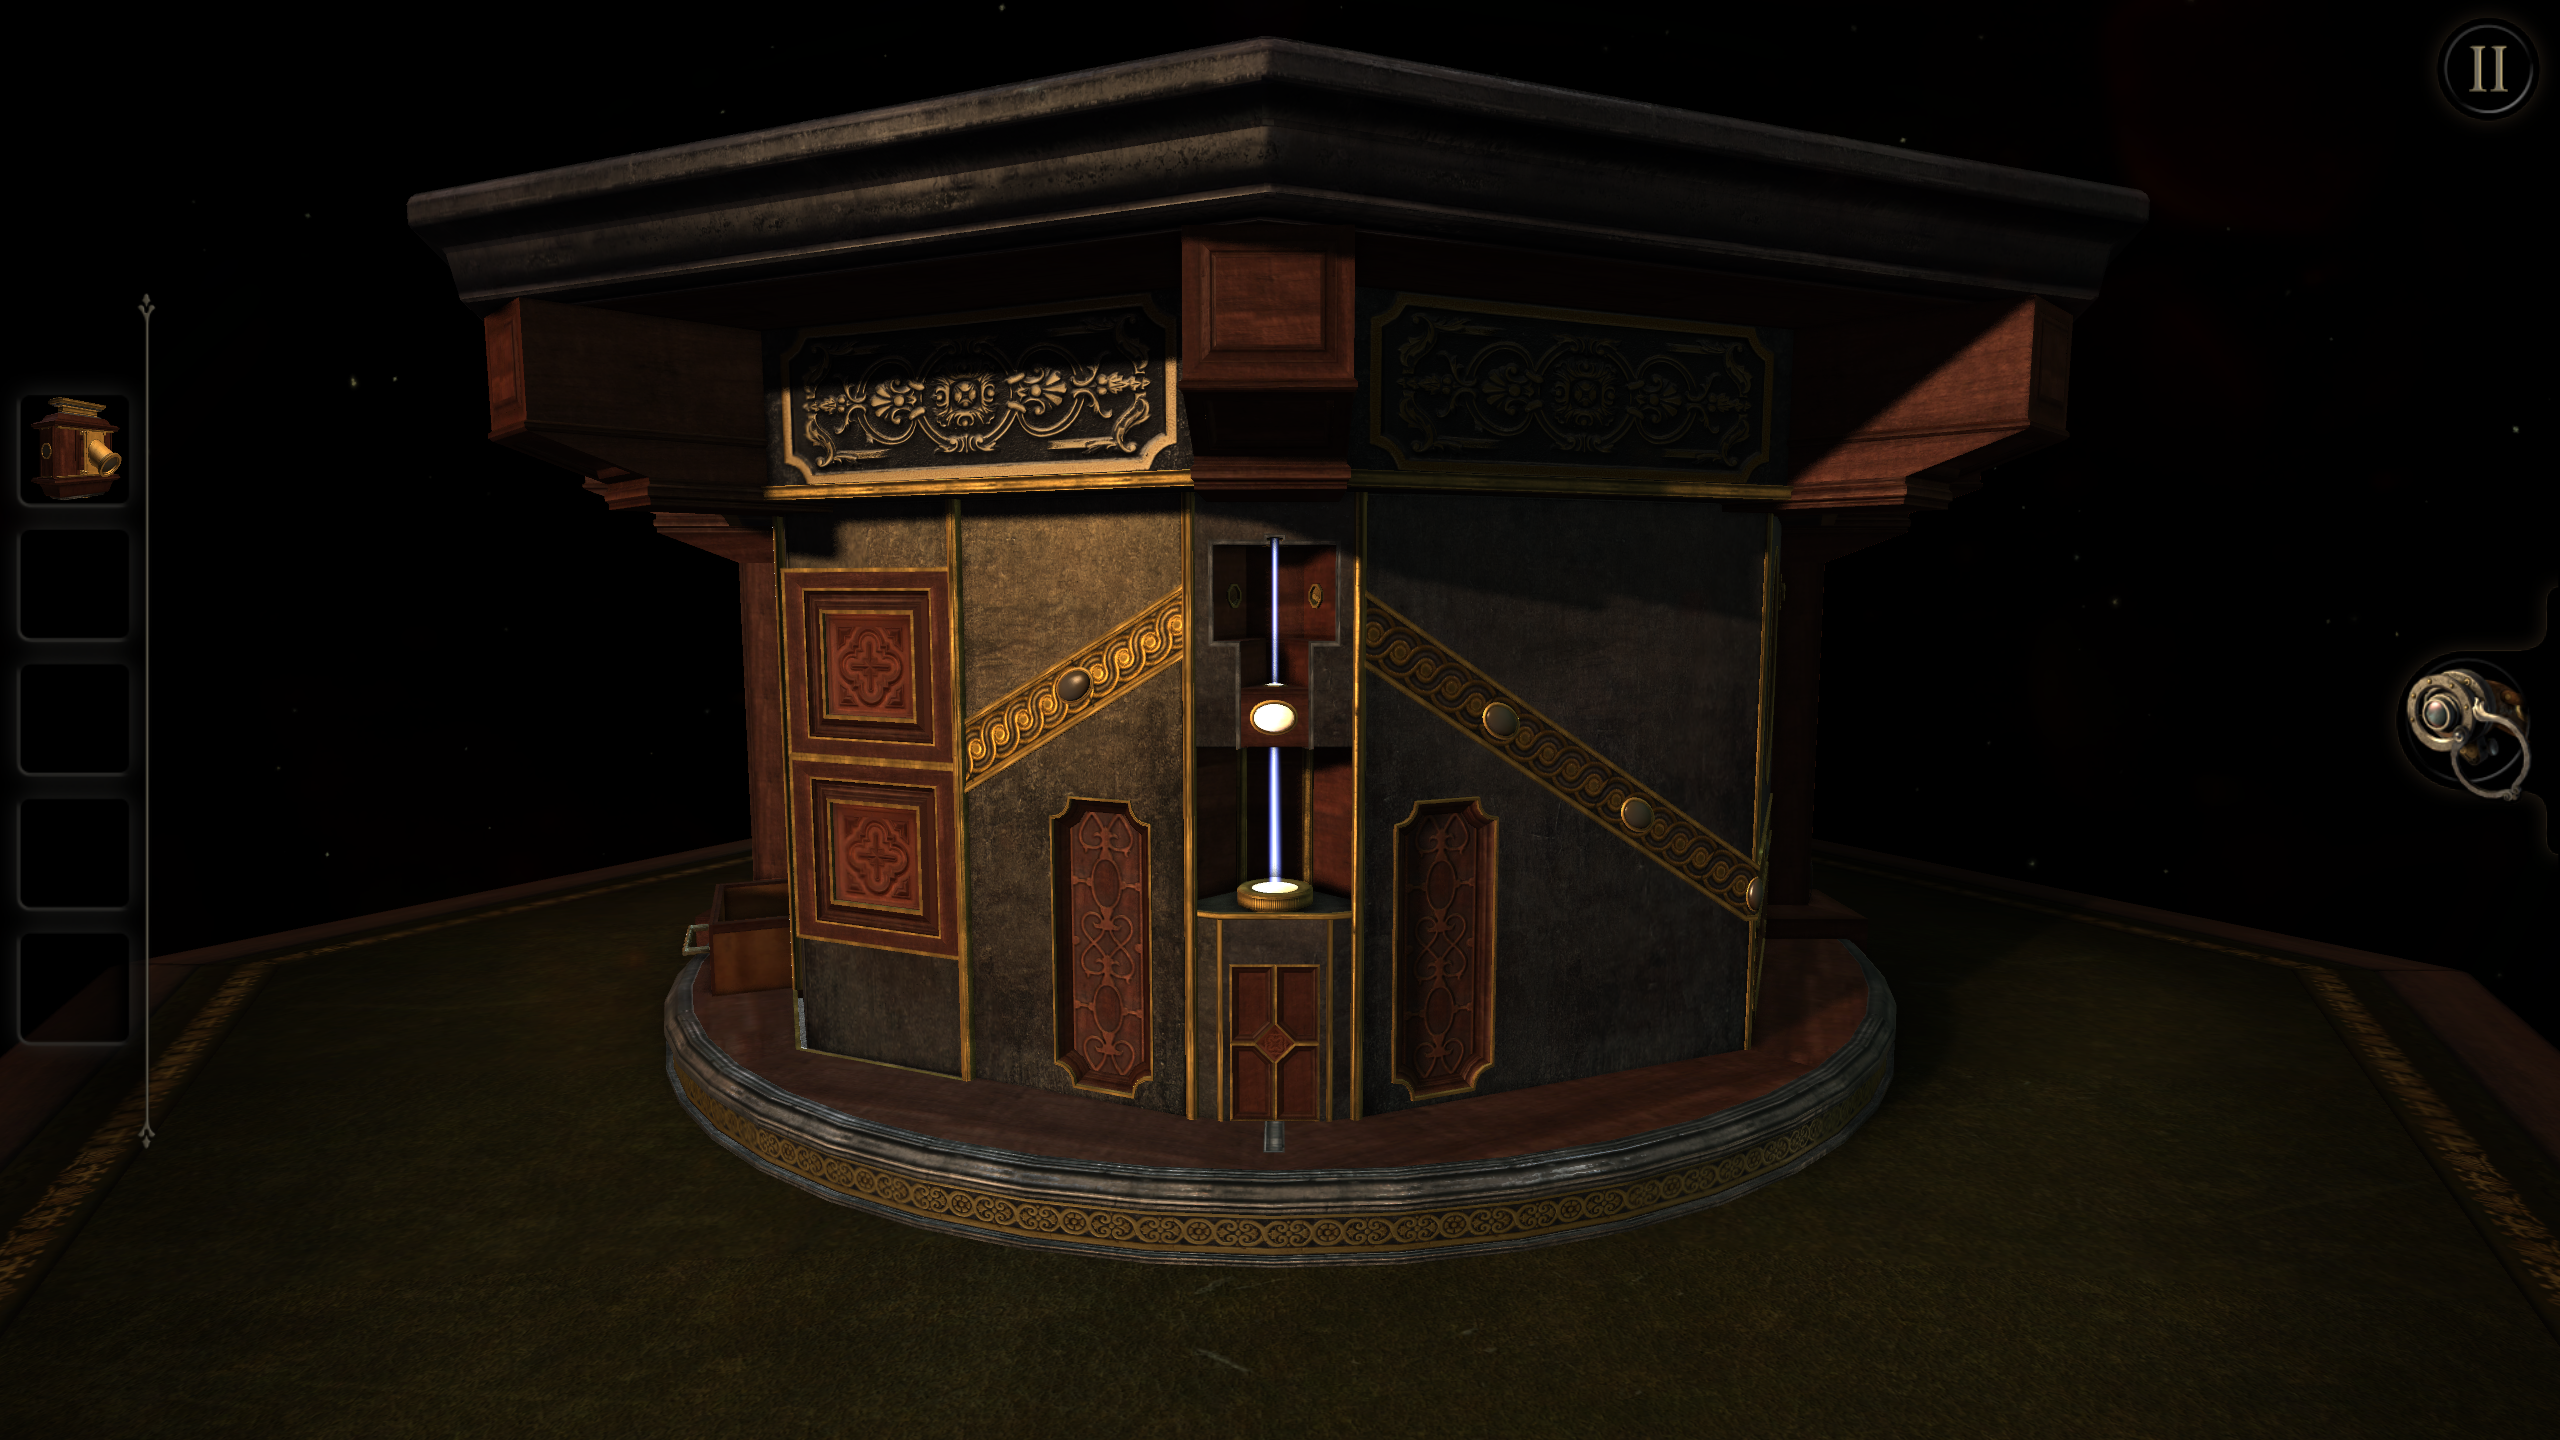
Read Note 1/7 on top of the mechanism. Zoom in on the cavity at lower right and install the piece of cotton there. Use the knob at left to ignite the wick. Lift the lever at right to set up the projector. Zoom in on the left side of the projector box and unlatch the door to disclose some stationary gears. Use the winder here to start up the kinetoscope. Put the telescope onto the U-shaped holders. Wear the eyepiece, then look through the telescope to view a movie in which a faceless man makes it quite clear that today's code word is "TRIAL". A circular metal panel opens up; solve a concentric-rings puzzle with the eyepiece as before. Pick up a brass plate with the letter L. We're now finished with this side of the box.
Face this side of the puzzle box. Zoom in on the top part, attach the plate at the right and adjust the dials to spell TRIAL. The first of three seals has been completed.
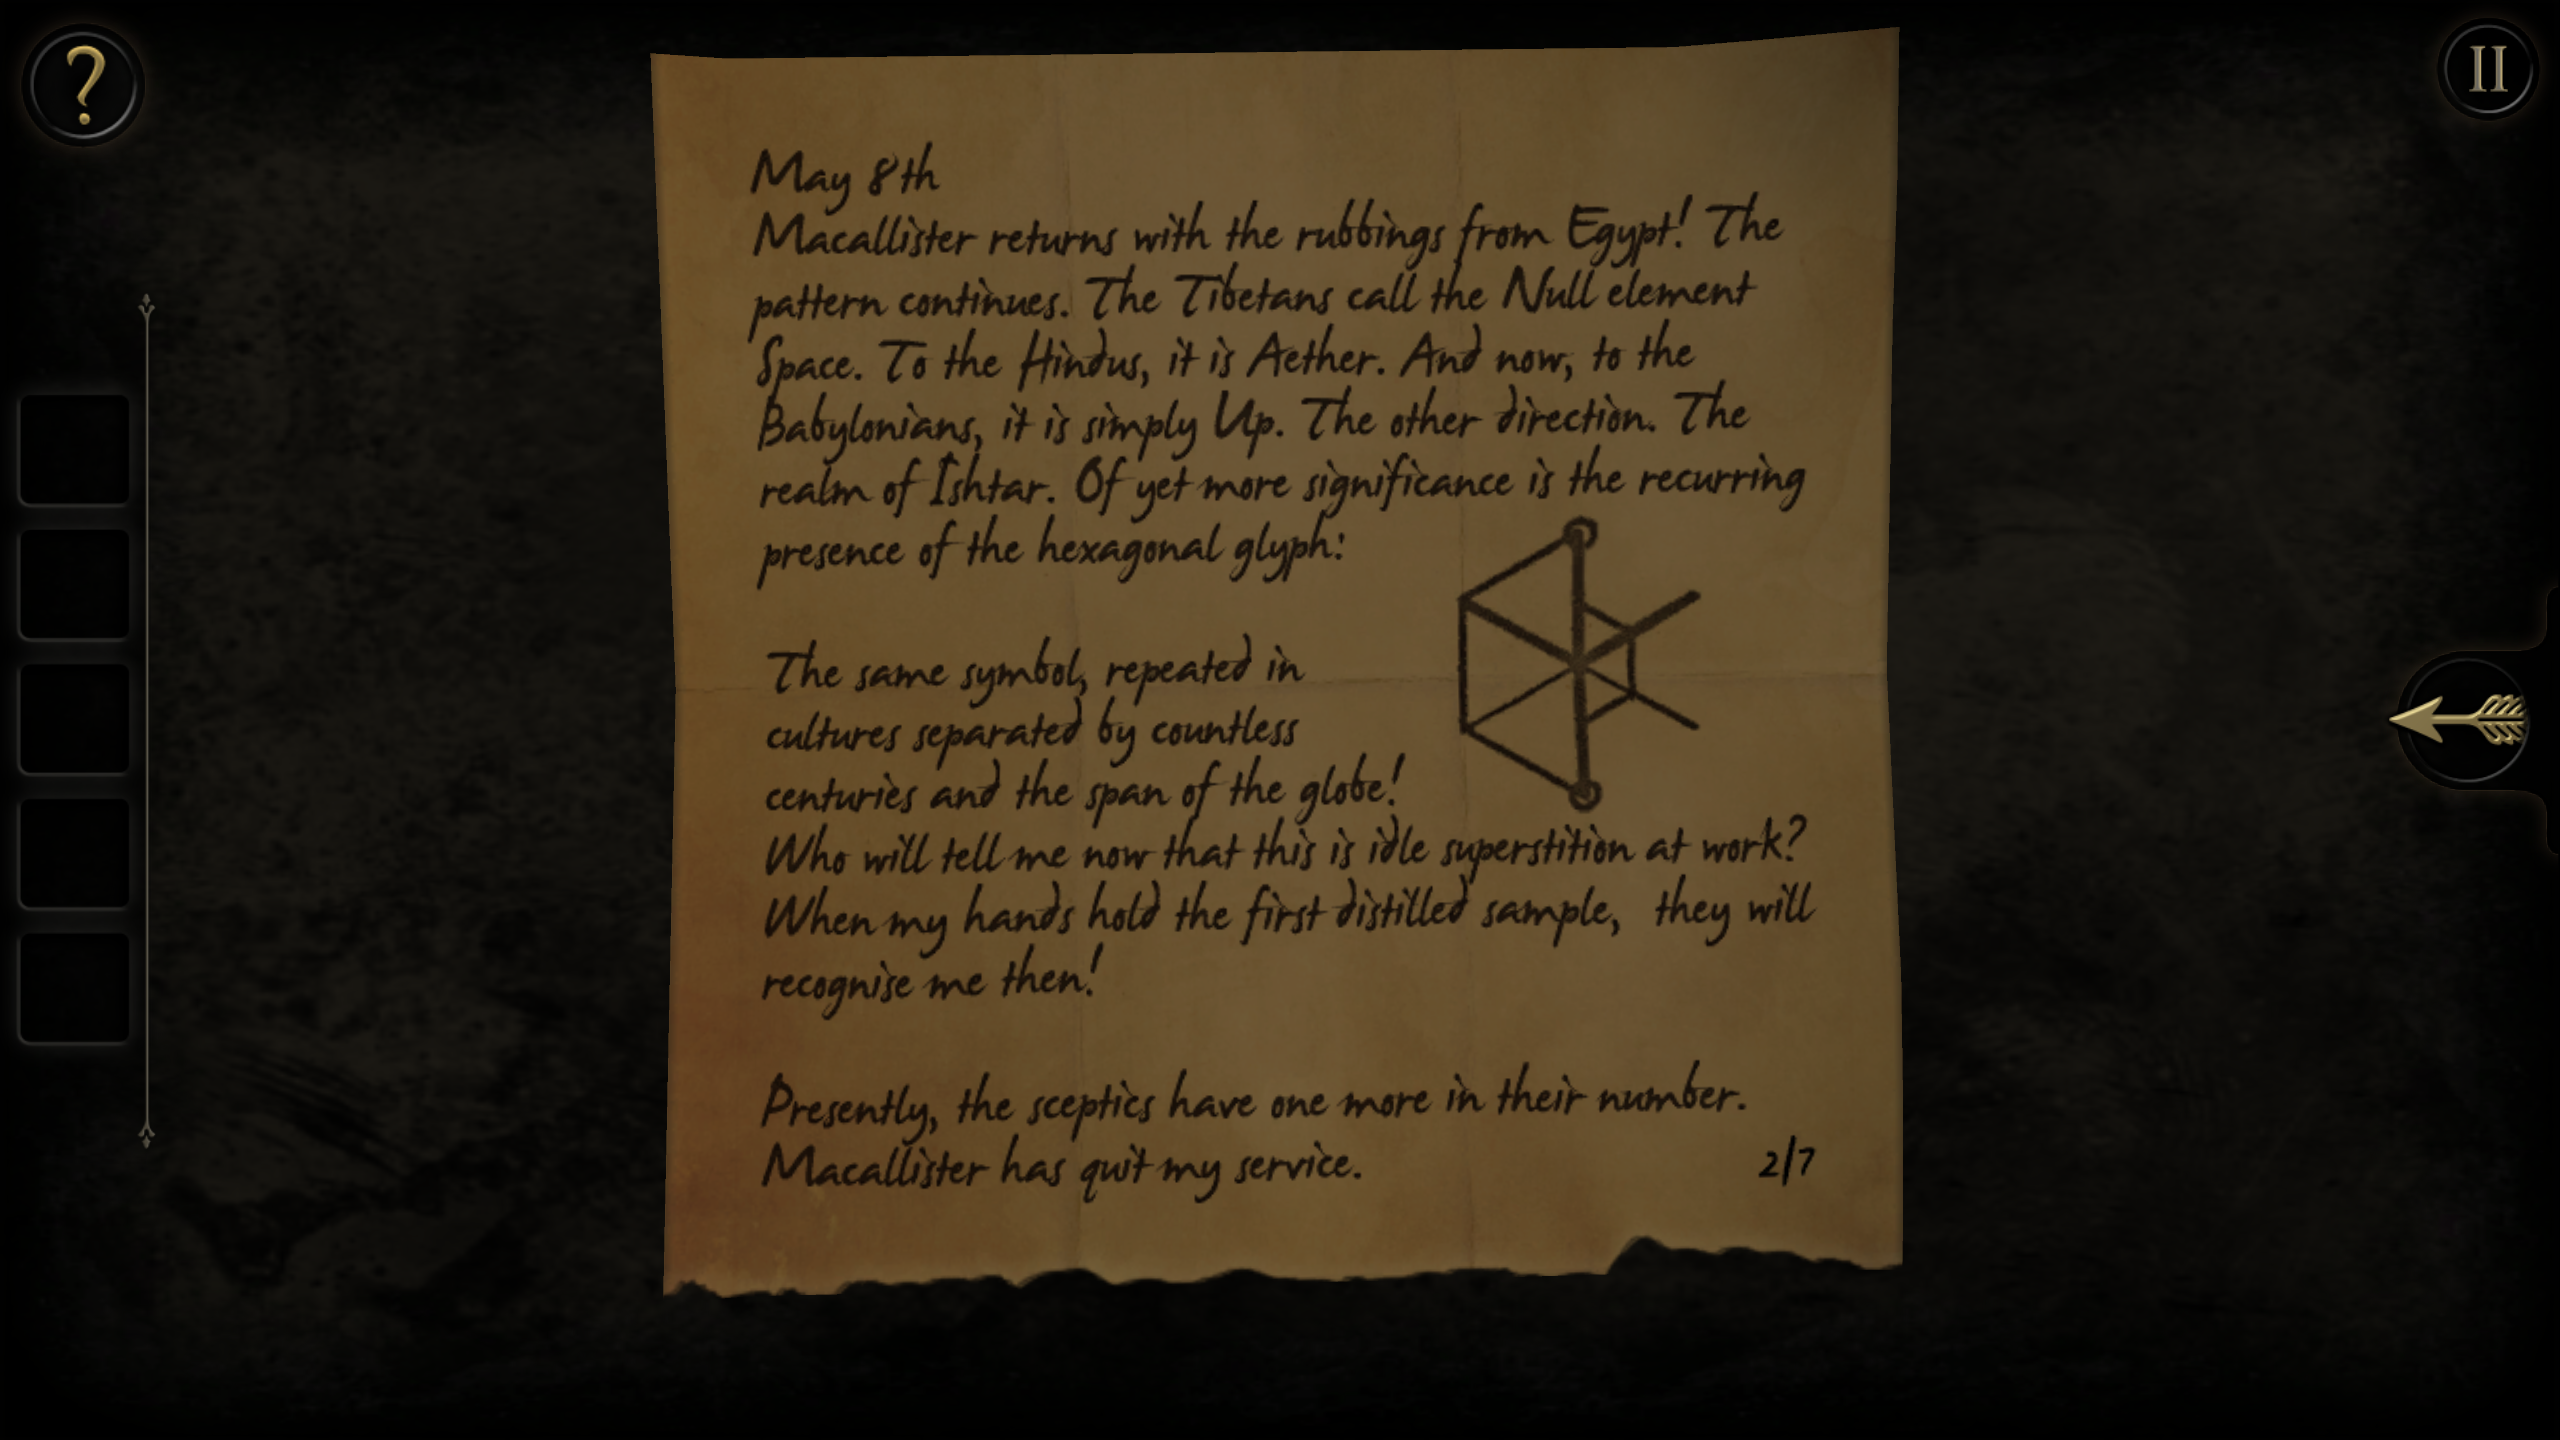
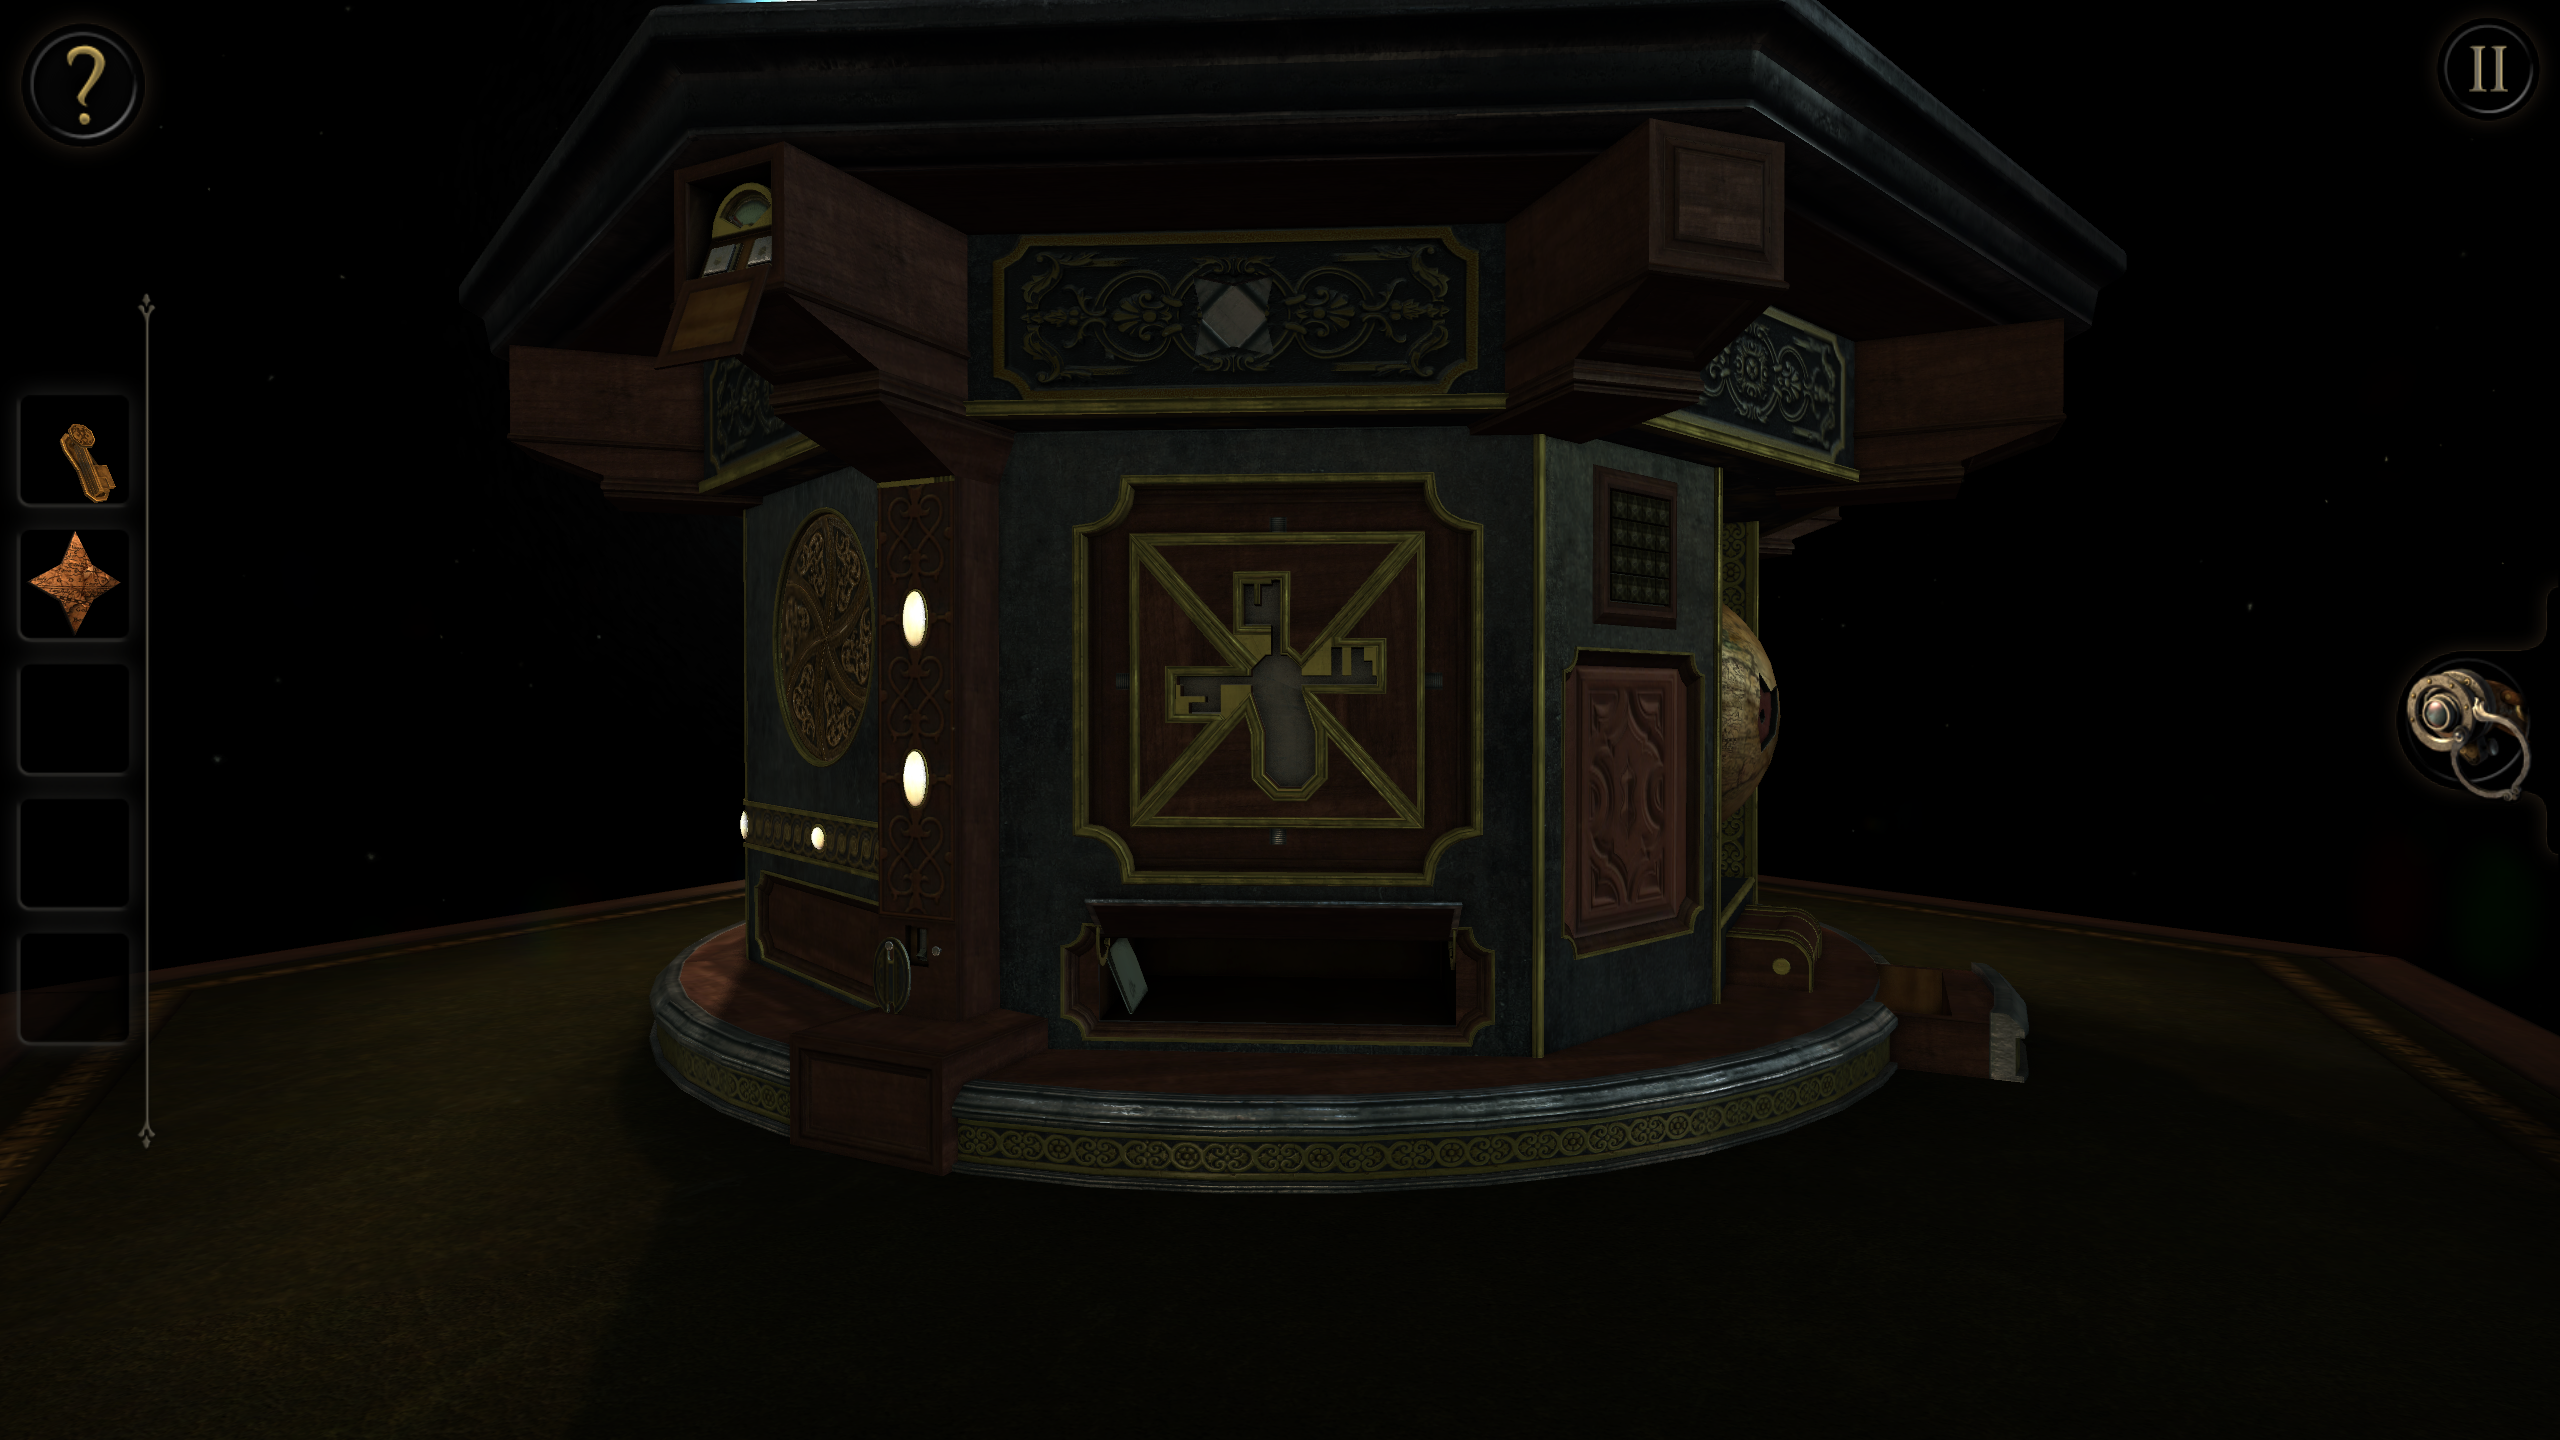
A safe is extended from the panel below the letter code. Look at the back of it to see Note 2/7 with a picture of the standard symbol used throughout the game. Use the eyepiece to reveal the numbers 2 and 5 here. Move the switch on the top metal border to disclose a puzzle with a central tilting platform. Slowly move the cursor around the circular platform to turn on each of the four lights one at a time by orienting it to face upwards. A lower horizontal panel opens up; use the eyepiece to align the pattern. Insert the heavy cast iron key into the horizontal panel and turn it to unlock a drawer at right. Take a small cabinet key from the drawer. Insert the key into the front of the safe and turn it, then pick up an enameled brass star inside. The keyhole on the safe changes for future use. Go to the very top of the hexagonal puzzle box and put the star into one of the six sides, which opens the top level of the box.
Read Note 3/7 here. Rotate around the top of the box and pick up a brass ring with markings. Go back to the safe and put the ring on its left side. The objective is to move all six sliders out by entering the safe combination using the pointer on the dial, which is initially pointing up (North):
- Move dial counterclockwise to NW (1 switch is released)Another dial is extended; enter the two numbers 2 5 you saw earlier with the eyepiece. Pick up another adjustable key, which you'll find easier to configure when a template is provided in the inventory view after you first attempt to use the key in the front of the safe. This technique can be used for other adjustable keys in the game. After you open the safe, pick up a circular plate with a star emblem. We're now finished with this side of the box.
- Move dial clockwise to E (2 switches are released)
- Move dial counterclockwise to W (1 switch is released)
- Move dial clockwise to SW (the final 2 switches are released)
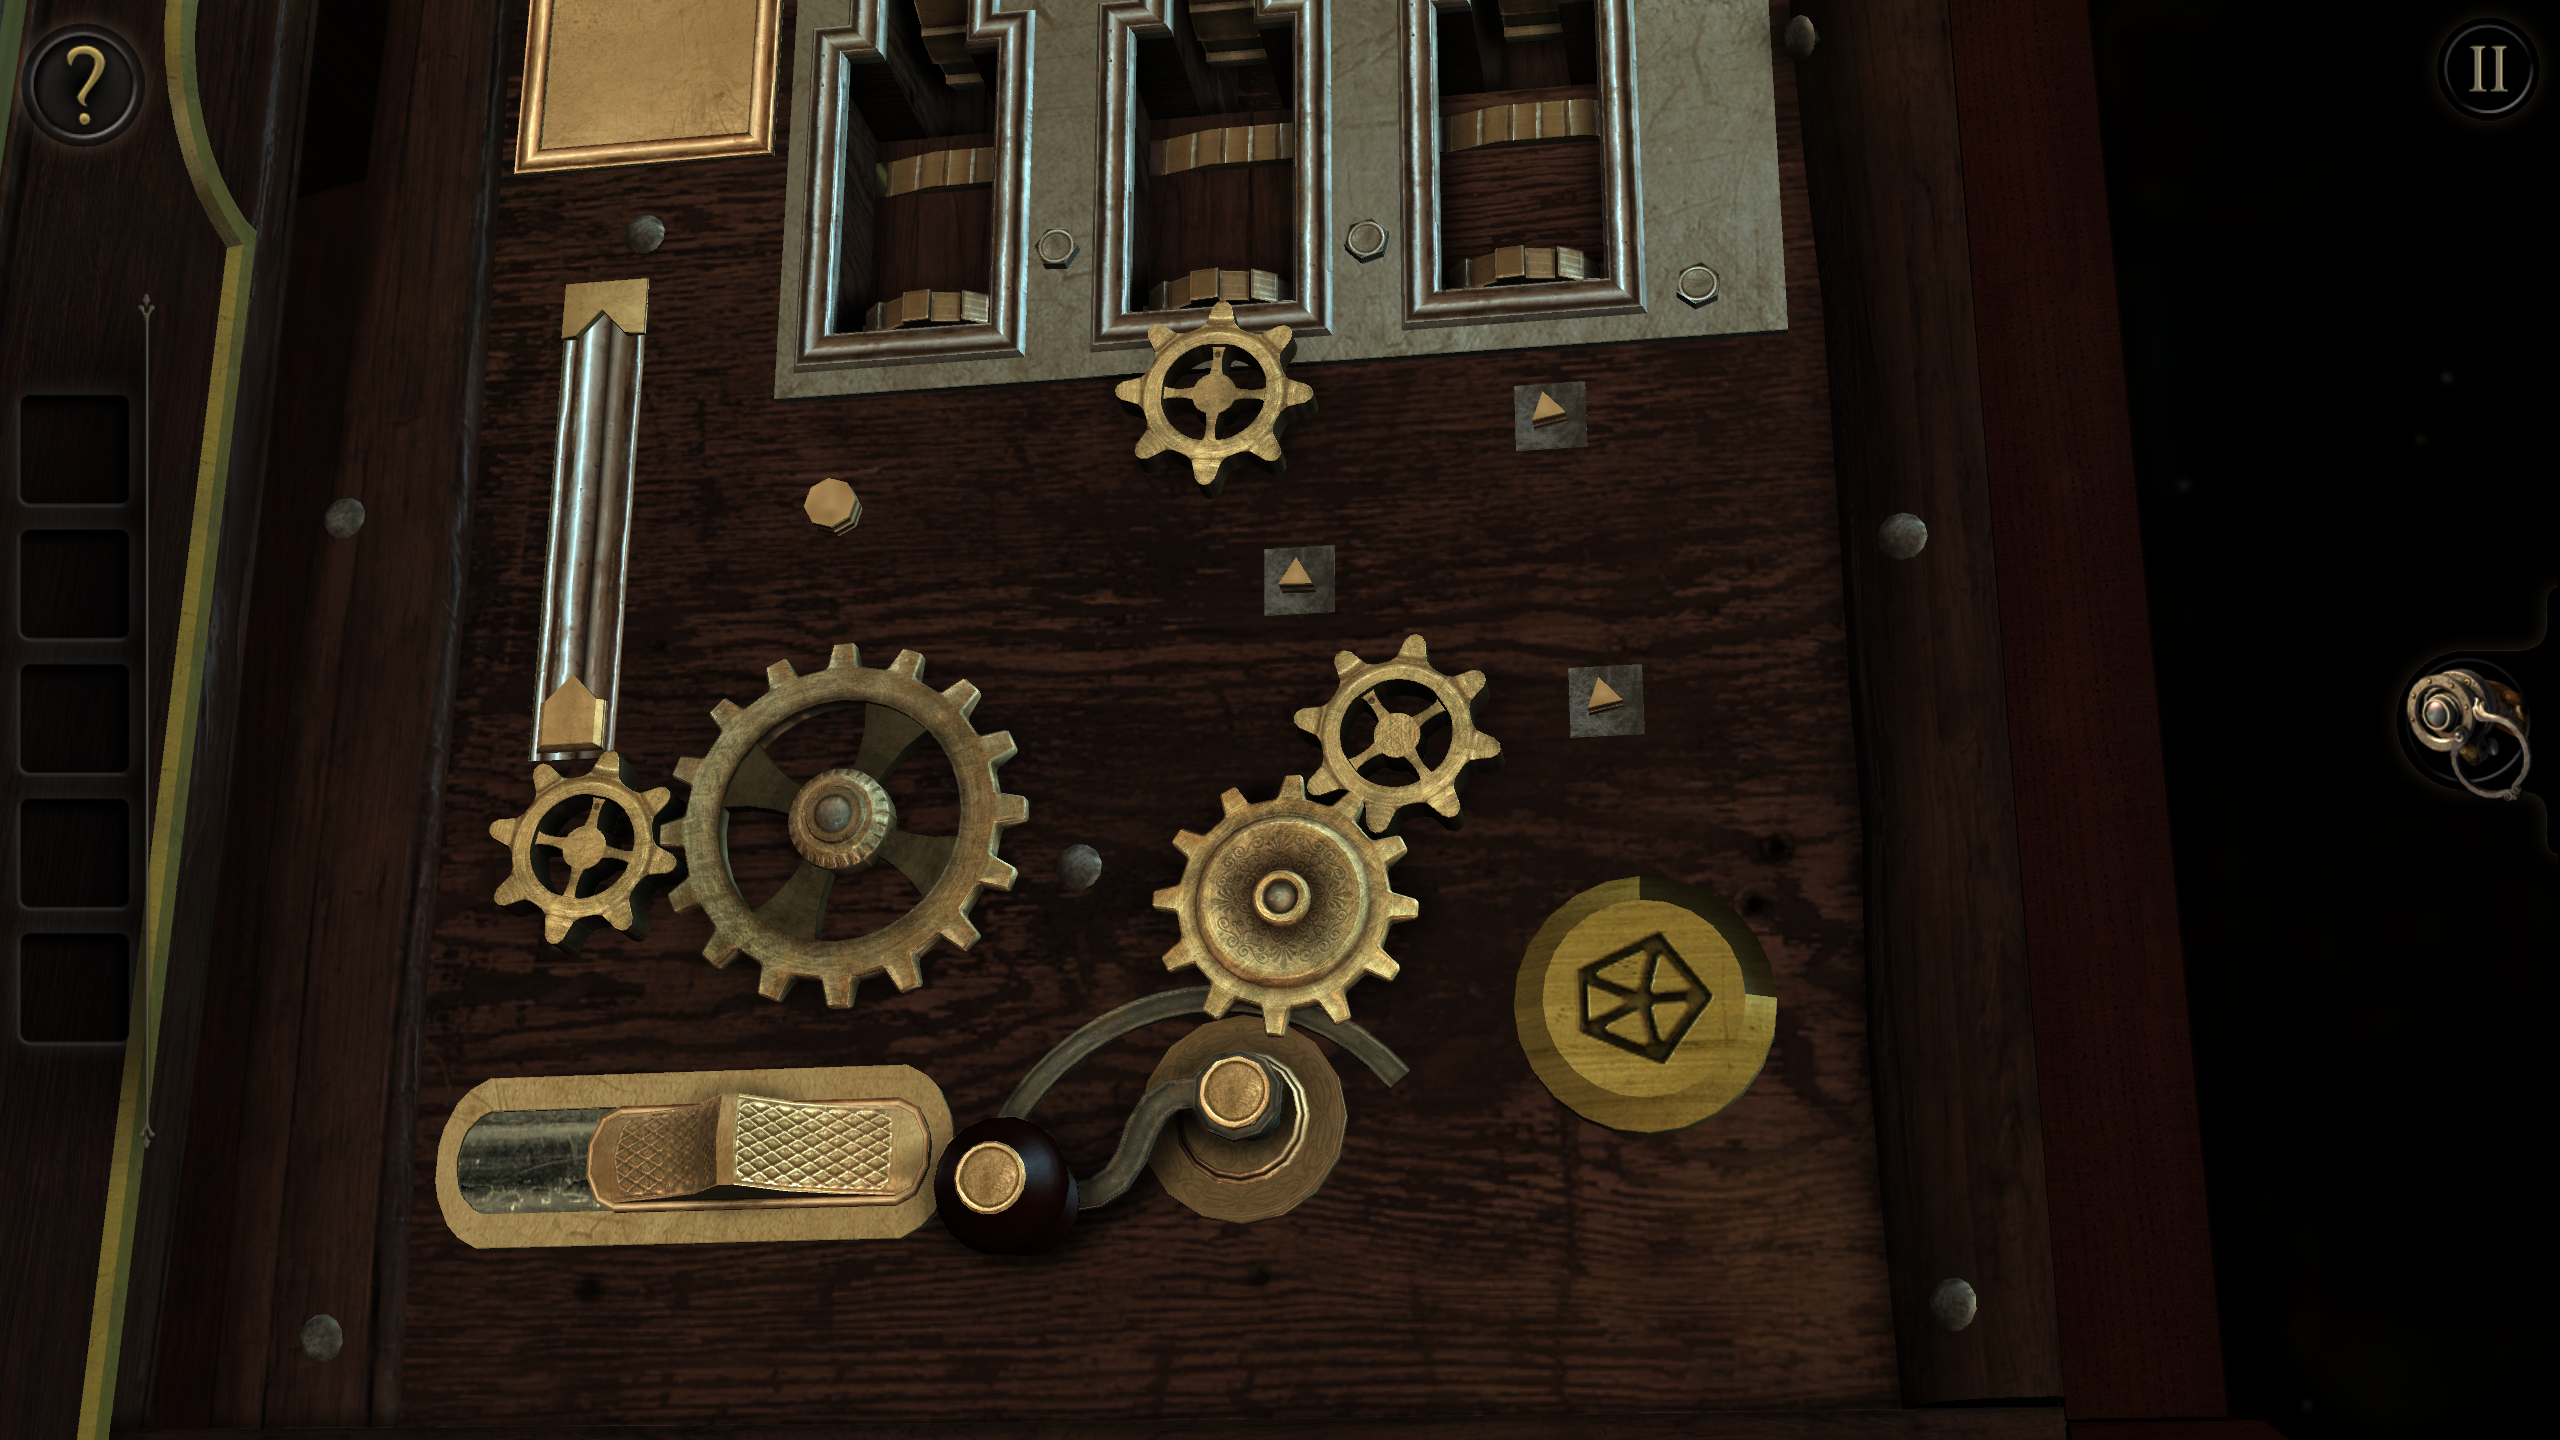
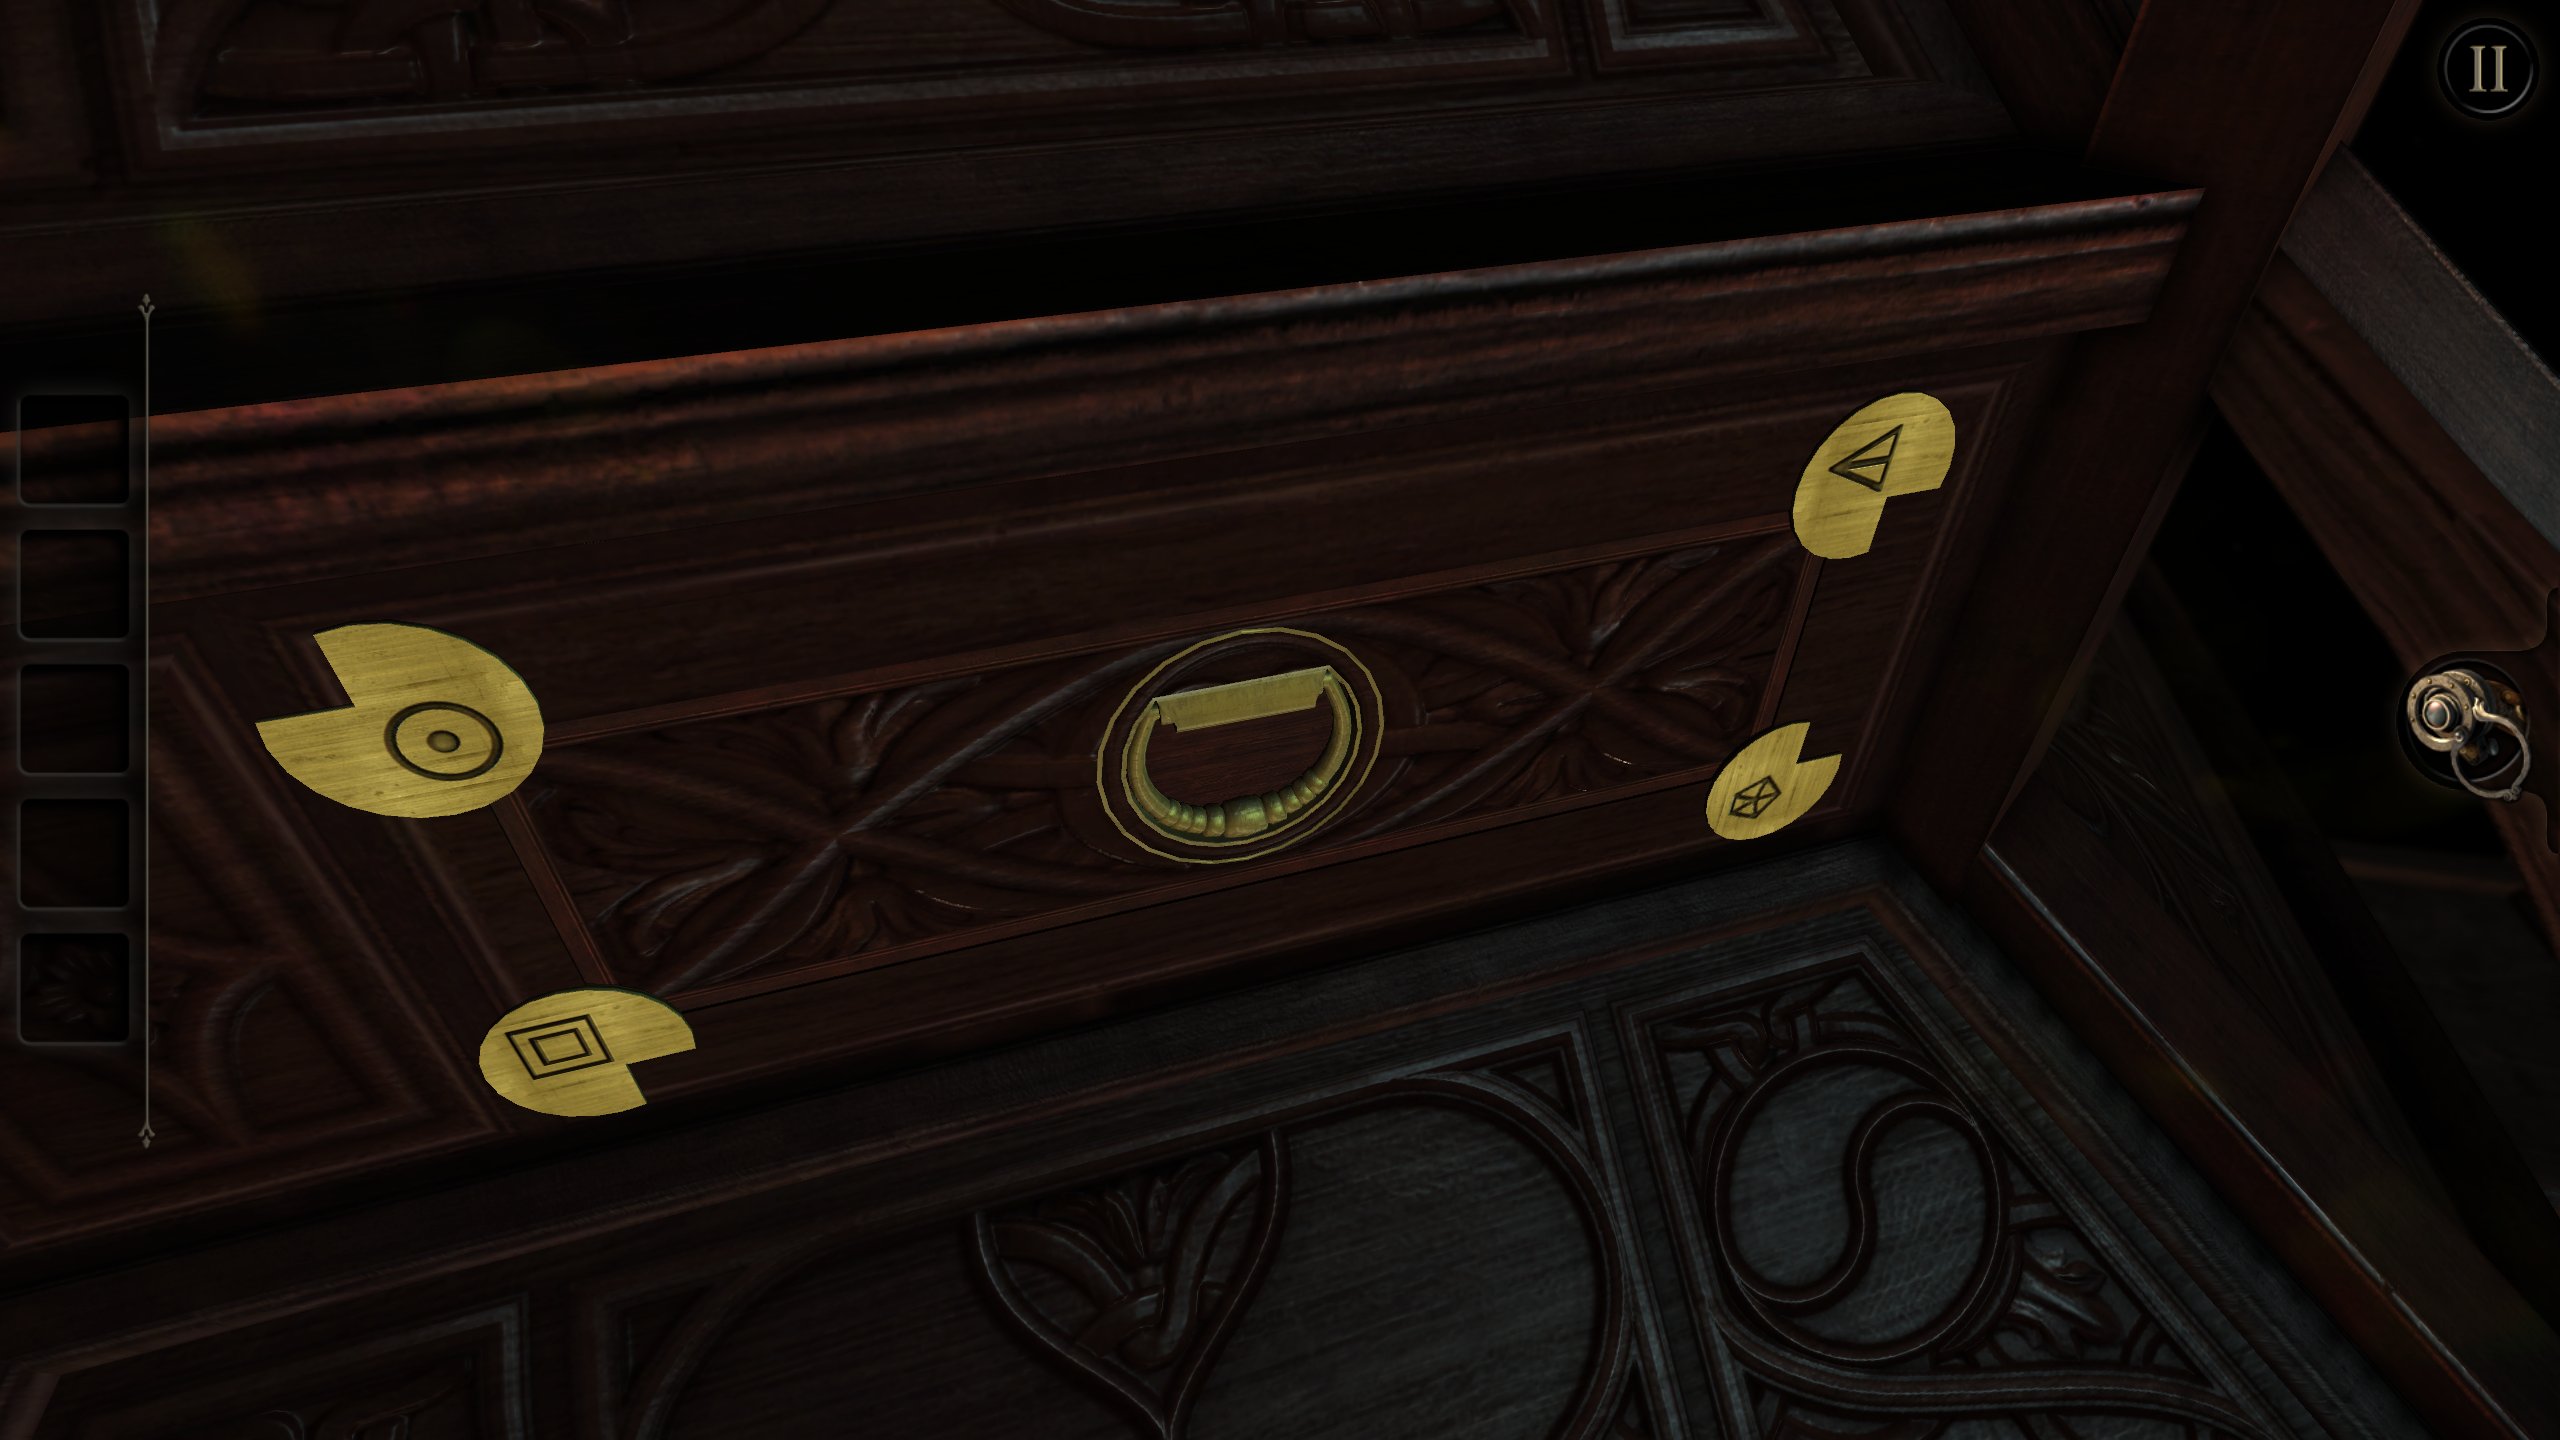
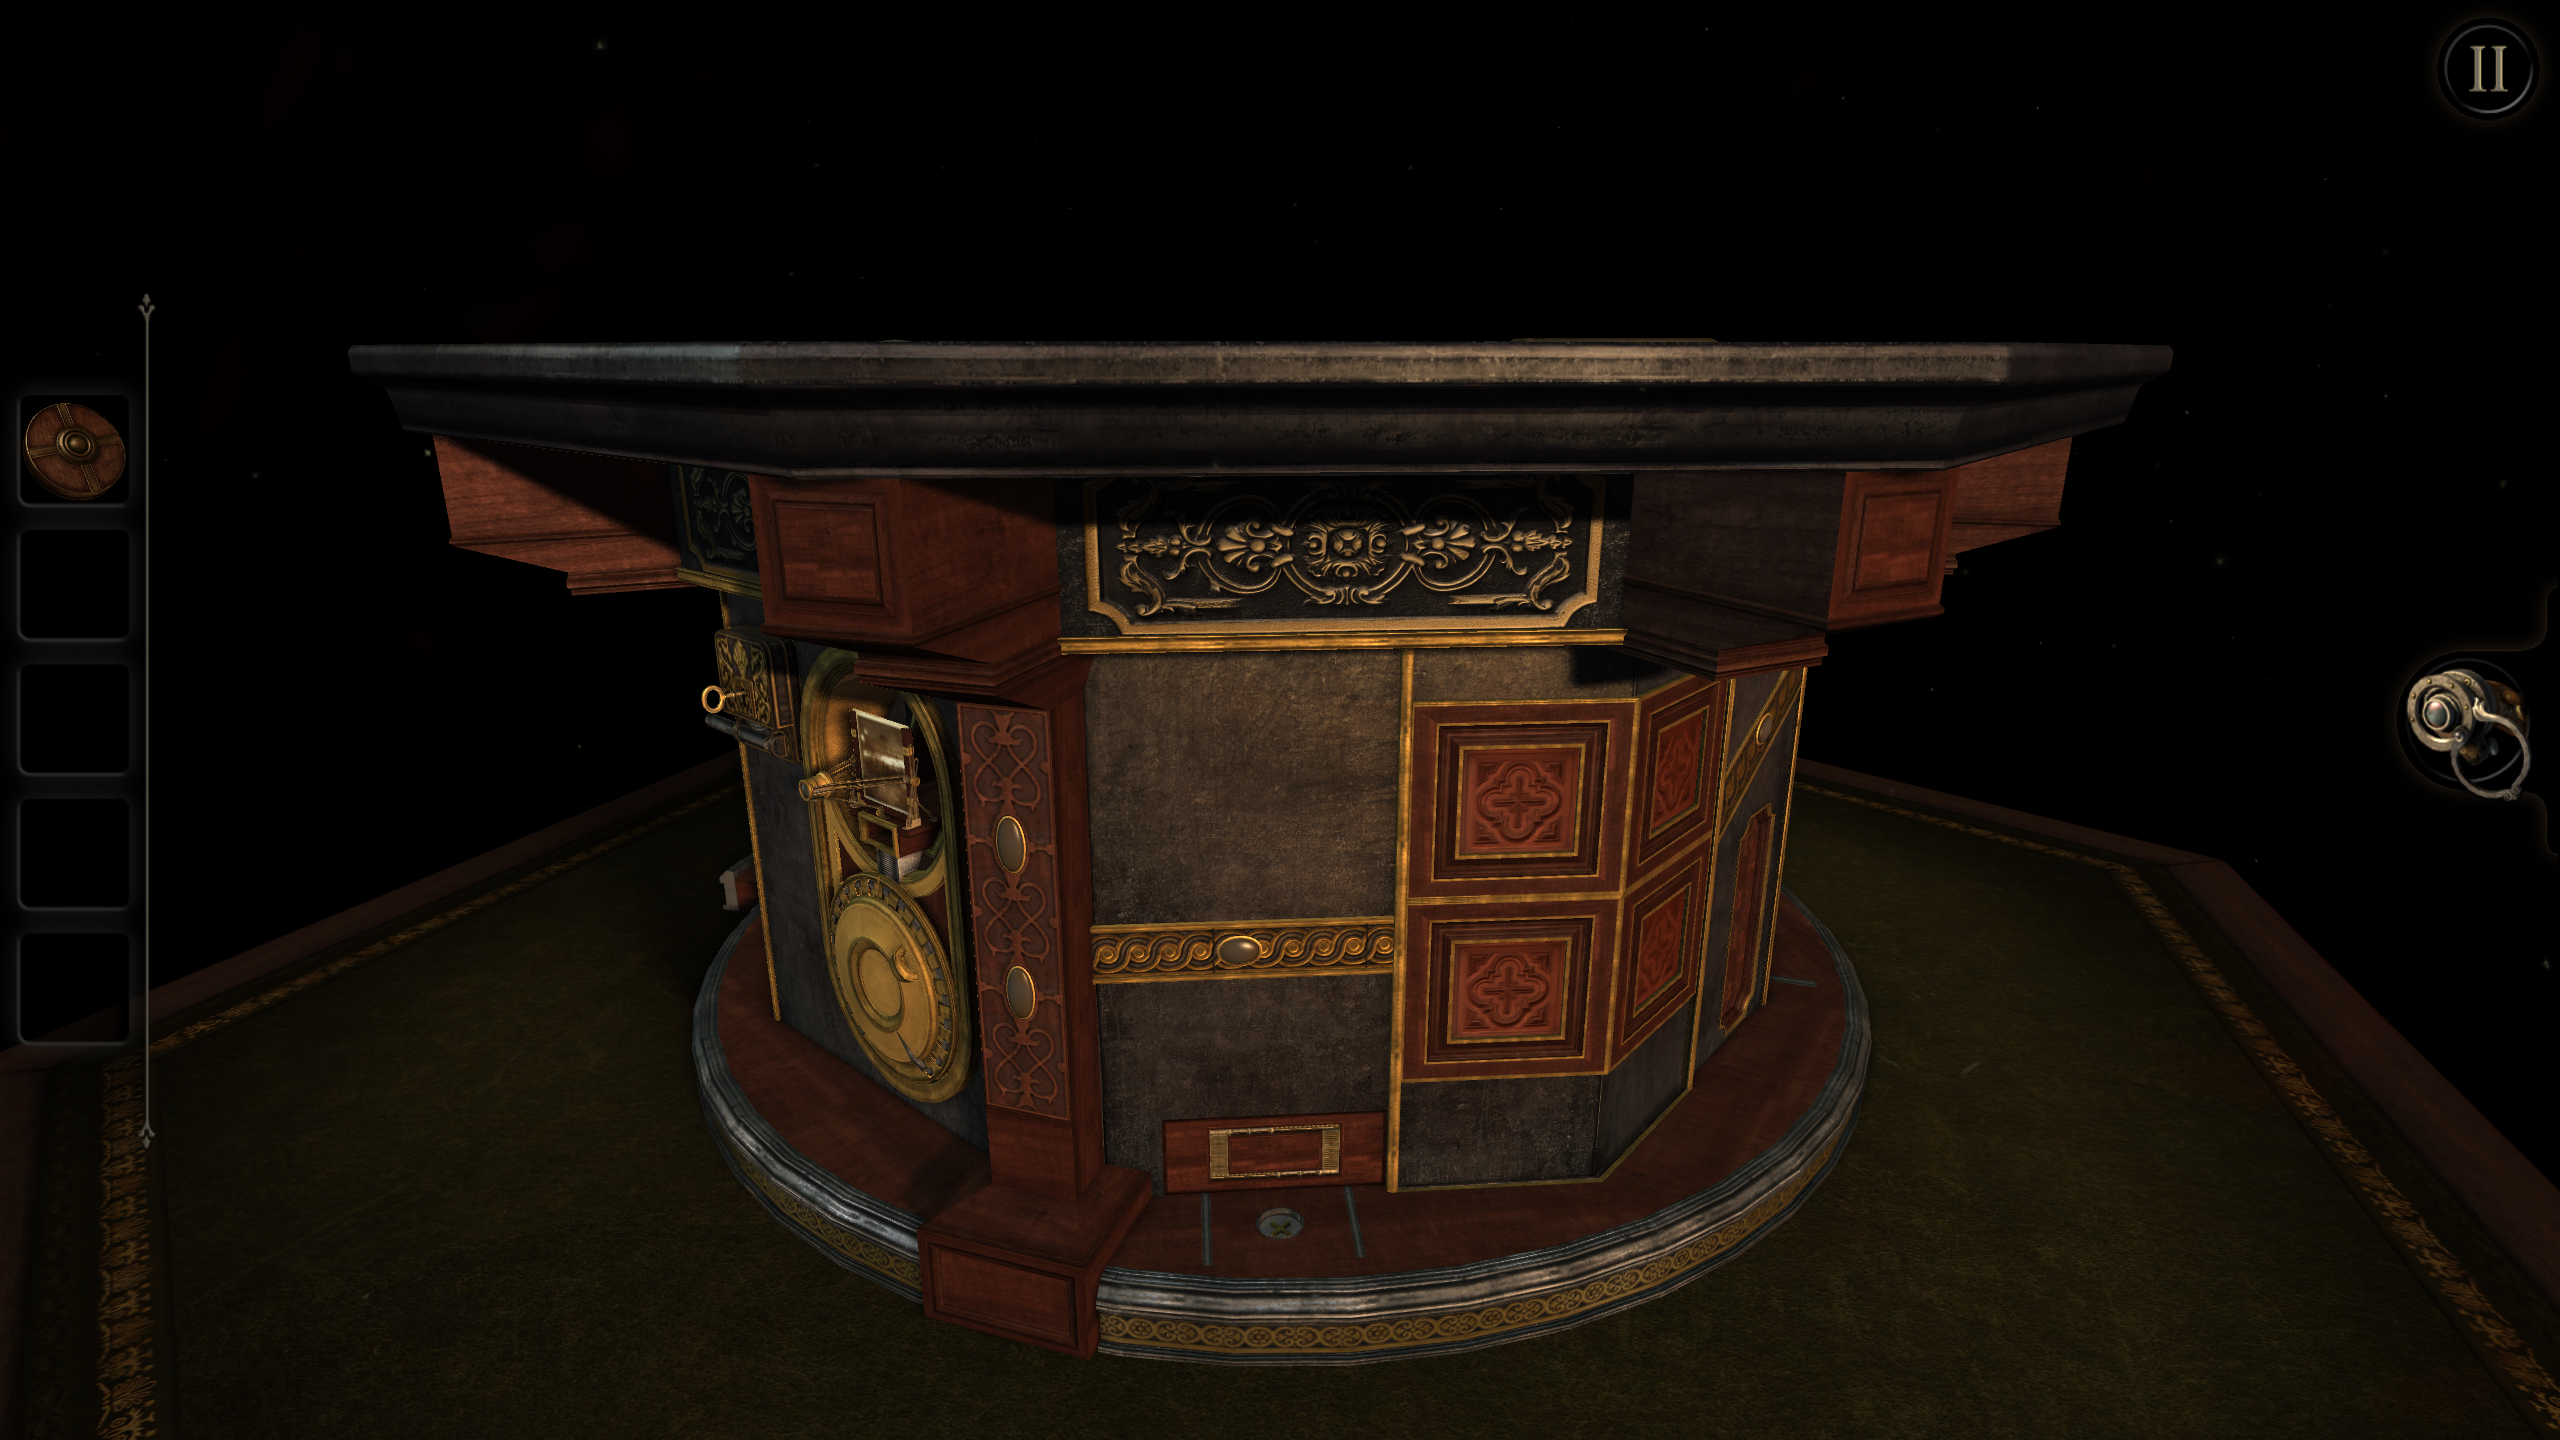
Go to the side of the box with the gear symbol. Put the dial in the hole to complete the second seal. A constellation machine is extruded. Zoom in on the left side of the machine. Move the sliding switch to the left to engage the black-handled crank with the left gears. Rotate the crank to raise up the upper part of the puzzle box. Zoom in on the drawer here and note the symbols in the corners and their required openings to release the drawer:
Dials elsewhere on the puzzle box are used to control these orientations. Each dial has a shaded corner where its opening is.
Circle - lower right Triangle - lower left Squares - upper right Pentagon - upper left
- The squares dial is in front of one of the knights on the upper level.Go back to the drawer at the middle level of the puzzle box and open it to obtain an elastic band and a large cog. Put the large cog on the upper left post on the left side of the constellation machine. Rotate the crank to open a hatch at upper left and obtain a small screwdriver. Use the screwdriver on the other side of the machine to remove the four screws on a brass plate. Push the button just when the gaps in the gears appear (multiple tries may be necessary). Pick up a peculiar folding key.- The pentagon dial is on the left side of the constellation machine.
- The circle dial is on the box post just to the left of the constellation machine.
- The triangle dial is behind a plate with its symbol on the right side of the constellation machine. To reach it, slide up the plate and quickly rotate the dial inside as needed.
Go to the dim mid-level panel here. Configure the key to fit the lock, noting that two parts are used together to create the left side of the key. Pick up a medium sized cog when a section of the box extends.
Go back to the left side of the constellation machine and put the large cog onto the left triangular post. Move the sliding switch to the right and rotate the crank to activate more of the upper gears. From the front of the constellation machine, pick up another medium sized cog and put it onto the lower right triangular post on the left side of the machine. Move the large cog from the left post to the upper right post. Add the elastic band to connect the separated cogs. Rotate the crank to activate the clockwork on the front of the constellation machine. Press its button to obtain a long narrow steel tube. Examine the tube in inventory and open its end to get some kind of a small key and an old photograph. The back of the photo has a bible reference:
Rev. 6:05The number can also refer to a clock setting. Go back to the right side of the constellation machine and use the key to open the large panel there. Use the eyepiece to create the usual symbol by sliding the cube and rotating the end of the cylinder. It may be easier to set the cube and viewpoint first before rotating the cylinder. Pick up a small silver shield. Go back to the top of the puzzle box and put the shield on the gold knight. When he turns around, take the blue gem. Return to the front of the constellation machine and put the blue gem into the matching hole. Use the eyepiece to set the clock hands to 6:05, which completes Chapter 2.
When the Lamb opened the third seal, I heard the third living creature
say, "Come!" I looked, and there before me was a black horse!
Its rider was holding a pair of scales in his hand.
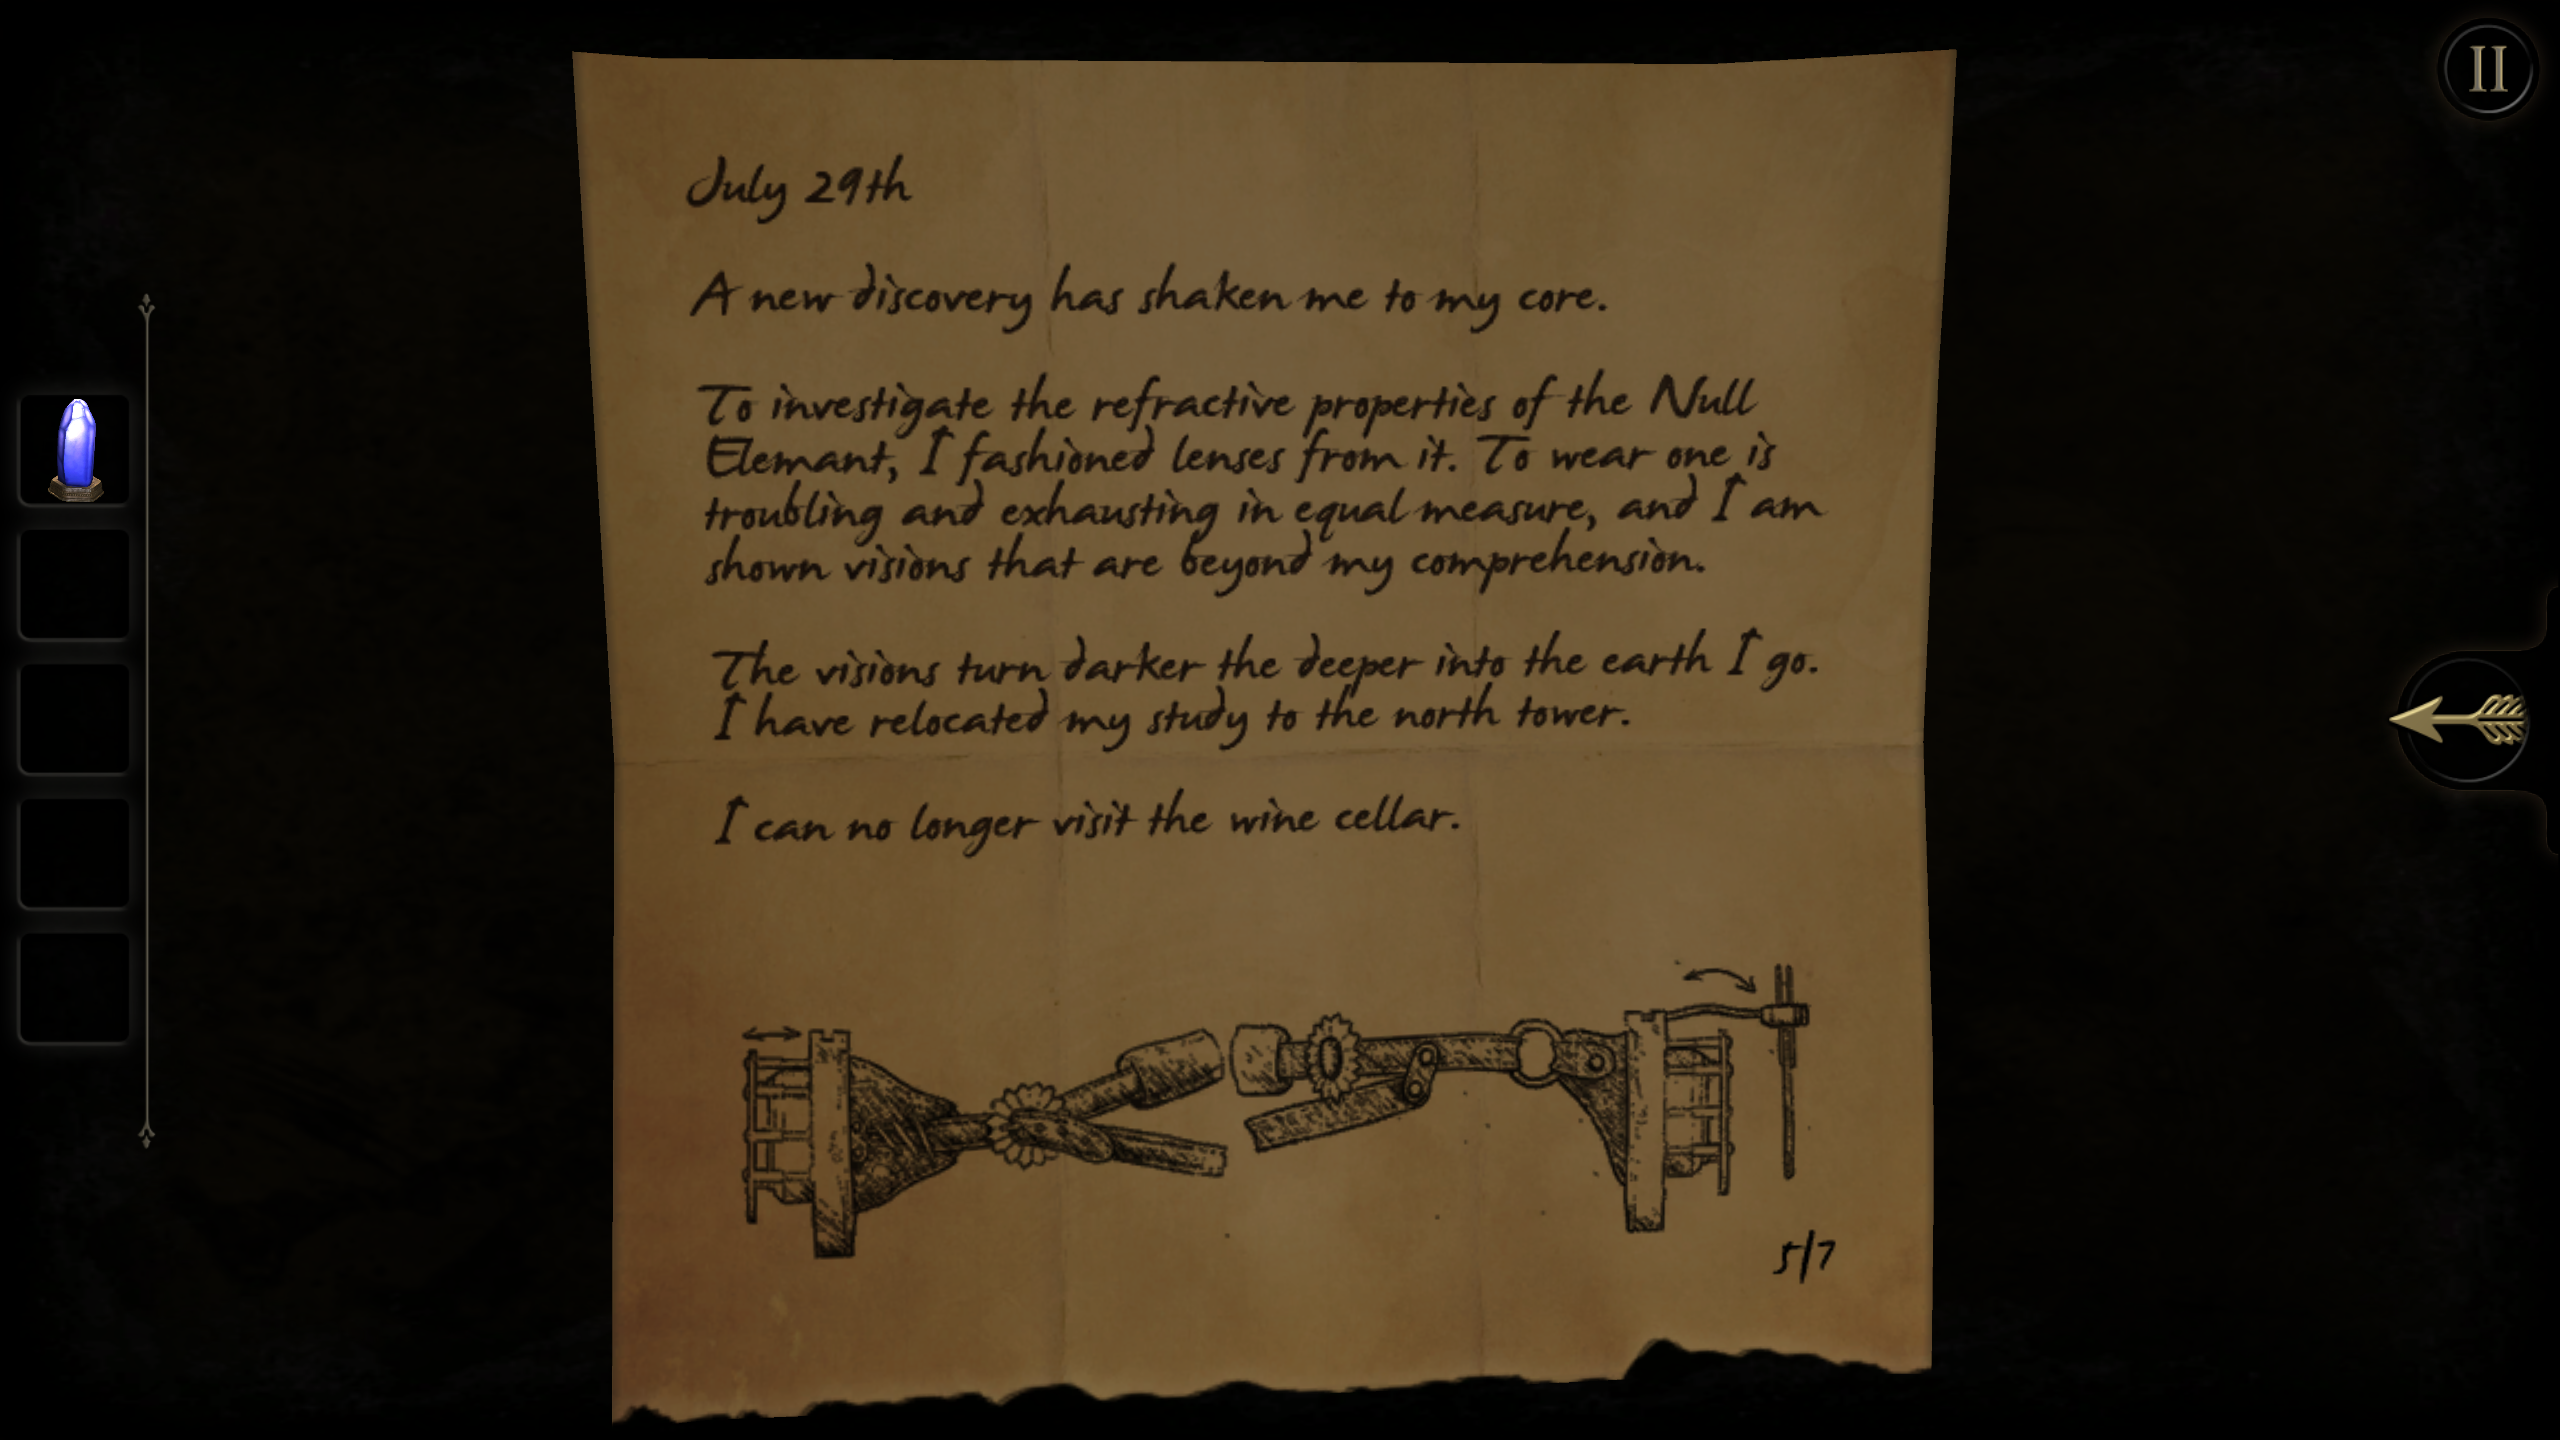
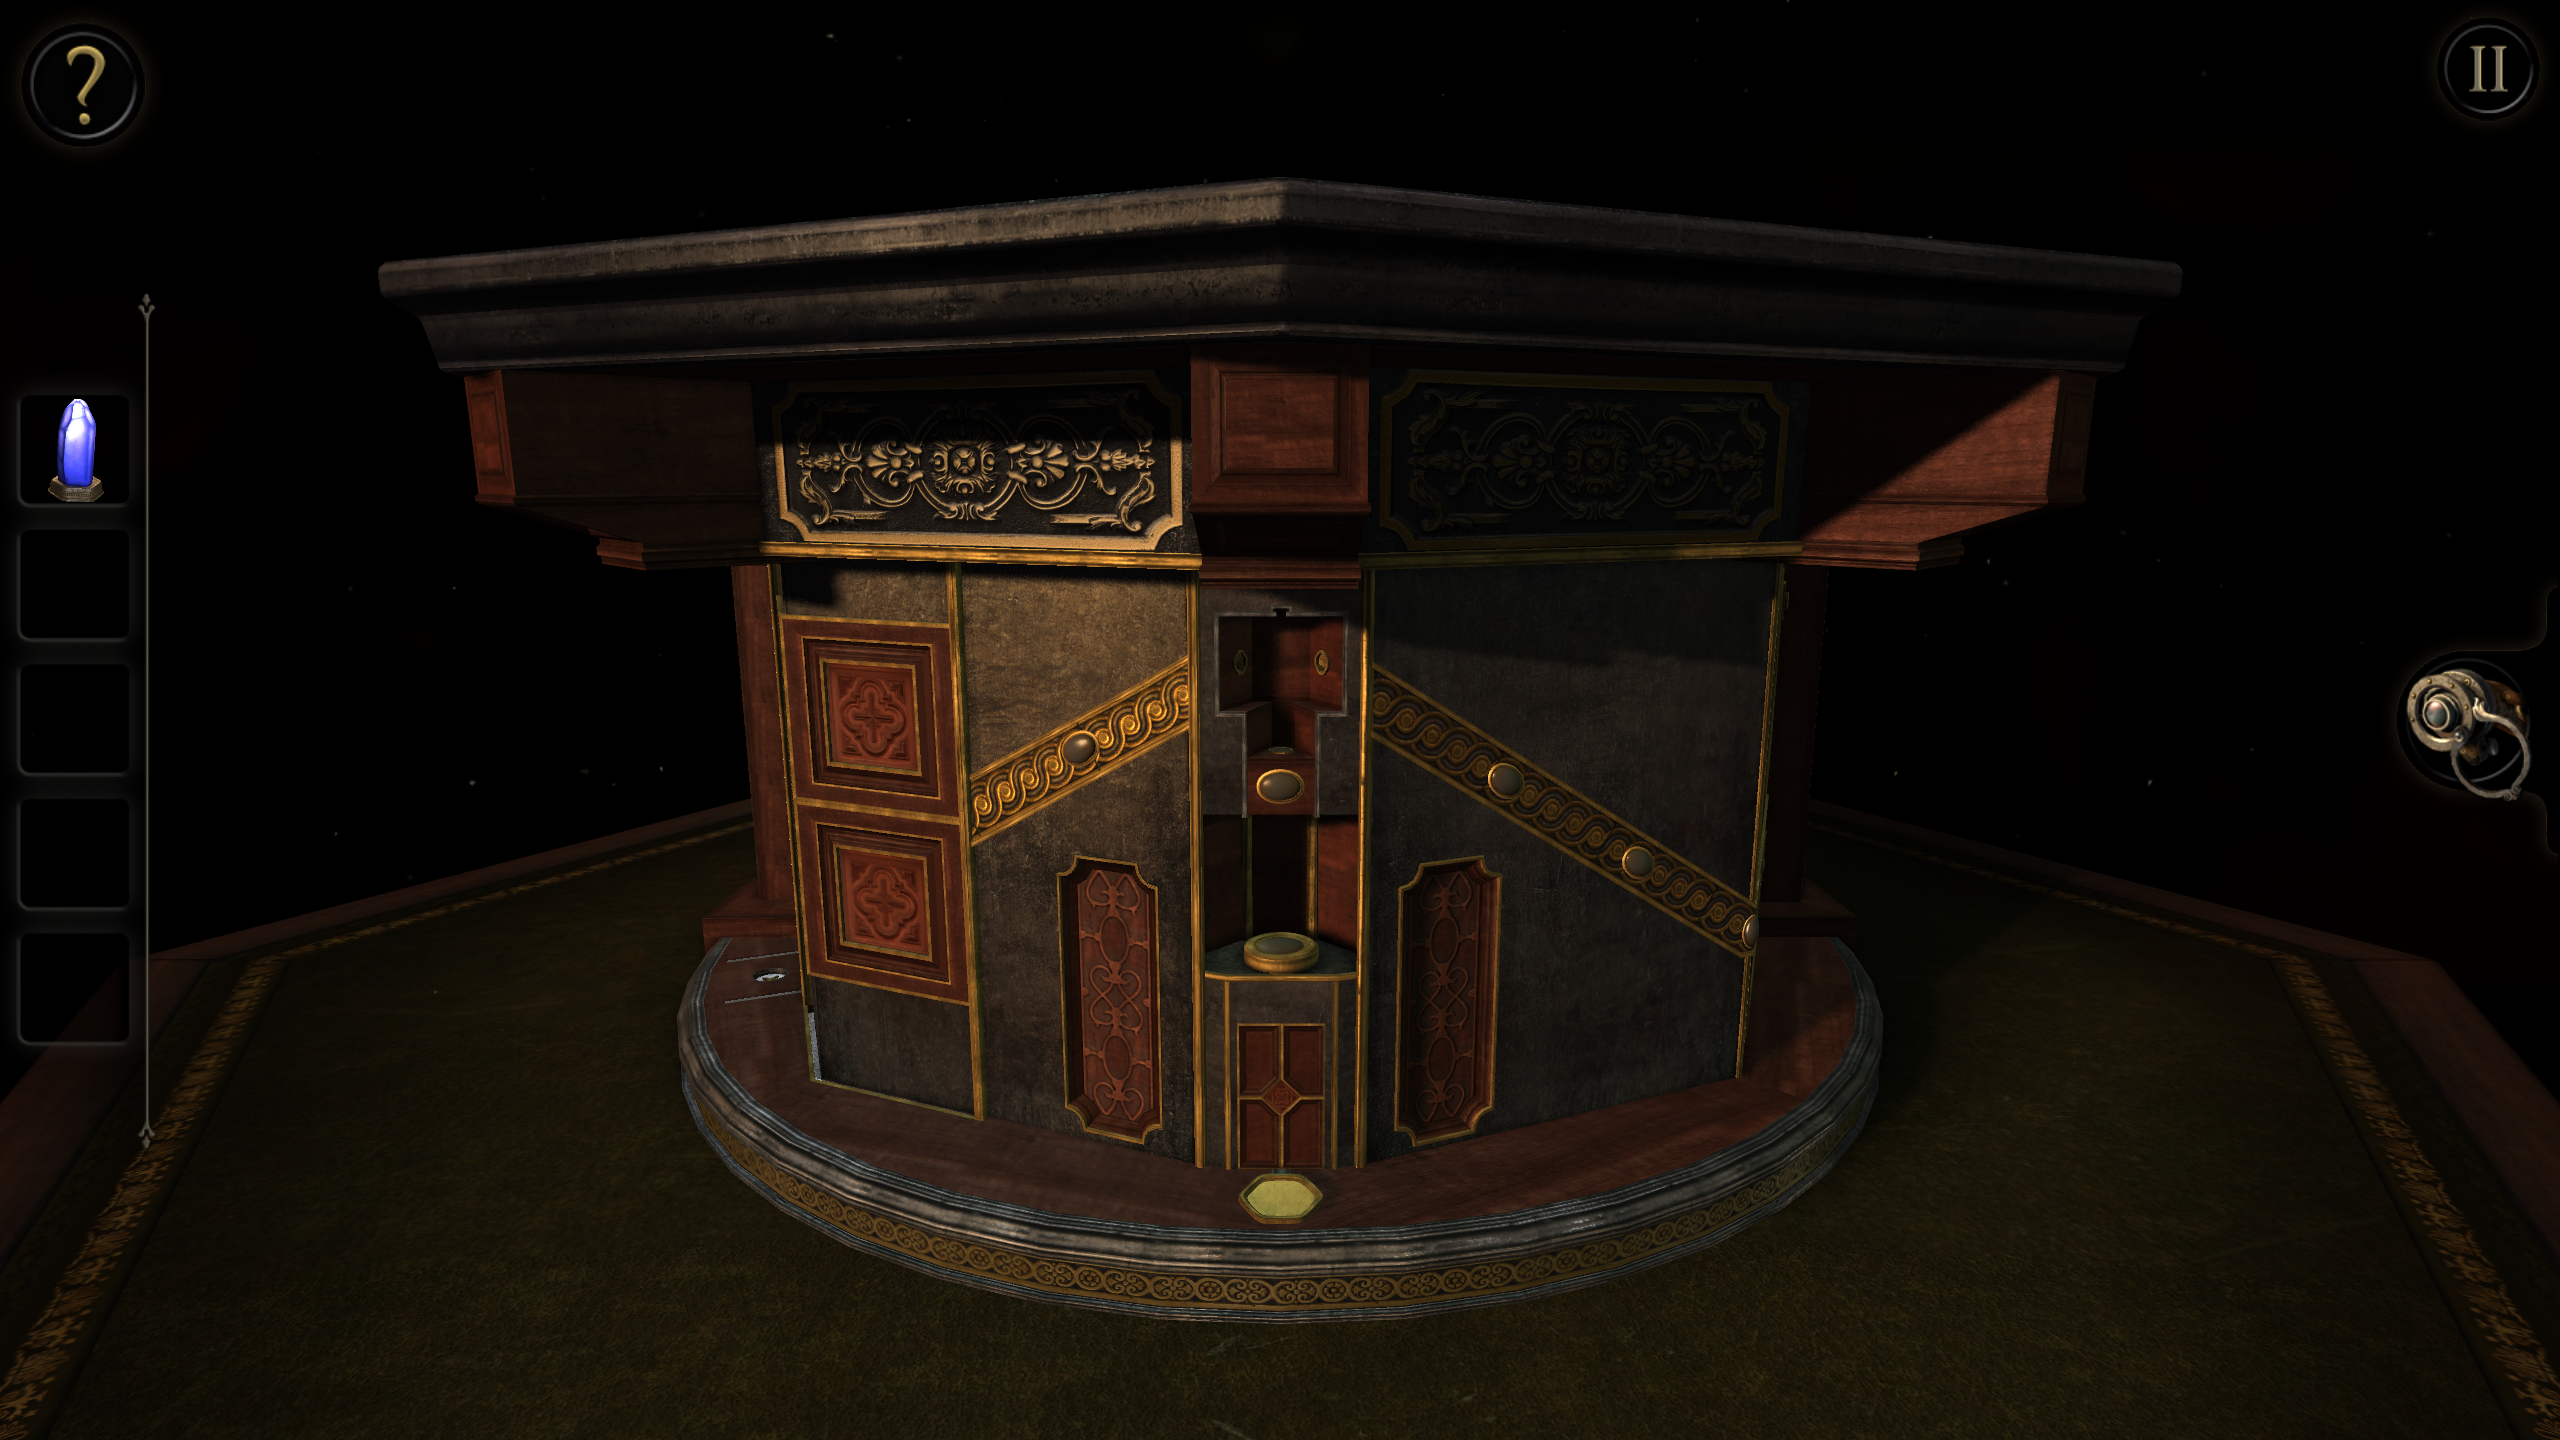
Enter SIGIL, then pick up a blue crystal and Note 5/7. Face this side and put the blue crystal on the yellow hexagon on the lower platform. Repeatedly turn the knob to the left to fully narrow the beam emanating from the crystal. A hatch opens up and you can pick up a flywheel with a cross-shaped indentation on its bottom. Put the flywheel on the bottom platform here. Pull the drawer open and take the reflective device inside. Press the panel in the bottom of the drawer to open a secondary drawer, from which you can take a map piece. Put the reflective device into the beam chamber here. A gauge on one of the tabletop supports is uncovered.
A reasonably-challenging timed sequence in two stages follows. For each stage, you'll begin by pressing one of the buttons on the gauge to start a timer. Then quickly zoom out and drag the mouse to the side to rotate the view until you see an open gauge with a single button. Zoom in and press the button to reset the timer. Repeat those steps until you see an open hatch and can zoom in and grab an item from it before the timer runs out. The two items gathered consist of a map piece and a key.
Go to this side of the puzzle box and configure the key to match. If you're zoomed in, a solution template for the key will automatically appear in your inventory window.
Use the key to open the compartment. Take another optical device there and transfer it to the beam chamber. A large cavity opens; use the eyepiece to view it. Follow these steps: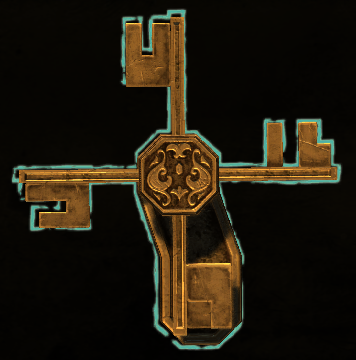
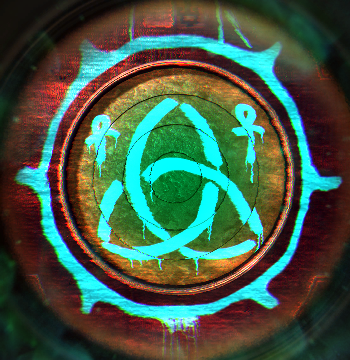
Use the eyepiece to recreate the usual pattern. The black disk above the green platform can be rotated.
Pick up another small puzzle box here and examine it in inventory. Align the white cross on its base to open up the box into a star shape. Put this item into the receptacle just underneath the tabletop. A telescope appears on the top; look through it to see a familiar Southern Cross constellation. Face this side of the puzzle box and enter the star pattern into the 4 x 4 array of buttons: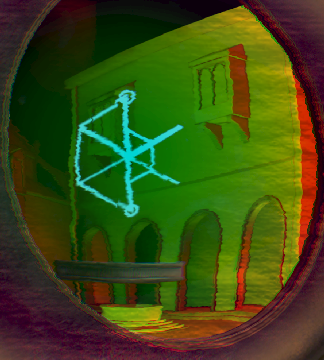
Pick up the final map piece and read Note 6/7. Put the map piece in the globe and pull down the lever that appears. Chapter 3 is now complete.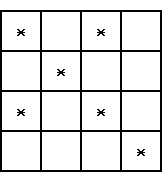
Press the button to set the constellation to a dagger shape. Zoom in on the vertical panel that has appeared on the edge of the table and use the eyepiece. The main vertical axis of the pattern is stationary; rotate its other parts using the disk under the dagger. Take the dagger from the panel and insert it into the sun figure at the center of the tabletop to display an orrery. Zoom in on the vertical panel with the eyepiece to see the next constellation, in the shape of a stairstep. Enter this pattern into the 3 x 4 array of buttons to the left of the panel: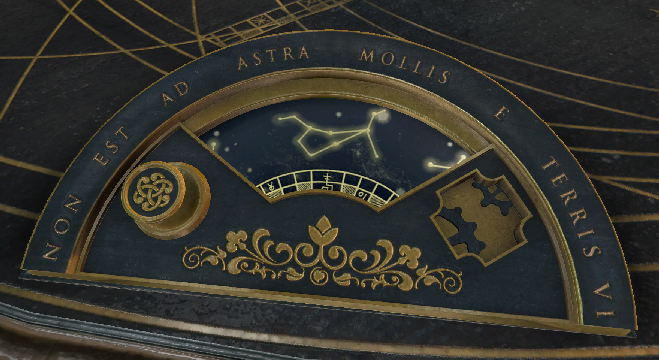
Non Est Ad Astra Mollis E Terris Vi
"There is no force from the earth to the stars"
You'll be returned to the constellation control panel where you can press the button to select the next constellation, in the shape of an eye. Repeat the procedure with the eyepiece at the vertical panel to recreate the pattern and determine the next array: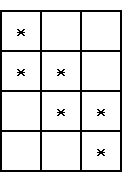
Enter this pattern into the button array and obtain an amulet from the vertical panel. Put the amulet on this side of the tabletop.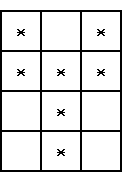
Look at the vertical panel to see two holes at the second level from the top of the stack. Return to the amulet location and zoom in on it. Wear the eyepiece for the duration of this puzzle. Tilt up the view slightly so you can align the arrows on the central sun symbol in the distance. Rotate the amulet about 120 degrees to align the next arrow. Zoom out and move the view over the sun symbol to confirm the arrow alignment and adjust as necessary. Go back to the vertical panel to see the hole arrangement on another level of the stack. Repeat the process to fill out the rest of the pattern:
Remove the eyepiece and enter this pattern on the button array. The Null Element is revealed! Click on it to store it in your inventory. Select the next constellation at the control panel. Use the eyepiece and zoom in twice on the vertical panel. Rotate the view to see the writing on the bottom ring, which is fixed. Rotate the other rings to recreate the usual pattern, and you're transported to another location. Put the Null Element in inventory on top of the central pillar. You then pass through a door into the light, and Chapter 4 is complete.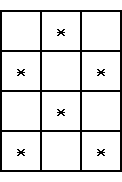
Find the manufacturer's metal plaque "Limited Edition English Drum Table" on the edge of the table. It has another bible reference: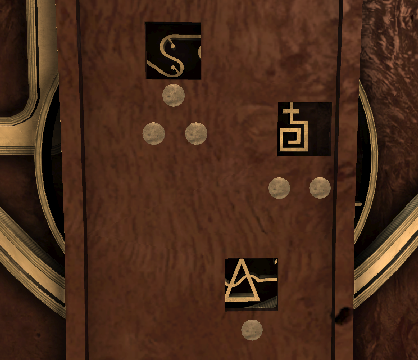
Job 38:17Push down the decoration in front of the plaque there:
Have the gates of death been shown to you?
Have you seen the gates of the deepest darkness?
This activates a puzzle at left. Move the selectors to match the three symbols above. This in turn causes another drawer to open, from which you can take a perforated coin.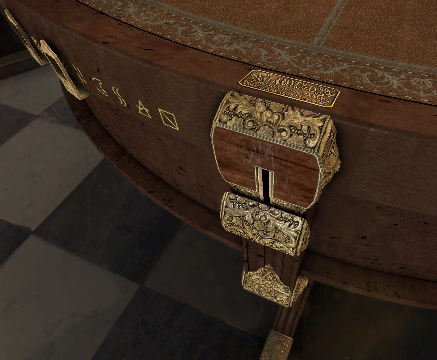
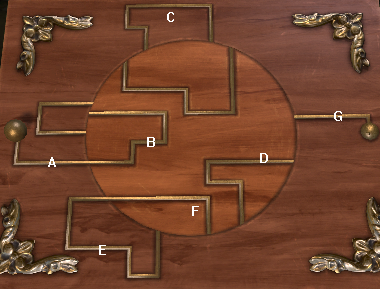
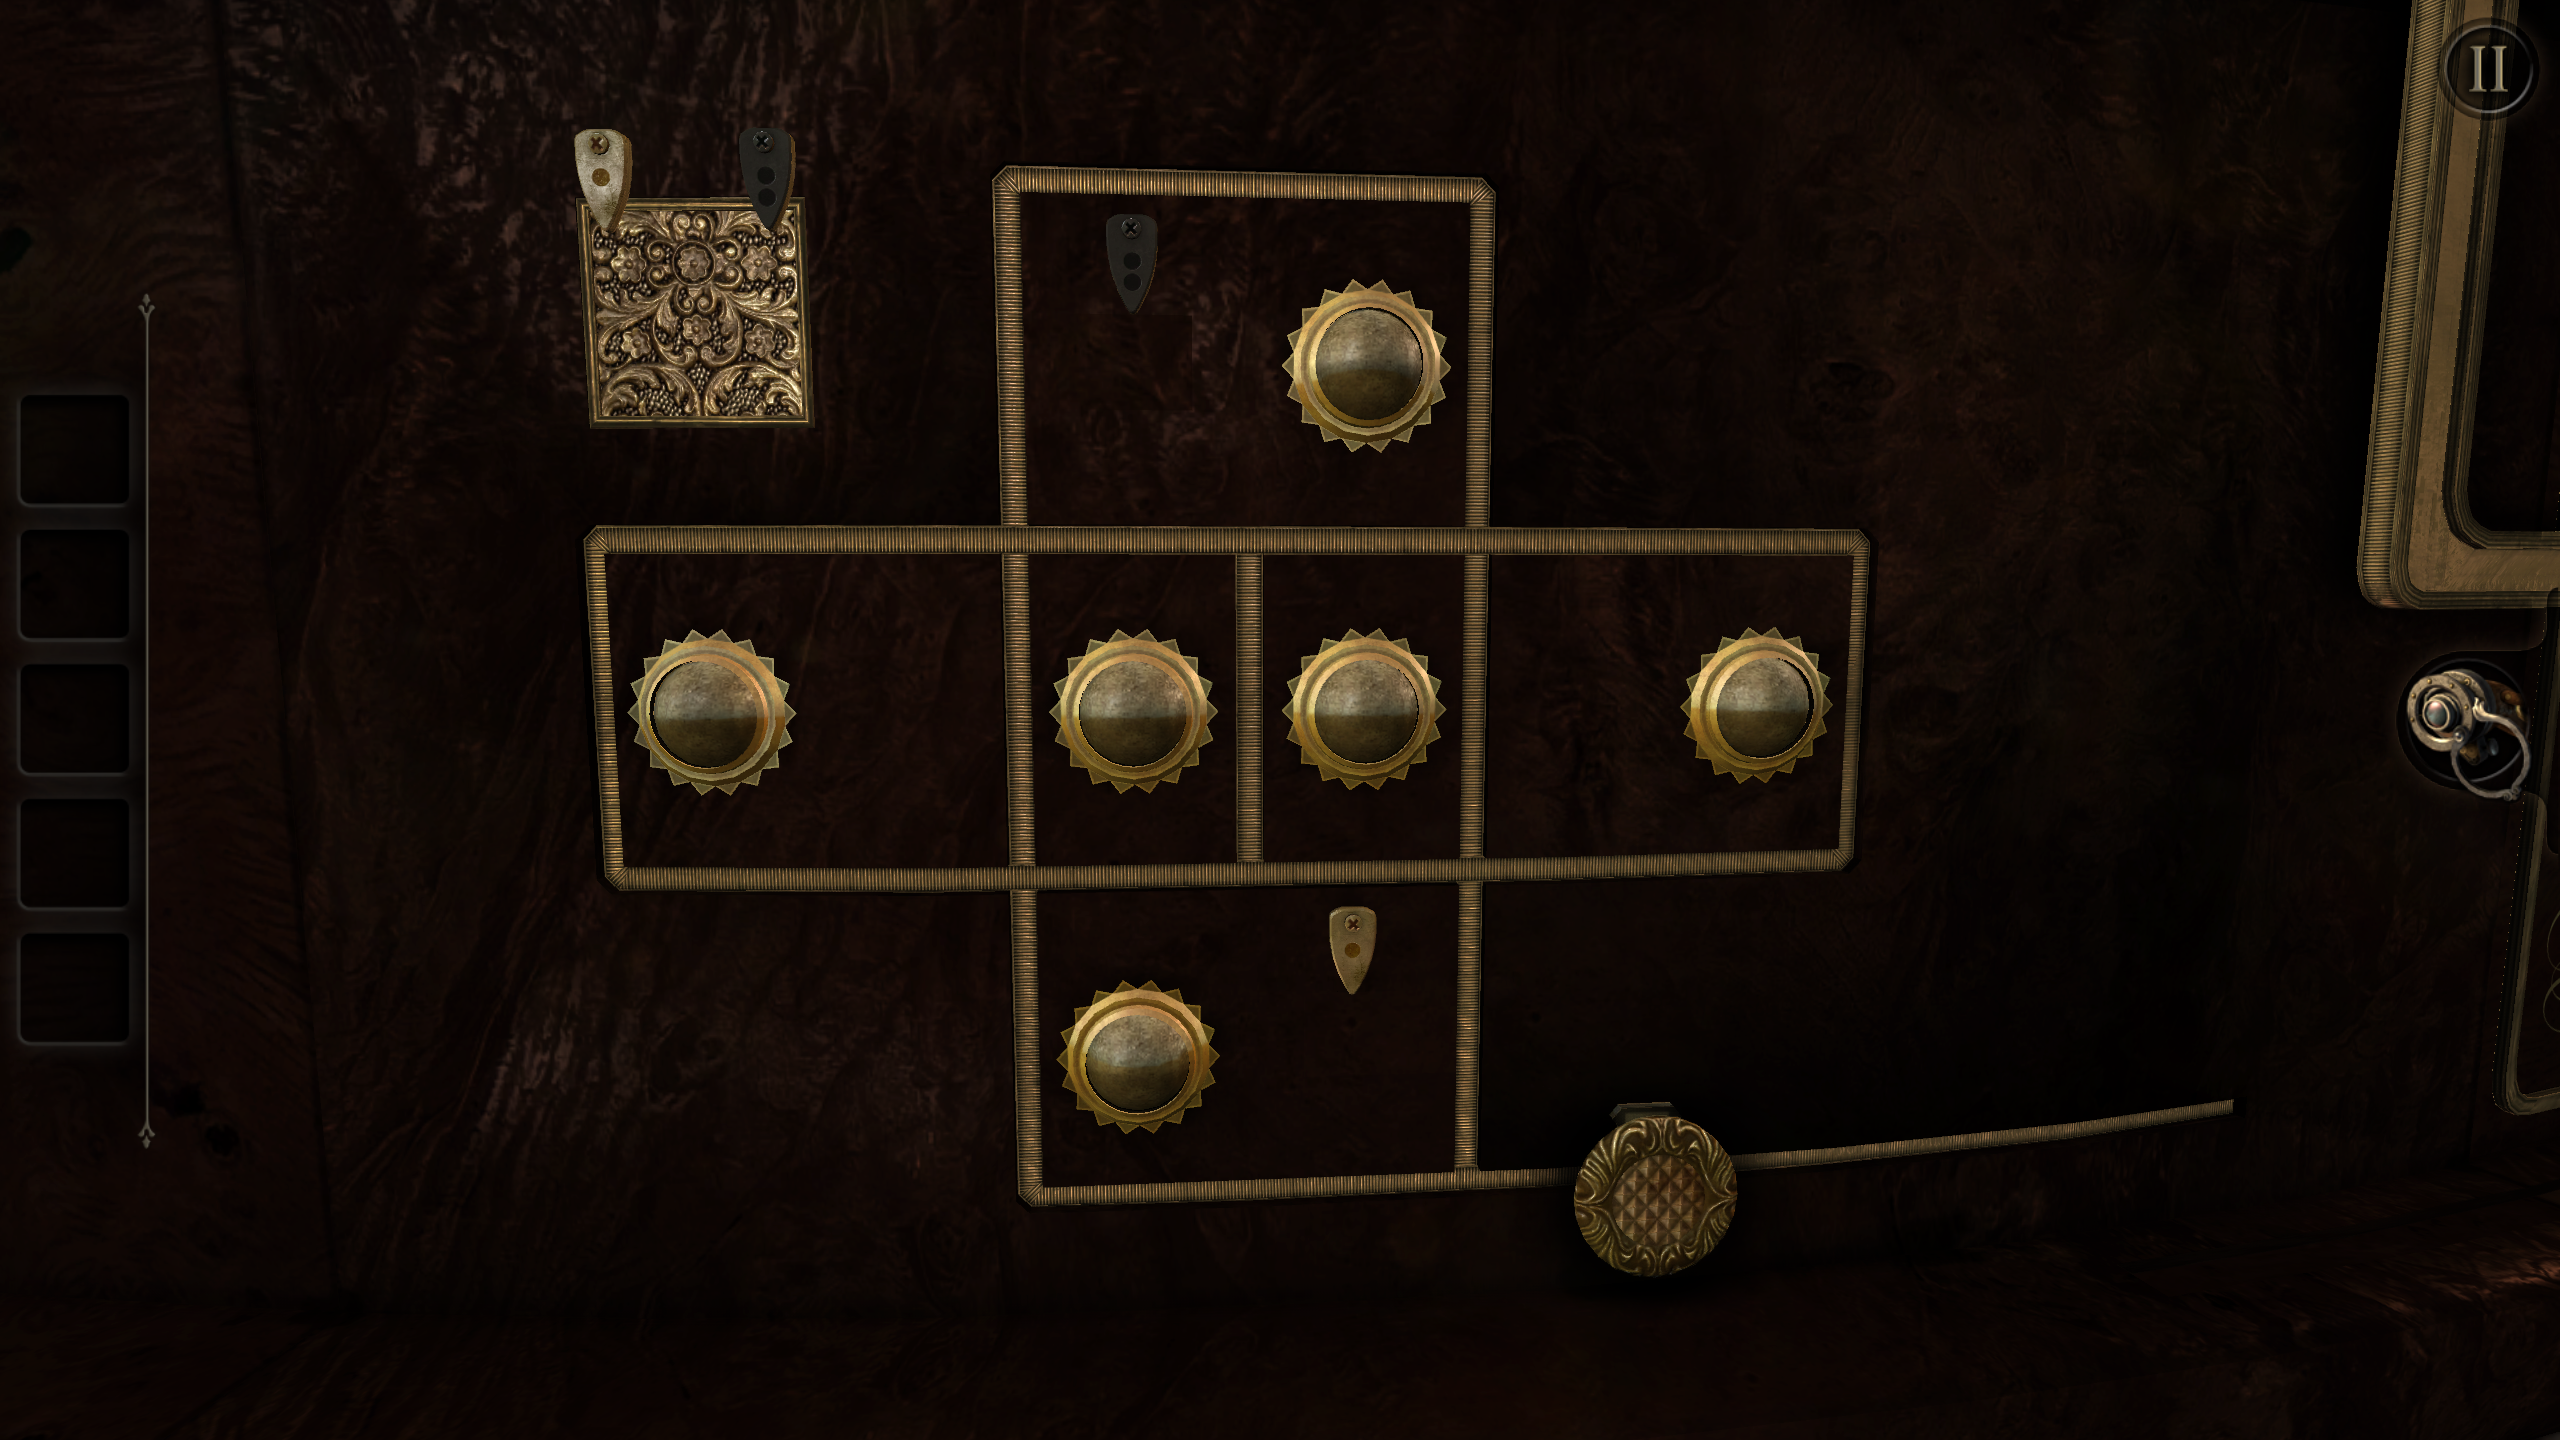
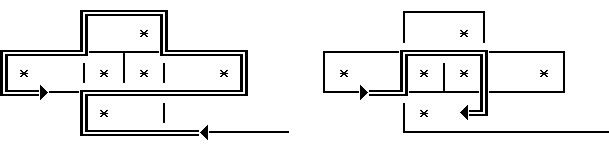
Return to the mechanism to the left of where you placed the small gear. The objective of this two-part puzzle is to traverse the network with the knob while not letting go of the mouse button. You must pass close to the each of the circular symbols once (or some other odd number of times), ending up at one of the exit points at the dark and light pointers. Here are solutions for each half of the puzzle. In each case, follow the left path below, then continue with the right path:
Light pointer:When the puzzle is completed, flip the switch down, which disgorges a blue orb from the tabletop. Examine the orb in inventory. Move its top to center a gray button. Press the button to open the orb, from which you can get another small gear. Put the gear on the side of the table above where you put the other one, then press the button next to the gear. Open the drawer and remove a strangely shaped key.
Dark pointer:
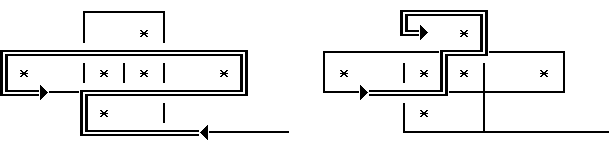
Insert the key into the matching receptacle on the black cylindrical puzzle box on the tabletop. Rotate the key counterclockwise 1/3 of a turn. Zoom out and move to the right to pick up a metal plate with a handle from the open compartment. Note that the compartment above it also has an object in it, but access to it is blocked. Return to the key and move it counterclockwise 1/3 of a turn to disclose a switch. Use the switch to move the barrier seen before. Move the key clockwise 1/3 of a turn and go back to the compartment to obtain a key. Insert this key into a large brass plate on the other side of the puzzle box, then turn the key to open a panel.
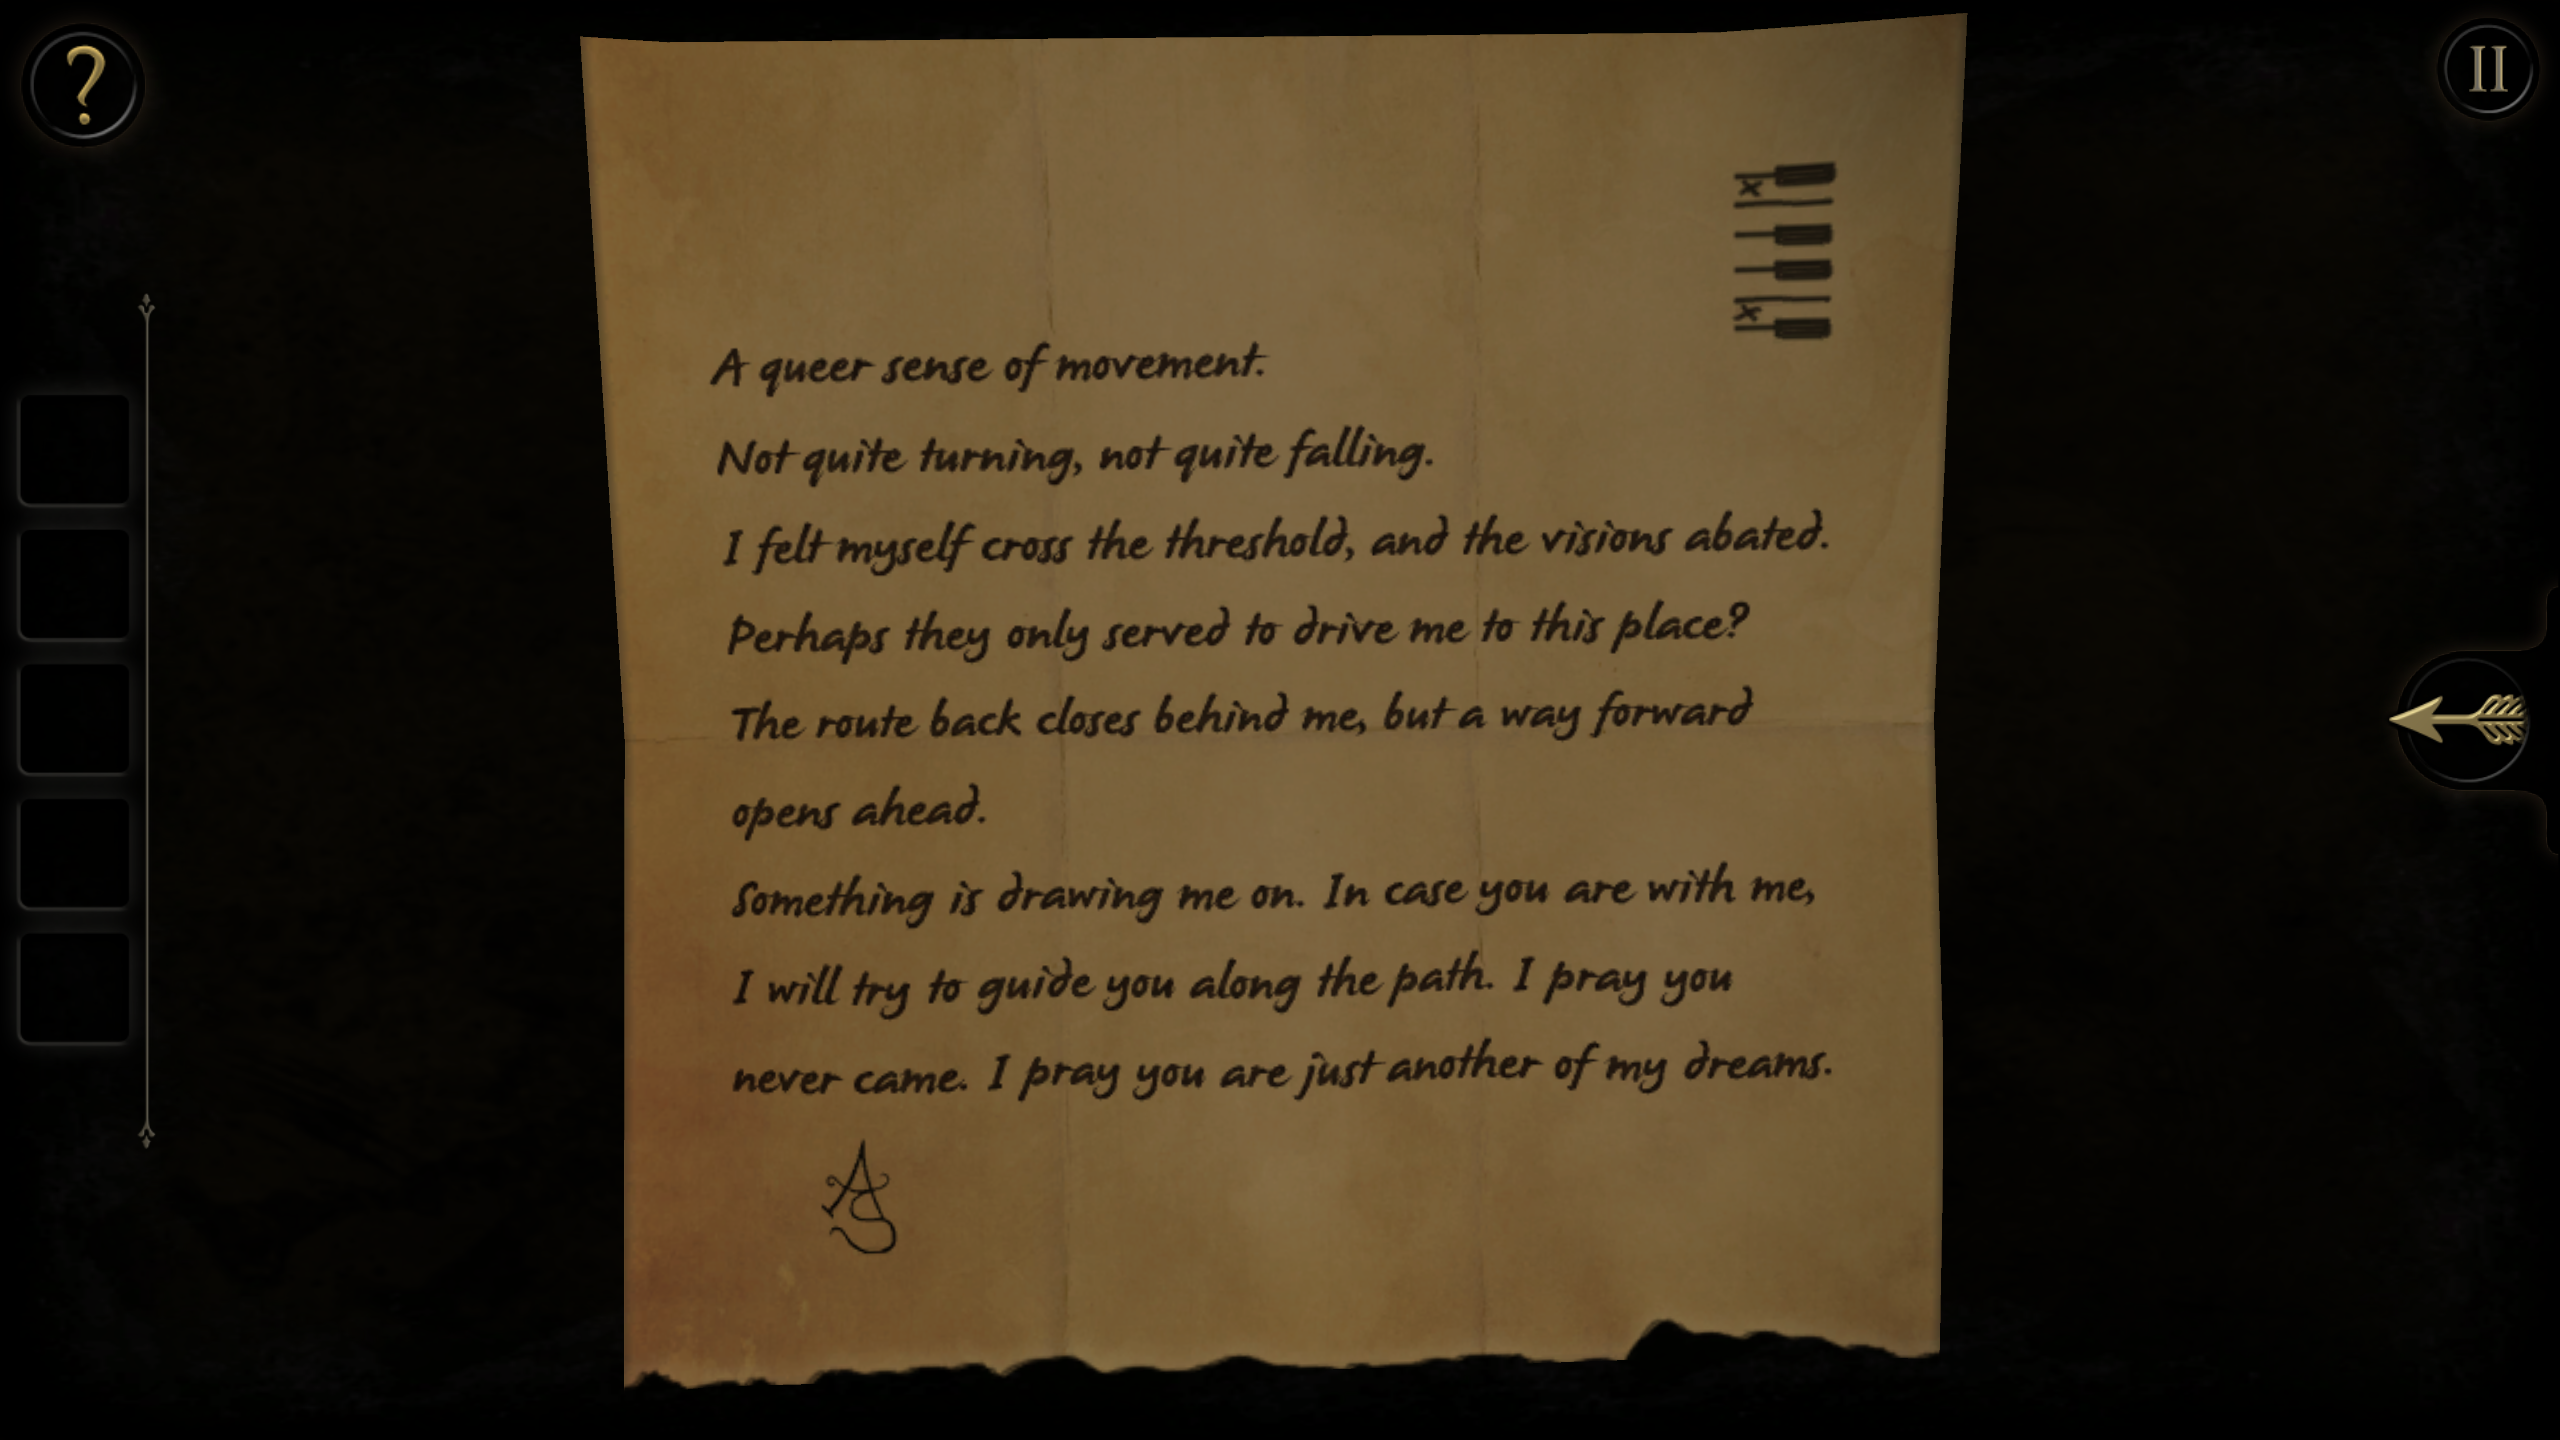
Go to a location on the side of the table where there's a raised octagon. Connect the metal handle there and turn it to reveal a toy piano. Press the keys shown on the note you saw earlier on the tabletop. A drawer slides out, into which you can place the coin. Press the button to play an easy Simon Says game with three 5-note sequences (if you make a mistake, you can try again with the same sequences). Pick up a couple of metal handles, which appear to be identical. This completes all activities on the side of the table.
Move directly up to the puzzle box and set the key back to the up position. Move left to the open brass panel and note the symbols identified with the downward-pointing arrows:
Return to the previous location and rotate the key to the southwest position. Go back to the left and set the symbol to match the left one above. Repeat the process to set the right (southeast) symbol. Rotate the key to the up (north) position. Go back to the left and press each of the gold squares at least once. Use the eyepiece to align the prisms to form a three-digit number. Enter 5 7 3 on the post of the puzzle box to release a panel. Attach the handles to the corners of the front side of the panel. Wear the eyepiece for the duration of this puzzle.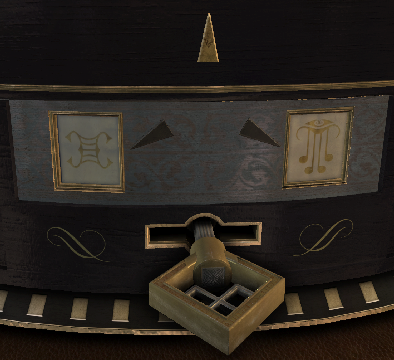
The objective is to remove the four gold squares on the back side of the panel by moving them one by one onto a black square on a 2 x 2 x 2 cube that you can rotate into the desired position using the handles on the front side. The cube is a bit tricky to control, but works best if only small movements are made with the mouse. In particular, the hotspot on the handle at lower right may be difficult to pick instead of adjusting the view. This puzzle randomizes for various gameplays, so there's no fixed solution. However, you can use the following table to make the necessary movements to remove each gold square. On the front side of the panel, only a square with a black center is unoccupied and can be used to store a gold square; once it's used, its center becomes white. The process is to first determine the location of the next gold square you want to move on the back side, then go to the front side and find a black square on the cube. Depending on the relative positions of the two squares, you'll perform the rotations in the table below on the front side, then move to the back side where you should be able to move your target gold square onto a black square and remove it from the puzzle. Compass directions are used for clarity.
When finished, doff the eyepiece and pick up the red gem. Zoom in on the panel with the diamond grid that has now appeared. The objective of this sliding-piece puzzle is to remove each of the three gems from the back side through a hole in the bottom. Three spaces are open so the puzzle isn't too difficult, but you will have to maneuver around the inaccessible areas. Tilt your head to the left to see the initial 4 x 4 grid like this:
Back side location of gold
square to be removedFront side location
of black squareMovements NE NE Move cube to the right twice SE Move cube up once
Move cube to the left once
Move cube up onceSW Move cube up twice NW Move cube up once
Move cube to the right once
Move cube up onceSE NE Move cube up once
Move cube to the right once
Move cube up onceSE Move cube to the right twice SW Move cube up once
Move cube to the left once
Move cube up onceNW Move cube up twice SW NE Move cube up twice SE Move cube up once
Move cube to the right once
Move cube up onceSW Move cube to the right twice NW Move cube up once
Move cube to the left once
Move cube up onceNW NE Move cube up once
Move cube to the left once
Move cube up onceSE Move cube up twice SW Move cube up once
Move cube to the right once
Move cube up onceNW Move cube to the right twice
Here is a solution: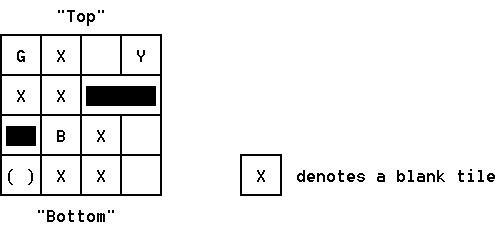
- Move both of the blank tiles in the bottom row away from the hole to make room for the blue gem.The grid should now look like this:
- Move the blue gem into the hole and remove it from the back side of the panel.
- Move the blank tile in the third row into the rightmost column.
- Follow that path for the tile vacated by the blue gem.
- Move the blank tile in the top row towards the yellow gem.
- Move the green gem in the top row towards the yellow gem.
- Move the two blank tiles in the second row out of the way to let the green gem past.
- Move the green gem to the exit and put it in inventory.
Put all four gems into the segmented circle on the tabletop in the following pattern: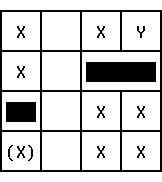
- Move the two blank tiles at the top of the first column into the bottom of the second column.
- Move the blank tile next to the yellow gem into the upper left corner.
- Move the yellow gem below it.
- Move the two blank tiles in the second column into the upper right corner.
- Follow that path for the tile vacated by the green gem.
- Move the yellow gem to the exit and put it in inventory.
Go to the other side of the clear lens and use the eyepiece to recreate the pattern shown to the upper left of the lens, which requires the gems to be located in the positions shown above. The lid of the puzzle box is unlocked; open it to begin the next puzzle, which is similar to one encountered earlier. Press the center button as needed to align an exit path from the starting position on the outer rim. Here is a solution for the rest of the puzzle:
Red Green Yellow Blue
A central blue gem is now glowing. Using the eyepiece, zoom in on it and set your viewpoint close to the level of the circular platform. Rotate the view until you can see a portion of the standard symbol in the background. Align this background with the blue lines over the glowing gem until they overlap:
Move Then press button Through 2 turns to the inside edge of the outer ring Twice Through 2 turns to the inside edge of the middle ring Once Through a U-turn to the outside edge of the inner ring Once Straight through to the outside edge of the middle ring Once Through a U-turn to the inside edge of the outer ring Once Through 2 turns to the inside edge of the middle ring Twice Through 2 U-turns to the inside edge of the middle ring Twice Through 2 turns to the inside edge of the inner ring Once Move into the hole
and a bright flash of white light is produced. A second maze puzzle then appears. Press the center button as needed to align an exit path from the starting position on the outer rim. Here is a solution for the rest of the puzzle: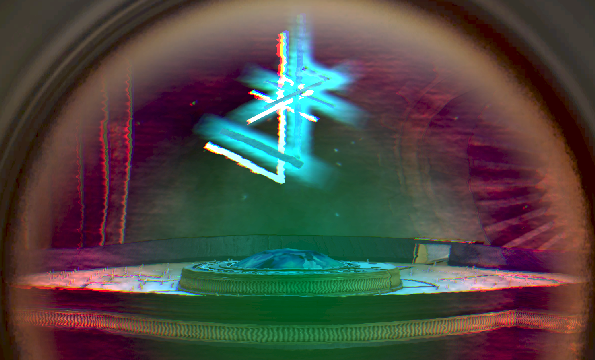
Repeat the procedure to align the patterns, using the inner ring to rotate a portion of the pattern as needed:
Move Then press button Through 2 turns to the inside edge of the outer ring Once Through 2 turns to the inside edge of the middle ring Once Slightly to the outside edge of the inner ring Twice Across the ring boundary and through a U-turn to the inside edge of the middle ring Once Through 2 turns to the inside edge of the inner ring Once Move into the hole
After another flash of light, the eyepiece is destroyed and the game ends: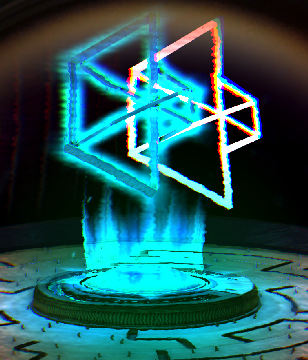
You can now select any Chapter to replay, but your progress won't be saved in Free Play mode.
Zoom
Copyright © 2026 Balmoral Software (http://www.balmoralsoftware.com). Portions copyright © 2012-2014 by Fireproof Studios Ltd. All rights reserved.